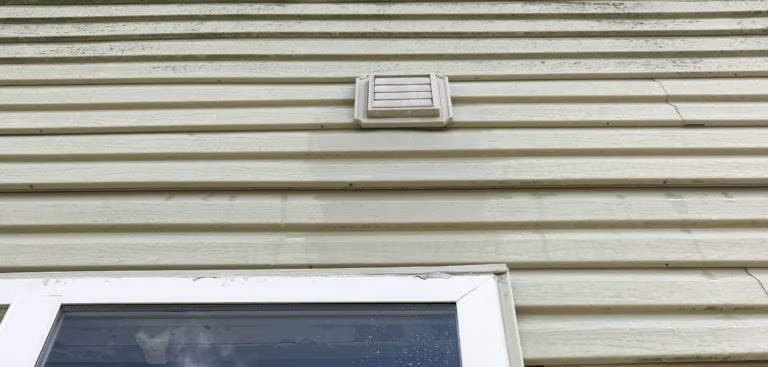
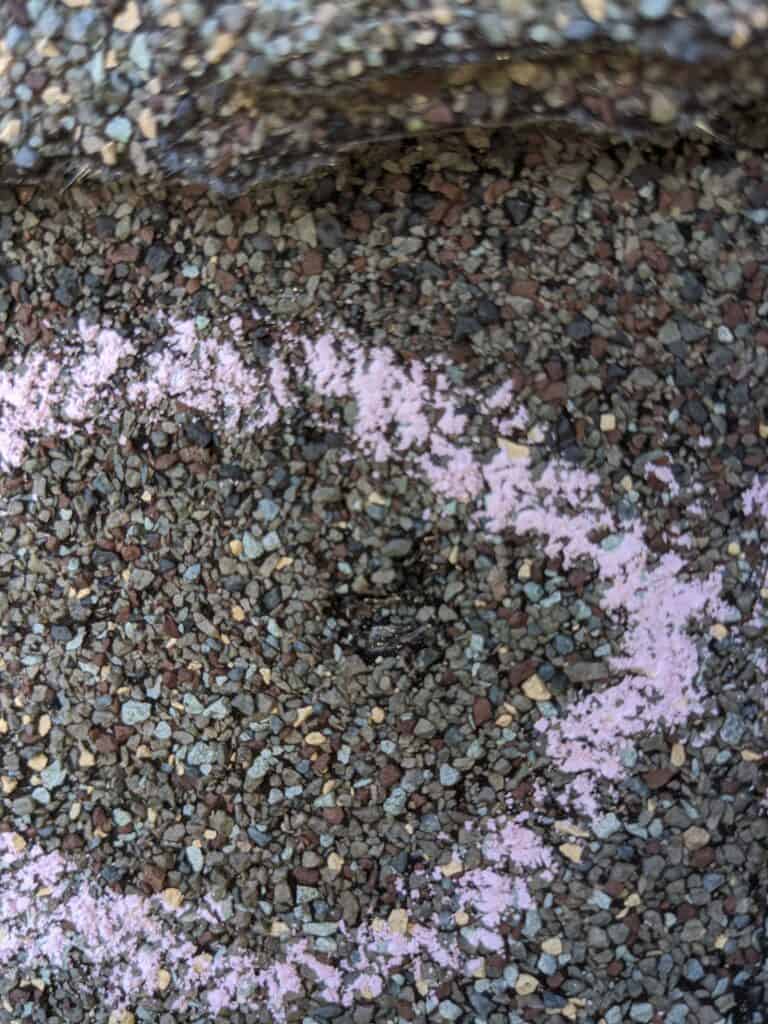
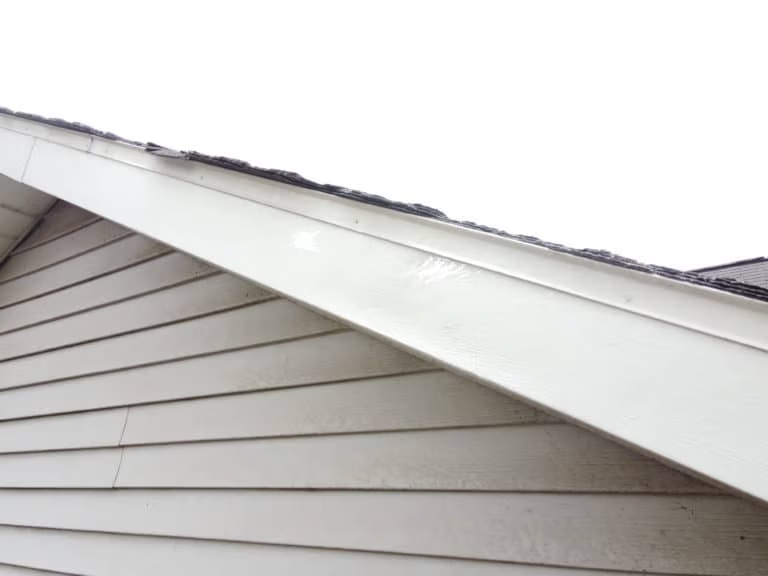
If you find roof damage, start by thoroughly assessing and documenting the damage. Use photographs and notes for records. Safety is paramount; avoid walking on the damaged roof and use proper safety gear. Perform temporary repairs like patching leaks and securing loose shingles. Review your insurance policy and file a claim, documenting all communications.
Contact professional contractors for a detailed assessment and multiple quotes for repairs. Ensuring you choose a reliable contractor is key. For future peace of mind, schedule regular inspections and maintenance. Continue below for a comprehensive breakdown to fully manage the situation effectively.
Assessing Roof Damage for Insurance Claims
- Document the damage with photographs, videos, and notes for insurance claims.
- Avoid walking on the damaged roof; use a sturdy ladder and safety gear for inspection.
- Contact your insurance company to report the damage and start the claim process.
- Patch leaks and cover exposed areas with tarps to prevent further water damage.
- Reach out to licensed, insured roofing contractors for professional assessment and repair estimates.
Assess the Damage
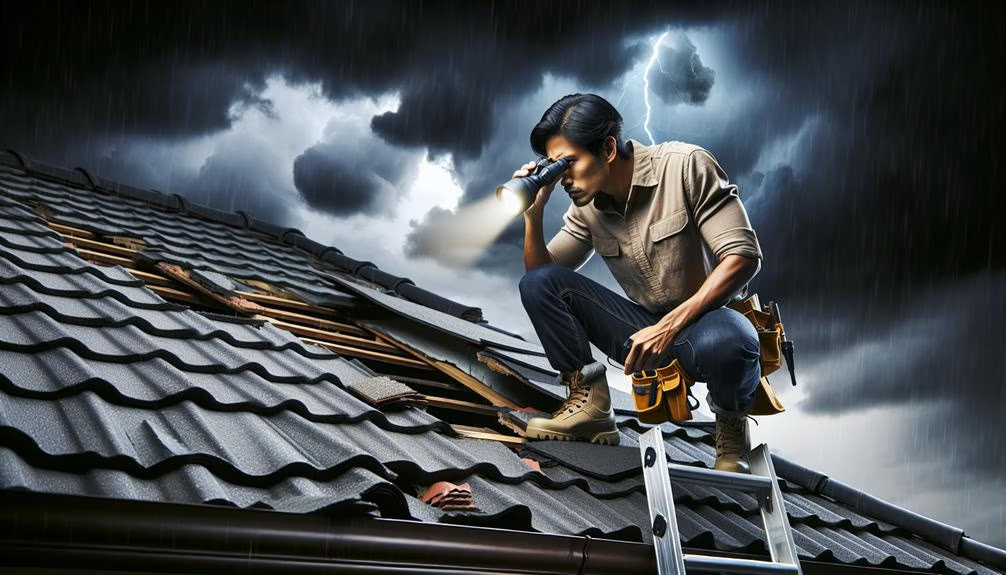
Upon discovering roof damage, the first crucial step is to thoroughly assess the extent and severity of the issue. Begin by safely inspecting the roof from a distance, using binoculars, if necessary, to identify visible signs of damage such as missing shingles, cracks, or punctures. If safe access is possible, gently climb onto the roof to get a closer look at the affected areas. Pay attention to the structural integrity of the roof, noting any sagging or uneven surfaces which could indicate more serious underlying problems.
Next, inspect the interior spaces directly beneath the damaged sections of the roof. Look for water stains on ceilings and walls, as well as any signs of mold or mildew growth. These indicators often point to leaks that may not be immediately visible from the exterior.
It is also essential to check the attic for any signs of moisture, rot, or insulation damage. This comprehensive assessment helps in understanding the full scope of the damage, enabling you to make informed decisions about necessary repairs or replacements. By taking these meticulous steps, homeowners can better protect their property and ensure prompt, effective remediation.
Document the Damage
Taking detailed photographs of the damaged areas is crucial for creating a record that will assist in both insurance claims and repair assessments. Begin by capturing wide-angle shots of the entire roof to provide context.
Then, zoom in on specific areas of damage, such as missing shingles, cracked tiles, or punctured underlayment. Ensure the photos are clear and taken from multiple angles to offer a comprehensive view.
In addition to photographs, it is beneficial to take notes detailing the extent and location of the damage. Describe the type of damage observed and any potential causes you suspect, such as recent storms or falling tree limbs. This written documentation will complement the visual evidence and provide clarity.
If possible, create a video walkthrough of the damaged areas. Videos can capture nuances that photos might miss and provide a dynamic perspective. Narrate the video to explain what is being shown and highlight specific concerns.
Keep all documentation organized in a dedicated folder, both digitally and physically. This will make it easier to share withinsurance adjusters and roofing contractors, ensuring a smoother process for repairs and claims.
Prioritize Safety
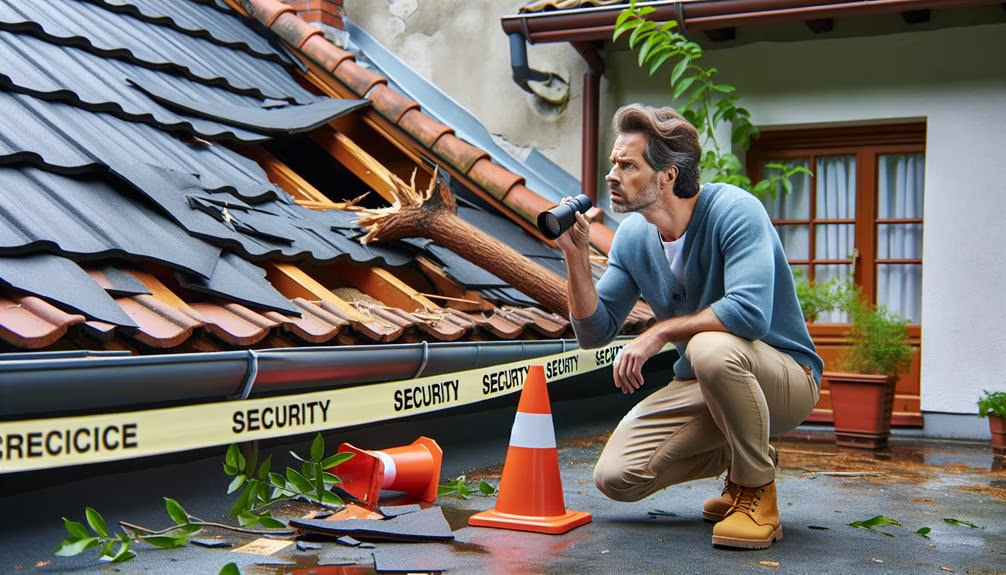
Ensuring your safety should be the top priority when dealing with roof damage. Before inspecting or addressing any issues, take a moment to evaluate potential hazards. Avoid walking on a damaged roof, as it might be unstable and could further deteriorate under your weight. Instead, conduct an initial assessment from the ground using binoculars or a camera with a zoom feature to identify visible problems, such as missing shingles or sagging areas.
If you must climb a ladder for a closer inspection, ensure it is sturdy and placed on a flat surface. Have someone assist you by holding the ladder steady and avoid working in adverse weather conditions like rain, snow, or high winds, which can increase the risk of slips and falls. Additionally, wear appropriate safety gear, including non-slip shoes and a harness if possible.
If you suspect structural damage or are unsure about the extent of the issue, it is best to contact a professional roofing contractor. They have the expertise and equipment to safely assess and address the damage. Remember, prioritizing your safety not only protects you but also ensures that the repair process can proceed smoothly and efficiently.
Temporary Repairs
When addressing roof damage, temporary repairs can prevent further issues until professional help arrives. Start by patching any leaks to avoid water intrusion, then secure any loose shingles to maintain the roof’s integrity. Finally, cover exposed areas with a tarp or protective material to safeguard your home from the elements.
Patch Leaks Quickly
Swiftly addressing roof leaks with temporary repairs can prevent further damage and buy you time for a more permanent solution. When you discover a leak, it’s crucial to act quickly to mitigate water intrusion, which can lead to mold growth, structural issues, and interior damage. Begin by locating the source of the leak from inside your home, usually indicated by water stains on the ceiling or walls.
Once you identify the leak, use roofing tape or sealant to cover the affected area temporarily. Roofing tape is effective for small cracks and holes, providing a watertight seal. For larger leaks, a durable tarp can be placed over the damaged section of the roof. Secure the tarp with roofing nails or weighted objects to ensure it stays in place, especially in windy conditions.
While these measures are not permanent fixes, they can significantly reduce the extent of water damage until professional help arrives. Remember, safety first—if the roof is slippery or the weather conditions are poor, it’s better to wait for professional assistance. Temporary repairs are a stop-gap measure, but they play a crucial role in protecting your home from further harm.
Secure Loose Shingles
Addressing loose shingles promptly can prevent minor issues from escalating into significant roof damage. Loose shingles can lead to leaks, which may cause interior water damage and mold growth. To temporarily secure loose shingles, you will need a few basic tools and materials readily available at most hardware stores.
First, assess the situation and gather the necessary items: roofing cement, a caulking gun, roofing nails, and a hammer. Begin by gently lifting the loose shingle and applying a small amount of roofing cement underneath it. Press the shingle back into place and secure it with roofing nails, making sure they are driven into the underlying wood structure.
Here is a quick reference table to guide you through the process:
| Step | Tool/Material | Description |
|---|---|---|
| 1 | Roofing Cement | Apply a small amount under the loose shingle |
| 2 | Caulking Gun | Use to dispense roofing cement evenly |
| 3 | Roofing Nails | Secure the shingle by nailing it down |
| 4 | Hammer | Drive nails into the underlying wood |
Cover Exposed Areas
In situations where roof damage has left areas exposed, implementing temporary repairs is crucial to prevent further deterioration and protect your home. The first step is to assess the extent of the damage. Identify which areas are most vulnerable to water intrusion and structural harm. Once identified, you can use materials such as tarps or heavy-duty plastic sheeting to cover these exposed sections.
Ensure that the covering material is securely fastened. Utilize roofing nails, duct tape, or even weighted objects to keep the tarp in place. Overlapping the edges of the material with undamaged sections of the roof can provide additional security against wind and rain. Be cautious while climbing on the roof; safety should always be your primary concern.
For smaller holes or cracks, roofing cement can offer a temporary fix. Applying it directly to the damaged area can provide a waterproof barrier until professional repairs are made. If you’re dealing with significant damage, contacting a professional roofer sooner rather than later is advisable.
Check Your Insurance

Once you identify roof damage, reviewing your insurance policy is crucial to understand the extent of your coverage. Familiarize yourself with the specific details of your policy and the necessary steps for filing a claim. This will help you expedite the process and ensure you receive the appropriate compensation for repairs.
Policy Coverage Details
How thoroughly do you understand the specifics of your homeowners’ insurance policy when it comes to covering roof damage? It’s critical to familiarize yourself with the details of your policy before you encounter any issues. Insurance policies can be complex, and understanding what is covered, any exclusions, and the deductible amounts can save you time and stress.
Key Elements of Policy Coverage:
| Aspect | Explanation | Example |
|---|---|---|
| Covered Perils | Events that the policy will cover, such as storms or hail. | Storm damage |
| Exclusions | Specific situations not covered by the policy. | Normal wear and tear, neglect |
| Deductible Amount | The out-of-pocket amount you must pay before coverage kicks in. | $1,000 deductible on roof damage claims |
| Coverage Limits | The maximum amount the policy will pay for a covered loss. | $20,000 limit for roof repair or replacement |
| Additional Endorsements | Optional coverages you can add to your policy. | Water backup coverage |
Claim Filing Process
When you discover roof damage, the first step in the claim filing process is to meticulously review your homeowners’ insurance policy to ensure you understand the coverage specifics. Pay close attention to what types of damage are covered, any exclusions, and your deductible amount. This will help you determine whether filing a claim is financially prudent.
Next, document the damage thoroughly. Take clear, detailed photographs from multiple angles and make notes on the extent of the damage. This evidence will be crucial when you file your claim.
After gathering all necessary documentation, contact your insurance company promptly. Many insurers have a specific time frame within which you must file a claim, so it is essential to act quickly. During this initial contact, be prepared to provide detailed information about the damage and your policy number.
Once your claim is submitted, an adjuster will be assigned to assess the damage. Be available to meet with the adjuster and provide any additional information they may require. Keep a record of all communications and paperwork related to your claim.
Contact a Professional
Reaching out to a licensed roofing contractor is crucial to ensure the damage is assessed and repaired correctly. A professional roofer possesses the expertise and tools necessary to evaluate the extent of the damage, which may not always be visible to an untrained eye. They can identify underlying issues that, if left unaddressed, could lead to more severe problems down the line.
When contacting a roofing professional, ensure they are licensed, insured, and have a solid reputation. Check online reviews, ask for references, and verify credentials through local licensing authorities. This step is vital to guarantee that the contractor you hire is both trustworthy and competent.
Once you’ve found a reliable contractor, schedule an inspection as soon as possible. Prompt action can prevent further deterioration and mitigate potential hazards. During the inspection, the roofer will provide a detailed assessment, including photographs and a written report outlining the necessary repairs.
After the inspection, discuss the findings with the contractor to understand the scope of work and the materials required. Clear communication is essential to ensure all aspects of the repair are comprehended and agreed upon. This proactive approach will help safeguard your home and restore your roof’s integrity effectively.
Get Multiple Quotes

After discussing the findings with your chosen contractor, it’s prudent to obtain multiple quotes to compare costs and services. This step ensures you get the best value for your investment and can evaluate different approaches to repair or replacement. Soliciting multiple quotes can be a straightforward process if you follow a structured approach:
- Reach Out to Several Contractors: Contact at least three reputable contractors. This allows you to compare different perspectives on the extent of the damage and the best course of action.
- Request Detailed Estimates: Ask each contractor to provide a comprehensive breakdown of costs. This should include materials, labor, and any additional fees. A detailed estimate helps you understand what you are paying for and prevents unexpected expenses.
- Check References and Reviews: Before making a decision, look into the contractors’ track records. Online reviews and references from previous clients can provide valuable insights into their reliability and workmanship.
- Compare Warranties and Guarantees: Different contractors may offer varying warranty terms. Ensure you understand the scope of these warranties, as they can significantly impact future maintenance costs and peace of mind.
Plan for Future Maintenance
Planning for future maintenance is essential to prolong the lifespan of your roof and avoid costly repairs down the line. Regular upkeep not only ensures the integrity of your roof but also contributes to the overall value of your property. Start by scheduling bi-annual inspections, ideally in spring and fall, to catch any potential issues early.
Create a maintenance checklist that includes clearing debris from gutters, checking for loose or missing shingles, and ensuring proper attic ventilation. Address minor problems promptly to prevent them from escalating into significant damage. Additionally, keep an eye on the flashing around chimneys, vents, and skylights, as these are common areas for leaks.
Consider investing in quality materials and professional services for any repair or replacement work. High-quality materials tend to be more durable and can fend off issues better than cheaper alternatives. Also, maintaining a record of all inspections and repairs can be beneficial for future reference and potential resale value.
Frequently Asked Questions
How Do I Identify Different Types of Roof Materials?
Identifying different types of roof materials involves examining their distinct characteristics. Asphalt shingles are flexible and commonly have a granular surface. Metal roofing often appears in large panels or shingles with a shiny or matte finish. Clay tiles are typically curved, heavy, and have a reddish hue. Slate tiles are flat, stone-like, and come in various shades of gray. Familiarizing yourself with these traits will aid in accurate identification.
What Are Common Signs of Underlying Structural Damage?
Common signs of underlying structural damage include sagging or uneven rooflines, water stains on ceilings or walls, and visible cracks in the attic or interior walls. Additionally, look for mold or mildew growth, which can indicate prolonged moisture exposure. Peeling paint or wallpaper, as well as doors and windows that stick or don’t close properly, may also suggest structural issues that require immediate attention.
How Can I Prevent Mold Growth After Roof Damage?
To prevent mold growth after roof damage, promptly address any leaks or water intrusion. Start by drying the affected area thoroughly using fans and dehumidifiers. Remove any wet materials, such as insulation or drywall. Ensure proper ventilation throughout the space to reduce moisture levels. Regularly inspect the area for signs of mold and clean with appropriate solutions, ensuring all surfaces are completely dry to avoid recurrence.
What Factors Affect the Lifespan of a Roof?
The lifespan of a roof is influenced by various factors: the quality of materials, the craftsmanship of installation, the severity of weather conditions, and the level of maintenance. High-quality materials and expert installation ensure durability, while harsh weather accelerates wear and tear. Regular maintenance, such as cleaning gutters and inspecting for damage, can extend a roof’s lifespan. Each factor plays a crucial role in determining the overall longevity of your roof.
Are There Eco-Friendly Options for Roof Repair or Replacement?
Certainly! There are various eco-friendly options for roof repair or replacement. Materials such as recycled shingles, metal roofing, and solar tiles are sustainable choices. Additionally, green roofs, which involve the installation of vegetation, can enhance insulation and reduce energy costs. Opting for these environmentally friendly solutions not only minimizes your carbon footprint but also promotes energy efficiency and long-term durability.
Conclusion
In the aftermath of discovering roof damage, envision the difference between a secure haven and a vulnerable shelter. By thoroughly assessing and documenting the damage, prioritizing safety, and making temporary repairs, stability is restored. Consulting insurance and professionals, while obtaining multiple quotes, ensures the best outcomes. Future maintenance planning safeguards this crucial barrier against nature’s elements, transforming a once precarious situation into a fortified sanctuary, resilient against future adversities.
