Last updated: 2026-09-26 by Ted Sellers, Owner
When a Minnesota storm leaves a leak, every minute matters. A quick record can show what was visible before emergency tarping began.
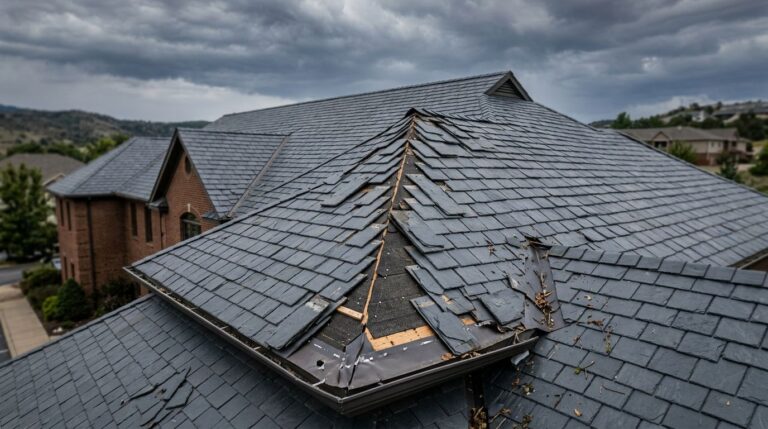
Before tarping, take wide and close-up photos from safe locations of the building, each roof slope, roof edges, gutters, and debris. Capture visible storm damage such as missing shingles, hail damage, wind damage, and indoor leaks. Save original files with the storm date. Photos document visible conditions, but don’t establish cause or coverage. Stay off unsafe roofs, and ask a roofer to photograph areas you can’t reach.
When This Applies
A storm has damaged the roof or water is entering
This approach applies after hail damage, high winds, falling branches, or other weather damage that may require temporary protection. It’s useful for a Minneapolis home with missing shingles and a Saint Paul warehouse with a torn membrane. Photos help the roofer assess the site during roof inspections and locate the opening. They also give the insurer a record of what was visible before work began.
Minnesota’s guidance on documenting damage before cleanup recommends pictures or video before conditions change. Take them as soon as it’s safe.
The roof is unsafe, or the leak has another cause
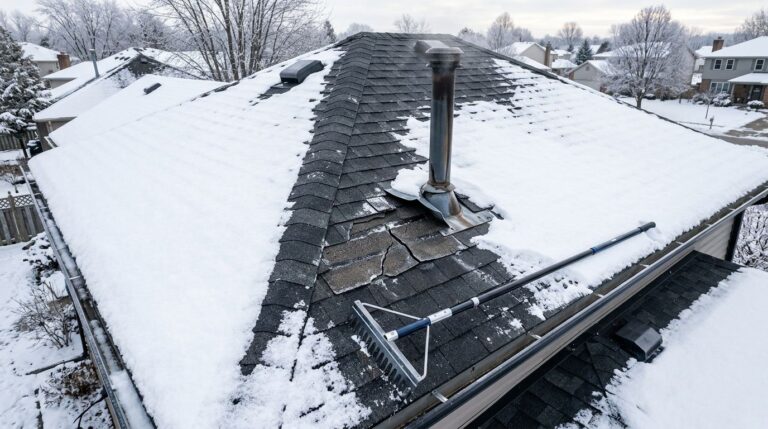
Don’t climb onto wet asphalt shingles, an icy slope, a damaged deck, or a slick commercial flat roof. Keep staff away from roof access after a storm. If water is near wiring or electrical equipment, leave the area and call for qualified help.
A tarp may also be unnecessary for an old stain with no active water entry. An inspection must establish whether the source is storm damage, a failed detail, or long-term wear. Photos document conditions; they don’t establish cause or insurance coverage.
Step-by-Step
1. Photograph the whole property
Start at ground level. Take a view of each building side and any roof slope you can see. Include the building’s location in your photo sequence, then record the storm date and the time you first noticed damage in a separate note.
Photograph fallen branches and roofing pieces before they’re moved, if leaving them in place is safe.
2. Capture the damaged area in context
Take a wide image that shows where the opening sits on the roof. Follow it with a closer image from a safe vantage point. Photograph missing shingles, exposed underlayment, displaced ridge caps, torn membrane, loose metal, or a damaged skylight.
Don’t scrape a shingle or pull at a seam to make damage more visible. Ask the tarping crew to photograph details that can’t be seen safely from below.
3. Check the roof perimeter
Photograph gutters, downspouts, drip edges, flashing, coping caps, and any debris at their base. Show which side of the building each mark belongs to. Dents and granules are useful observations, but neither proves that the roof covering was damaged.
4. Record water inside
Photograph ceiling stains, drips, wet insulation, damaged contents, and any containers catching water. Begin with a room-wide view, then capture the affected material. Note when the leak appeared. Don’t enter an attic with sagging decking, unsafe access, or electrical hazards.
5. Arrange temporary protection
Once the safe photos are taken, call a qualified roof contractor. If water is entering rapidly, don’t delay tarping to complete every image. Ask the crew for roof photos before and after its work, and save the tarp invoice. For an active leak, Call 651-703-2336 for 24/7 Emergency Roofing.
Which Roof Damage Photos Matter Most Outside?
Show every visible roof slope
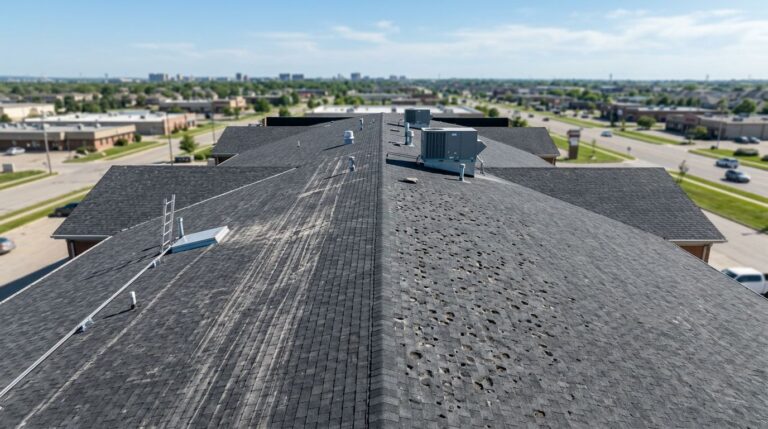
A single close-up of a damaged shingle rarely tells someone where it came from. Photograph the front slope, rear, and sides you can see. Then capture visible missing tabs, lifted edges, cracked shingles, exposed underlayment, and damage around vents or chimneys.
On a steep roof, wind can break shingles free or displace them near an edge. Older, brittle shingles may also slip or break for reasons unrelated to the latest storm. A safe, no-walk hail inspection is a better next step for assessing hail damage than trying to settle that question from a ladder.
Include the surrounding metal and debris
On most inspections, the roof covering is only part of the picture. Photograph bent flashing, loose gutter hangers, marked vent caps, and dents on down spouts. These marks can document storm activity, but don’t prove shingle damage. Check near splash blocks for shingle granules washed out after the storm.
Pair these details with a wider photo showing their location. If a branch struck the roof, document the branch and the nearby damage before cleanup. Don’t move heavy debris to get a better picture.
What Does Hail Damage Look Like on Asphalt Shingles?
Photograph patterns, not an isolated spot
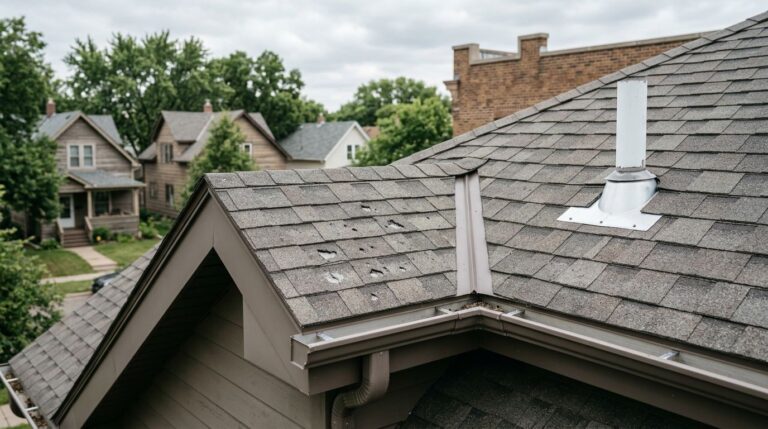
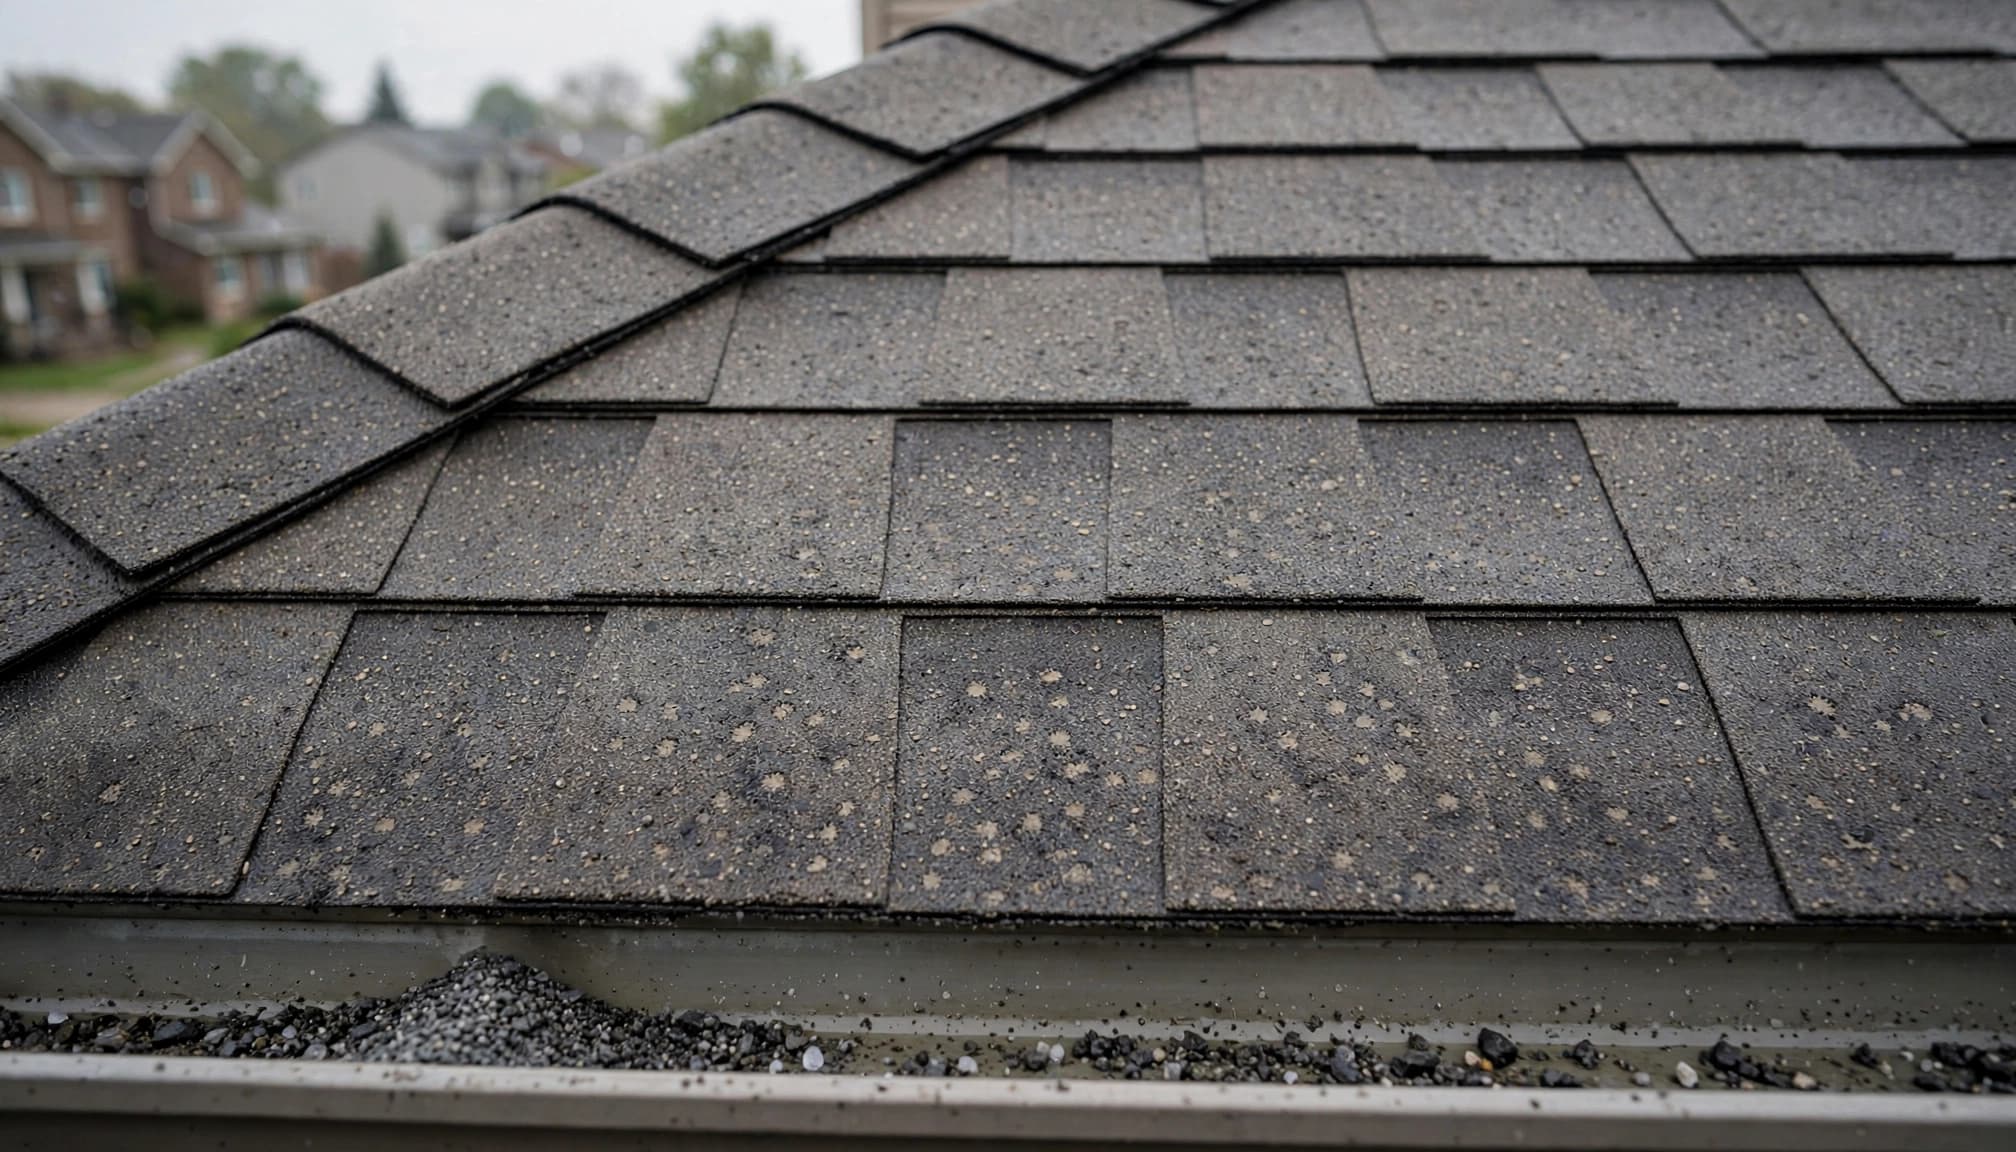
Hail can leave circular damage patterns of displaced granules, bruising, or cracks. Some impacts expose the reinforcing mat beneath asphalt shingles. Exposure can leave a shingle more vulnerable to weather, but a photo alone can’t establish when a mark formed or what caused it.
Photograph several suspect areas and an unaffected area on the same slope, where visible, to compare possible hail damage. Hail may strike one exposure harder than another. The National Weather Service notes that quarter-size hail can damage roofs; hail size alone can’t diagnose an individual roof.
Record signs that could have another explanation
Granule loss in a gutter can come from storm impacts or ordinary aging. Blisters, foot-traffic scuffs, and older repairs can resemble hail marks in a photograph. Circular dents in metal show where impacts occurred, but they don’t prove the shingles underneath lost function.
Keep original roof damage photos rather than editing contrast or drawing over the marks. A roofer can compare the images with the shingle’s condition during an inspection.
What Should You Photograph Indoors and in the Attic?
Trace water through finished rooms
Start with the highest affected floor. Photograph ceiling stains, wet drywall, bubbling paint, damp window trim, and water on floors before drywall repair changes the evidence. For a commercial property, include ceiling tiles, affected stock, and equipment, without entering an unsafe area.
A ceiling stain may be some distance from the roof opening. During a roof leak, water can travel along framing or above a ceiling before appearing indoors. Photograph each affected location instead of assuming one stain identifies the leak source.
Check the attic only if access is safe
If an attic inspection is safe, photograph damp roof decking, wet insulation, drips near penetrations, and visible staining on rafters from a safe access point. Don’t step between framing members or push past loose material. If you see suspected mold, document it without disturbing it.
Note whether the insulation feels wet only if you can check without exposing yourself to hazards. A professional can inspect areas hidden behind insulation or above an unsafe hatch.
What Changes for a Commercial Flat Roof?
Photograph the roof system and its edges
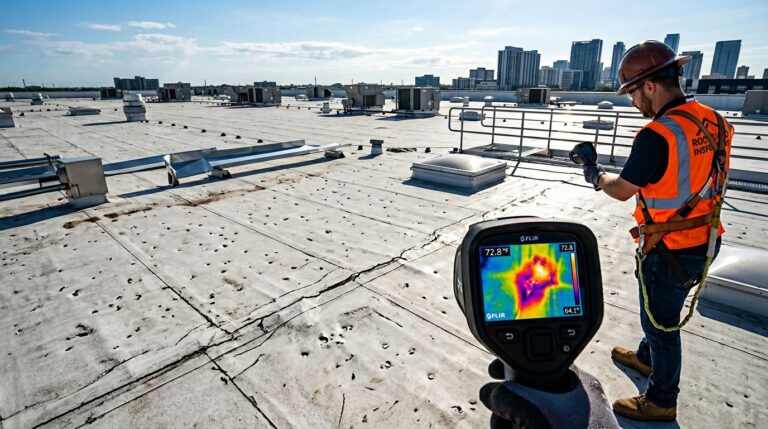
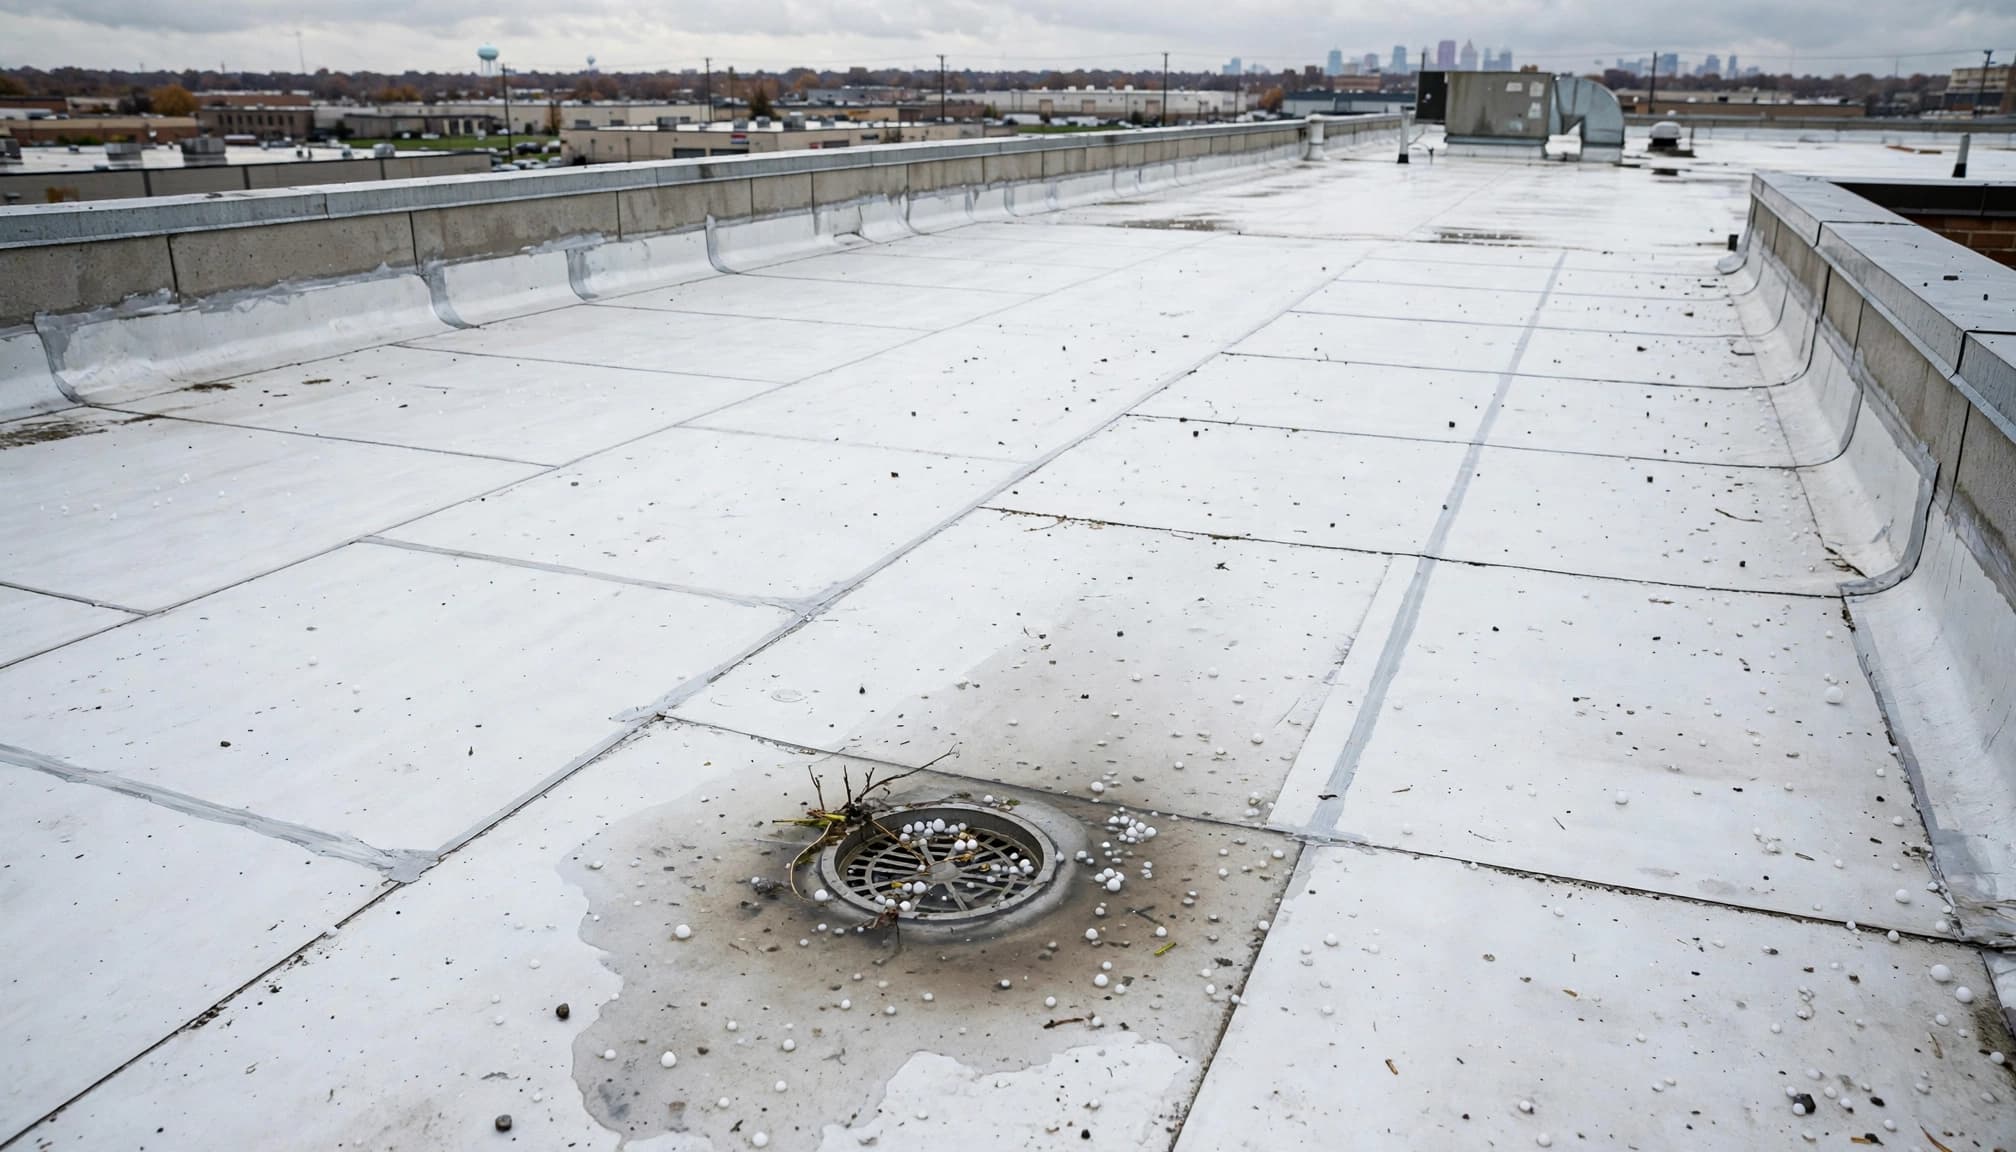
TPO roofing, EPDM, modified bitumen, and built-up roofing (BUR) have different surfaces. A commercial roof inspection should record the actual system, not assume every dark mark is a puncture. Photograph visible tears, open seams, displaced flashing, rooftop-unit curbs, parapet walls, and loose perimeter metal.
Standing-seam metal roofing calls for views of panels, seams, and displaced trim. On any system, take roof damage photos before a crew applies temporary sealant or commercial roof coatings over suspect areas.
Don’t mistake the ceiling stain for the opening
Photograph drains, scuppers, ponded areas, and the interior leak, but don’t draw a line between them without an inspection. Water can travel beneath a membrane. Commercial roof leak detection can help locate moisture that surface photos miss.
Temporary protection doesn’t decide whether the building needs a commercial roof repair, restoration, or replacement. That decision depends on the damage and the condition of the roof assembly.
How Should You Keep the Photos for a Roof Insurance Claim?
Preserve a clear record of the storm
Keep the original roof damage photos with their available time information. In a separate note, record the storm date, the sides of the building affected, when water appeared, and when the tarp was installed. Add any prior roof photos or maintenance records, but don’t present an uncertain cause as a confirmed finding.
The NAIC’s homeowners claim guidance recommends photos, video, and a list of damaged property. For a business, include affected inventory, equipment, and other property damage in that list.
Keep temporary work separate from permanent repairs
Notify your insurance company promptly and open an insurance claim. Describe what you observed, when you observed it, and what was done to limit further water entry. Save labor tickets, material receipts, invoices, and the roofer’s written findings. The NAIC also advises owners to document losses before removing debris.
Don’t discard a damaged shingle, bent metal piece, or removed membrane section before it’s photographed. Keep it when practical. A storm damage inspection can establish a repair scope after the building is protected. Whether inspection findings support residential roof repair or roof replacement depends on the damage; a tarp alone doesn’t mean full replacement is needed.
Key Takeaways
Before the tarp
Get wide exterior views, closer damage photos, perimeter details, and interior water evidence. Use safe viewpoints. If access is unsafe, let the roofer document the roof.
After the tarp
Photograph the installed protection, retain the original files, and save every emergency invoice. Report the loss promptly, then arrange an inspection before permanent work changes the damaged area.
FAQ
How many hail hits does an adjuster need per roof slope?
There’s no universal hit count that determines a claim. An adjuster evaluates the observed damage under the insurer’s inspection process and the policy terms. A photo of ten marks doesn’t establish that ten shingles are functionally damaged. Ask for a written explanation of any finding you don’t understand.
What if I couldn’t photograph the roof before it was covered?
Keep the ground-level and interior photos you have. Ask the tarping contractor for its roof inspection photos and written description of the opening. If none exist, don’t remove a functioning tarp for photographs. Tell the insurer which views were unavailable and why.
Should I take the tarp off before the adjuster arrives?
Leave a functioning tarp in place. Tell the adjuster what’s covered and share the roofer’s photos and invoice. If the covered area needs inspection, coordinate access with the adjuster and a qualified roofer so the building remains protected.
How much does emergency tarping cost, and might insurance cover it?
Costs vary based on the damage, roof access, and materials needed. Coverage depends on the cause of loss, policy terms, deductible, and whether the temporary work was reasonable. A tarp needed after sudden storm damage may be treated differently from work on a long-neglected leak. Keep receipts and ask the insurer what documentation it requires.
How soon should I notify my insurance company?
Notify your insurer as soon as you can after discovering the damage, but there isn’t one deadline for every policy or situation. Check your policy and ask the insurer about its reporting requirements. Keep notes and photos showing when you discovered the damage and what happened afterward.
Conclusion
Preserve the original condition
The strongest pre-tarp record shows where damage was visible and what happened inside the building. Wide views, close-ups, and dated originals work together.
Protect the building
Take the photos you can safely get, then let a qualified crew stop the water. No roof damage photo is worth a fall, and no insurance file improves when an active leak is left open for a better angle.
Need a roof inspection in Saint Paul or the Twin Cities? Call Sellers Roofing Company at +1-651-703-2336 or schedule a free estimate. We are a black-owned, NMSDC-certified MBE roofing contractor with 9+ years experience.