Last updated: 2026-10-21 by Ted Sellers, Owner
Yes. Freeze-thaw cycles can widen gaps where the dormer roof meets the wall if meltwater enters weak flashing joints. Ice dams can also hold water against the roof-to-wall connection and push it beneath the roof covering or membrane flashing. A lasting repair must restore that connection, replace damaged materials, and address uneven snowmelt where heat loss contributes.
What Actually Causes Dormer Sidewall Leaks in Harsh Winter Climates?
When This Applies
This applies to homes, duplexes, and commercial buildings with dormer cheeks, the vertical sidewalls beside a projecting dormer. Finished attic rooms and older additions deserve attention because framing around a dormer window can conceal thermal breaks.
Leaks during snowmelt point toward backed-up drainage or vulnerable flashing. Leaks during snow-free, wind-driven rain suggest flashing, siding, or window defects.
Interior condensation can produce similar staining. Frost across attic decking or moisture on indoor glass doesn’t establish roof leakage by itself.
How does freezing open a water path?
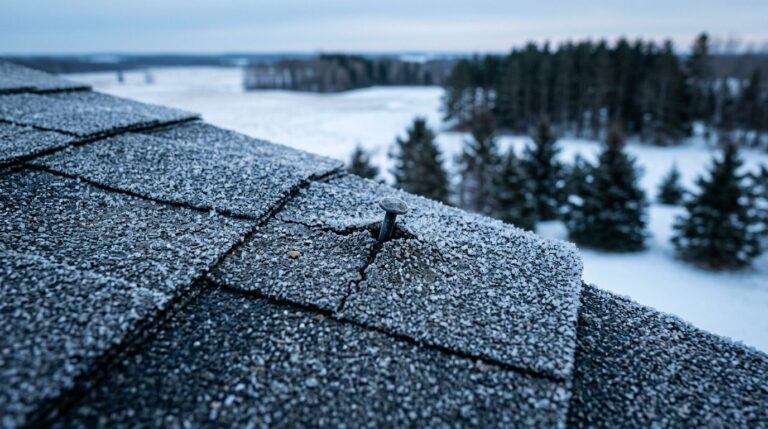
Water expands as it freezes. Inside an existing gap, that expansion can stress sealant, flashing laps, and deteriorated wood, allowing moisture infiltration into concealed materials. Temperature changes also move metal flashing and roof coverings at different rates.
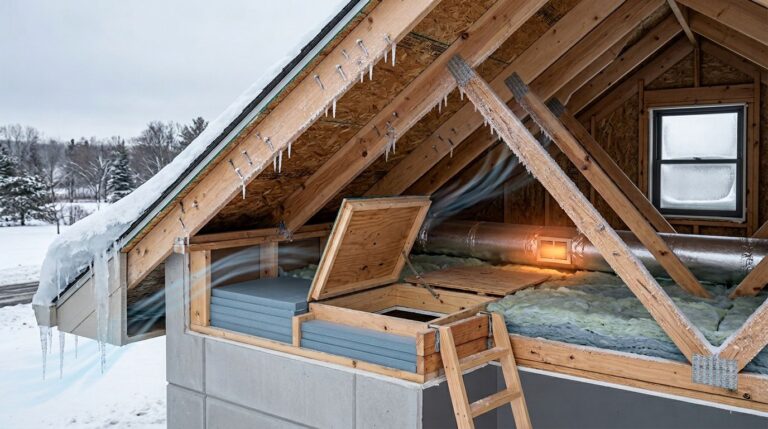
Heat escaping through knee walls, ceiling openings, and poorly insulated framing can melt snow over warm decking. Runoff refreezes at colder valleys and roof edges. The Department of Energy explains this process in its cold-climate eave guidance.
A clear main gutter doesn’t rule out an ice dam higher beside the dormer.
Is the leak coming through the roof or cladding?
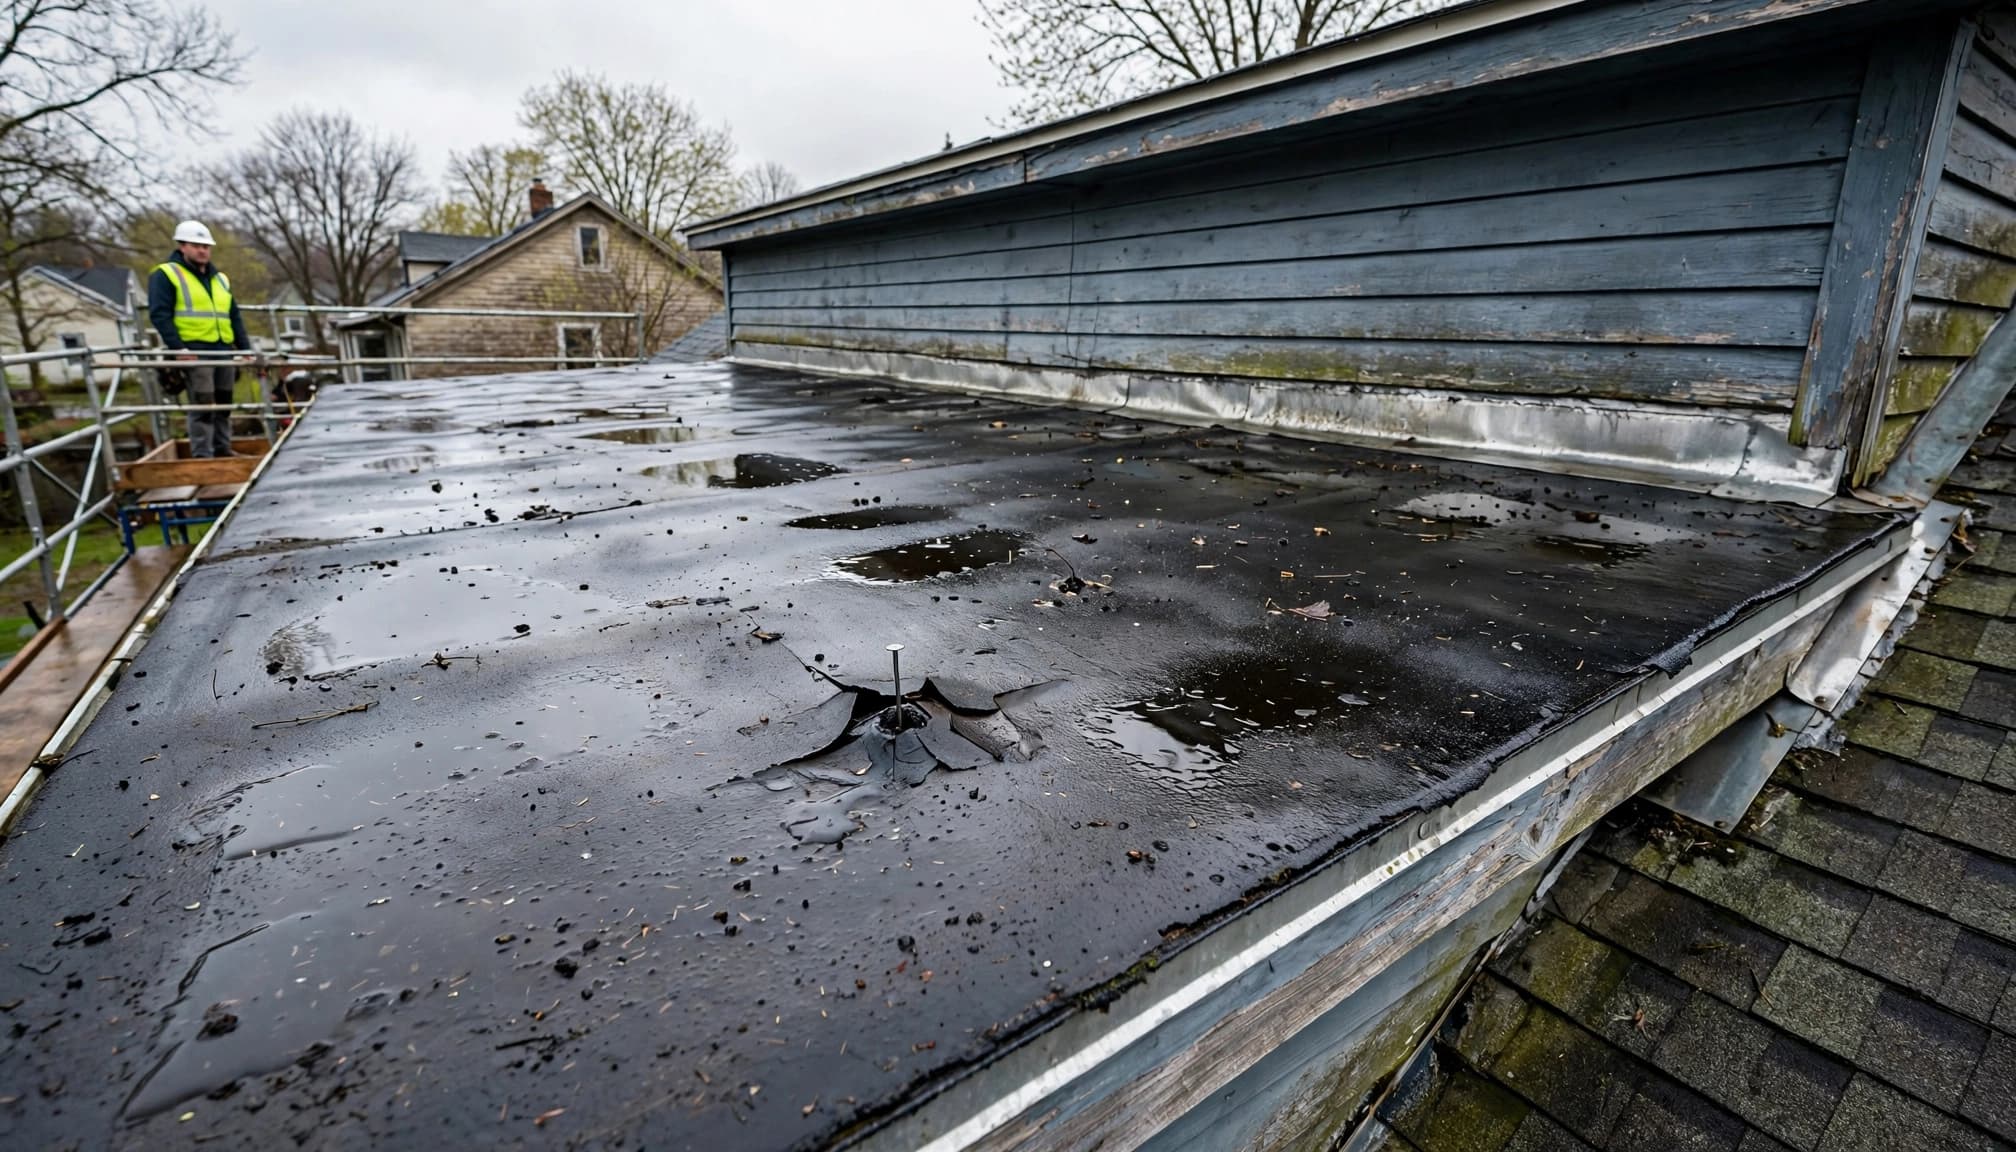
Dormers commonly have flat or double-pitched roofs. Pitched roofs shed water through gravity. Flat roofs also need drainage, but rely on watertight membranes and a designed fall.
A ceiling-corner stain suggests the sidewall connection. Wet framing higher behind siding suggests cladding or window entry. Neither location proves the source because water travels.
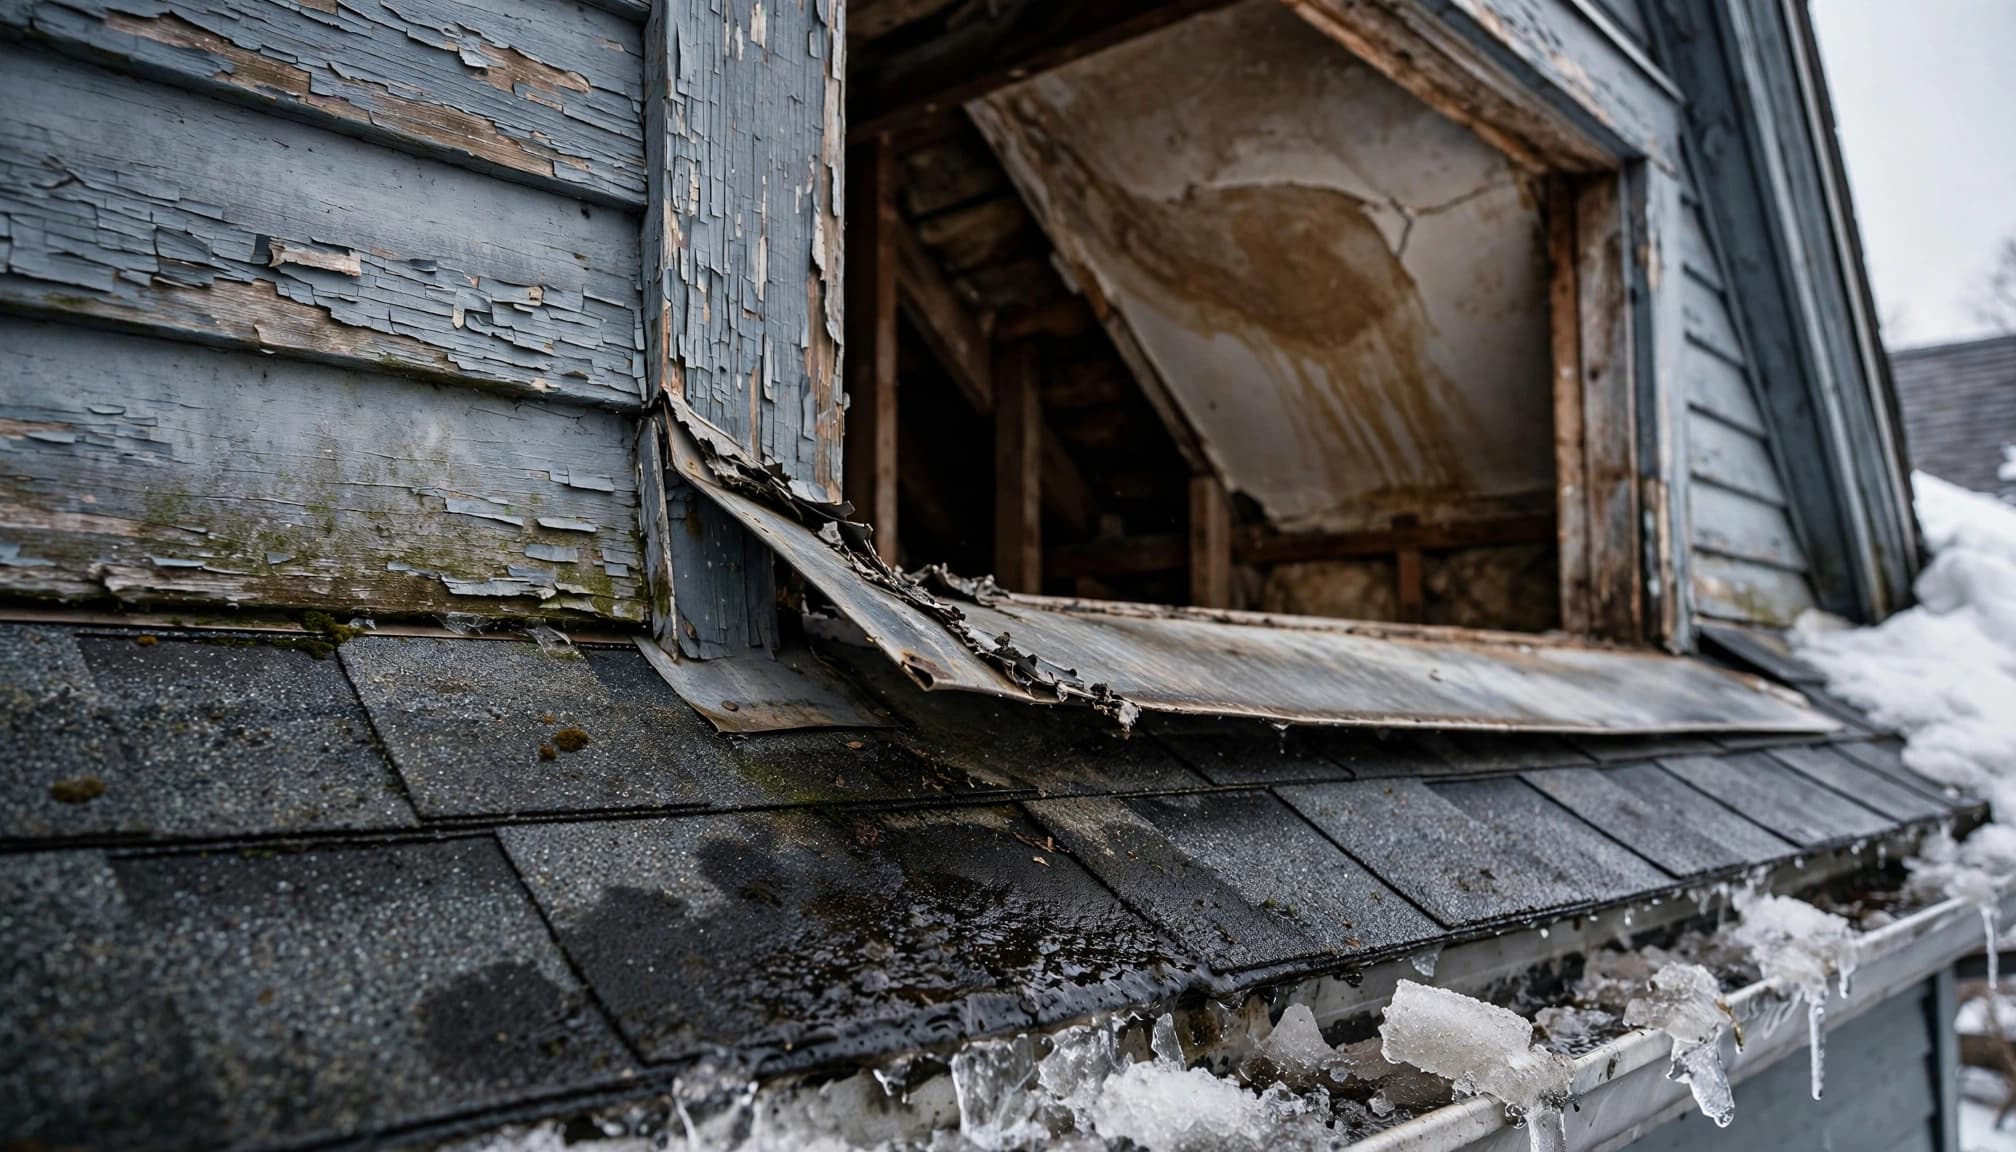
Roof runoff can repeatedly wet shiplap boarding, fascia, and concealed timber. The face may look sound while the back rots.
How to Inspect and Document the Damage (Field Checklist)
Which seven warning signs need attention?
- Water stains on ceilings or dormer wall corners show where moisture reached the interior.
- Damp or musty odours suggest materials remain wet between events.
- Mould growth indicates a continuing moisture problem.
- Damaged or missing roof covering exposes vulnerable roofing layers.
- A sagging roof surface can indicate deteriorated decking or structural movement.
- Visible rot at fascia, cladding, or framing shows prolonged wetting.
- Peeling or bubbling paint can reveal moisture behind the finish.
Sagging ceilings, electrical exposure, and active structural movement require immediate professional attention. Don’t stand beneath a bulging ceiling.
Step-by-Step: Trace the leak safely
- Record the room, date of the roof leak, weather, and drip location. Photograph the stain and any visible dormer roof damage before moving contents or opening finishes.
- Inspect accessible attic areas without disturbing wiring or stepping between framing. Trace staining toward the highest wet point.
- Leave roof access to the roofing contractor. The inspection should cover granule-loss patterns, flashing separation, deck deflection, valley condition, pipe-boot cracking, gutters, and cladding clearance.
- Have moisture mapped before authorizing repairs. Electronic damp meters help locate wet areas in flat dormer assemblies, but metal and material differences can distort readings.
Our dormer leak-tracing guide explains how flashing, valleys, and uphill roof defects produce similar interior symptoms.
Scaffolding provides a stable working platform for high-level dormer work. Its setup can cost more than a small repair, but unsafe access doesn’t become acceptable because the patch is small.
Repair vs. Replace: The Decision Framework
When does a targeted repair make sense?
Residential roof repair fits an isolated flashing defect when surrounding materials remain serviceable. The repair must restore drainage and flashing continuity, including concealed connections behind siding.
Use these regional planning ranges to compare scope, not just the first invoice.
| Factor | Targeted repair | Full replacement |
|---|---|---|
| Cost range | Roughly $450 to $2,000+ for localized work | Roughly $8,000 to $20,000+ for a whole architectural-shingle roof |
| Remaining service life | Preserves a sound existing roof | Renews the covering, with life dependent on the assembly |
| Insurance implications | May address accepted localized damage | Requires support for the broader covered scope |
| Material compatibility | Patch must match the existing system | Allows a coordinated new assembly |
| Hidden moisture | Requires opening affected areas | Provides broader access to decking and concealed layers |
Whole-roof prices don’t establish the cost of replacing a small, elevated dormer membrane.
When does replacement become the better scope?
Replacement deserves consideration when leaks recur across multiple joints, the deck is soft, cavity fill stays wet, or the covering has widespread deterioration.
Asphalt shingles installed over original wood shingles can conceal unsuitable decking and complicate flashing repairs. An aging layered roof may need residential roof replacement sooner than the visible shingles suggest.
Repeated patching loses value when every repair depends on surrounding material that is already failing.
Roof patch and fibred coating can temporarily seal small defects on compatible flat-roof coverings. They don’t rebuild rotten decking or failed wall flashing.
Material Specs That Matter for This Repair or Replacement
Which covering belongs on the dormer?
For a pitched dormer roof, GAF Timberline HDZ, CertainTeed Landmark, and Malarkey Legacy are asphalt-shingle options. Malarkey Legacy carries a Class 4 impact rating. That rating describes laboratory testing, not a guarantee against hail damage.
A low-slope dormer, including one with a flat roof, needs a compatible membrane assembly. A modified bitumen base sheet with a self-adhering cap sheet can provide a durable replacement when the substrate and details meet system requirements.
TPO roofing commonly uses a 60-mil membrane. EPDM is available in 45-mil and 60-mil thicknesses; thicker material doesn’t correct poor seams or terminations. BUR requires asphalt-compatible repair materials.
Commercial roof coatings cannot substitute for failed seams or removal of saturated roof layers. Commercial roof restoration requires a suitable, dry substrate.
What slope, underlayment, and flashing details matter?
A flat dormer doesn’t generally require a 12-degree fall. A common membrane design slope is 1/4 inch per foot, about 1.2 degrees, as explained in this flat-roof drainage guide. Tapered boards can create the fall.
Synthetic underlayment and felt aren’t substitutes for self-adhered ice-and-water protection. At required eave locations, the ice barrier extends at least 24 inches inside the exterior wall line. Valley protection follows the roof-system detail, not a blanket 24-inch eave measurement.
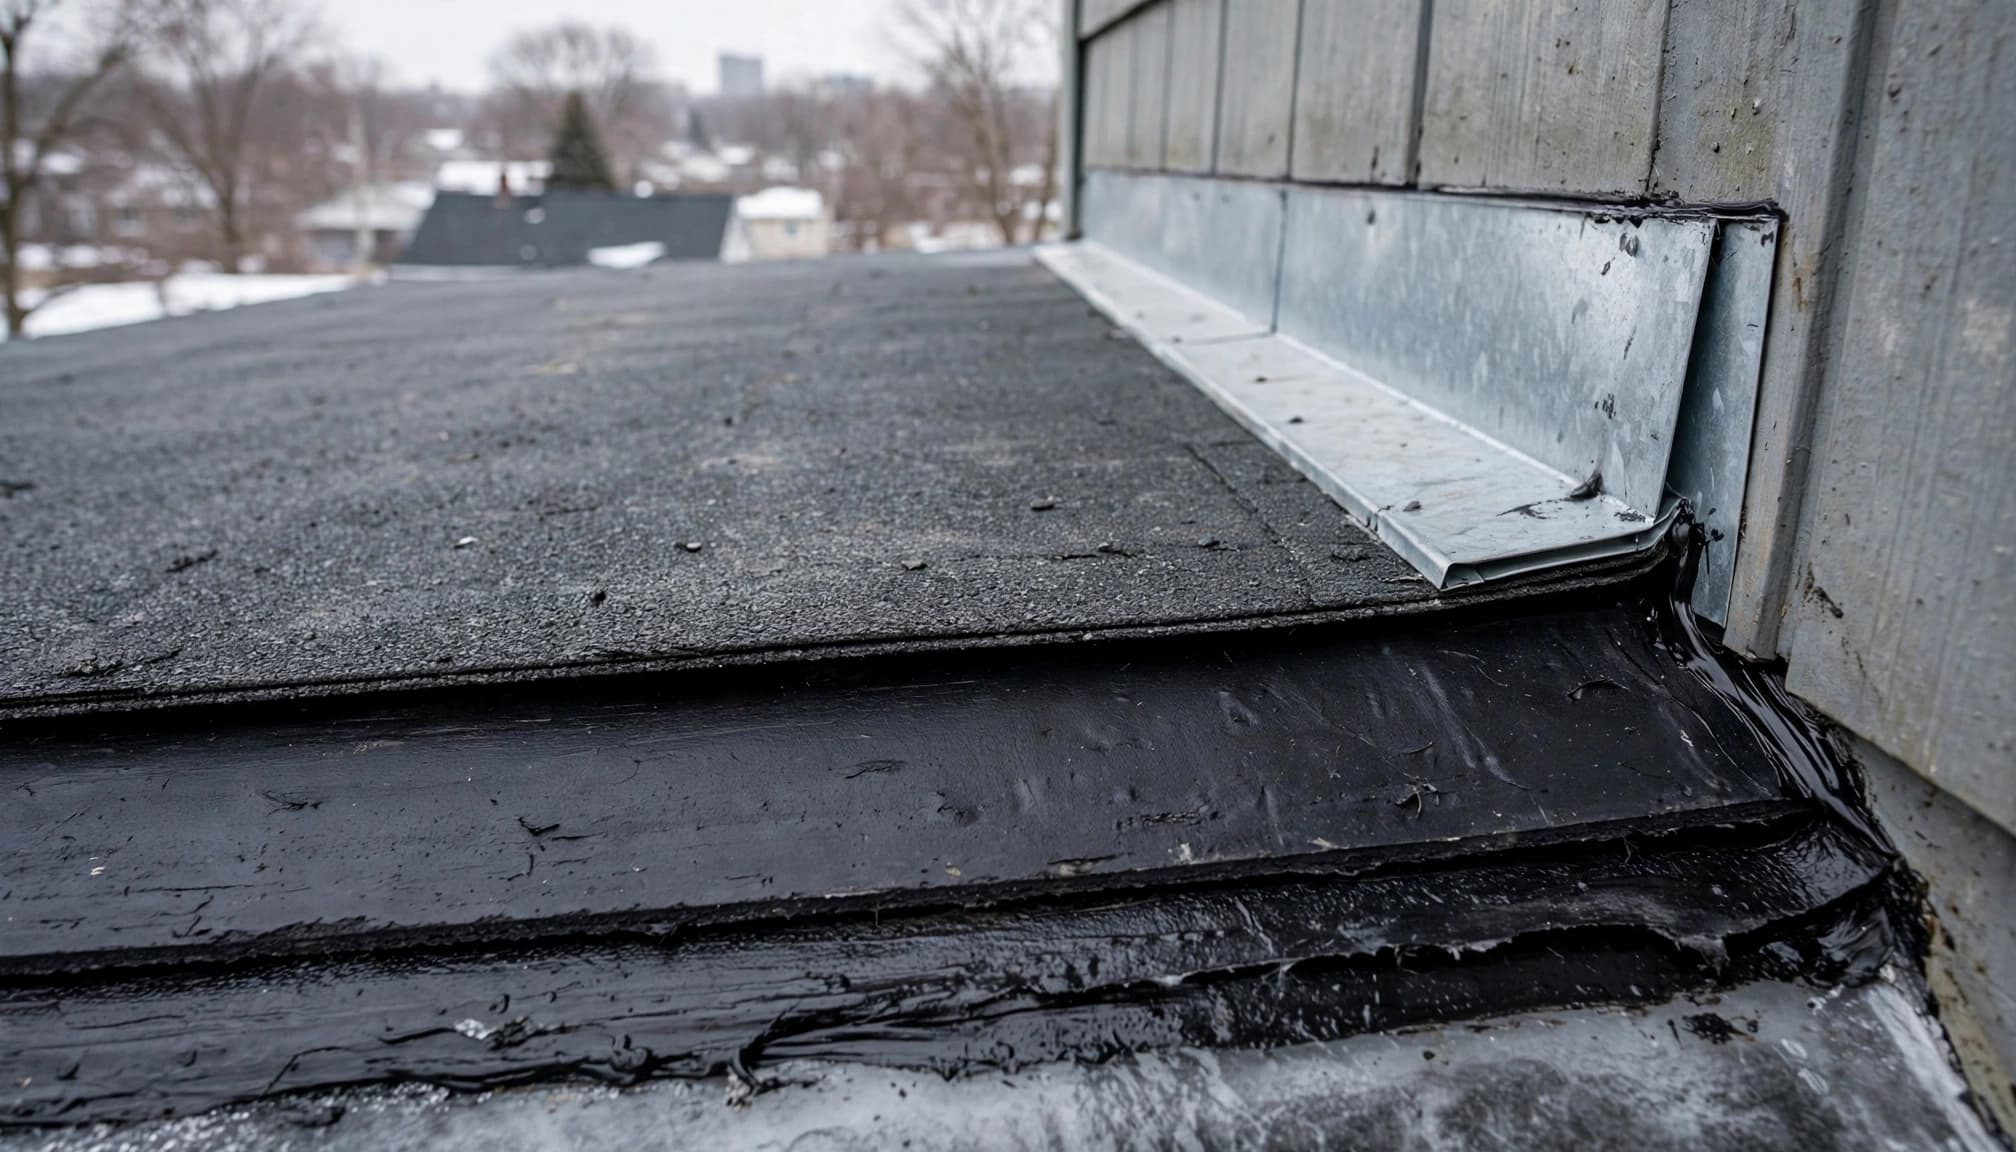
Step flashing must interleave with shingle courses and connect to the wall’s drainage plane.
On flat coverings, backed-out fasteners require correction of the fastening defect and compatible patches. Simply hammering nails down or driving replacements beside open holes leaves another leak path.
Insurance Documentation and the Claim Process
What does the adjuster need to see?
A roof insurance claim needs evidence connecting damage to a covered event. Freeze-thaw weather alone doesn’t establish coverage. Wear, installation defects, repeated seepage, and sudden storm damage receive different treatment under policy language.
Photograph the overall slope, then individual defects with a scale and location reference. Record hail-impact patterns, wind-lifted tabs, disturbed flashing, and interior water intrusion. Don’t lift shingles or mark suspected strikes yourself.
An adjuster evaluates cause, coverage, and scope. A contractor documents physical conditions, repairability, materials, and concealed damage discovered during opening.
What records should survive emergency work?
Keep dated photographs, weather notes, moisture readings, and mitigation invoices to document the extent of interior water damage. Separate emergency protection, permanent roofing work, thermal-layer replacement, and interior restoration.
For commercial properties, identify affected tenant spaces, equipment, and inventory. A commercial roof inspection should map wet areas rather than assume the interior drip sits beneath the opening.
Document temporary repairs before they cover evidence. Protect the building promptly, but don’t describe old deterioration as new storm damage.
If water reaches electrical equipment or an occupied ceiling begins sagging, keep people clear. Call 651-703-2336 for 24/7 Emergency Roofing once the immediate area is safe.
What a Professional Roof Contractor Does Differently
What gets opened and rebuilt?
A permanent sidewall repair often requires removing the roof covering and enough siding to expose concealed flashing. Surface caulk can’t establish whether the wall drainage layer connects correctly.
The contractor inspects the stripped deck, cuts deteriorated sheathing back to sound material, and provides supported panel edges. Damaged framing needs evaluation before new roofing covers it.
Pipe boots receive inspection during the same work. Cracked boots need a compatible repair or replacement, rather than another bead of sealant.
The NRCA architectural flashing manual addresses flashing as part of the broader roof and wall assembly.
How are heat loss and drainage addressed?
The inspection should identify open knee-wall cavities, compressed thermal fill, blocked ventilation channels, and bathroom exhaust discharged into attic spaces.
Ventilation needs a net free area, or NFA, calculation. Under a qualifying 1:300 design, a 1,000-square-foot attic needs 480 square inches of total vent opening. Some assemblies require 1:150. Intake and exhaust distribution matter.
Neither extra ventilation nor ice dam removal repairs defective flashing. Our roof-to-wall flashing diagnosis separates those entry defects from weather symptoms.
For older properties, the contractor should check available builder records and understand original decking, historic cladding, and conservation restrictions. Listed Buildings outside the United States may also require consent for material changes.
Cost Ranges for Dormer Sidewall Leaks in Minnesota
What do the available price ranges cover?
Twin Cities roofing prices vary with access and concealed damage. Published regional repair benchmarks place small shingle repairs around $450 minimum and small flashing repairs around $750 minimum. Valley repairs can run about $750 to $2,000 or more.
Architectural-shingle replacement commonly falls around $450 to $700 per roofing square installed. One square equals 100 square feet. That rate describes larger replacement projects, not a minimum-price dormer job.
These figures are planning benchmarks, not fixed Sellers Roofing Company prices. There isn’t a dependable single price for a dormer until the entry point, access, and substrate condition are established.
What makes one dormer cost more?
Scaffolding, steep approaches, siding removal, multiple roof layers, disposal, and rotted sheathing increase the scope. Tapered insulation and rebuilt membrane terminations add work on flat dormers.
Permits and inspections also belong in the scope. Minnesota municipalities publish roofing permit and installation requirements, and local administration affects project scheduling.
Commercial roof repair should be priced separately from a broader commercial roof replacement. A small dormer defect doesn’t establish that the adjoining commercial flat roof needs replacement.
For a Saint Paul or Minneapolis home, Get a Free Residential Roof Estimate to establish a written scope separating access, roofing, concealed damage, and attic corrections.
Frequently Asked Questions
Can water keep dripping after the ice dam is gone?
Yes. Wet insulation and framing can release stored water after drainage resumes. Continued dripping can also indicate another opening. Moisture measurements help distinguish retained water from continuing entry before ceilings are closed.
Can I use roof patch myself during freezing weather?
Only compatible products applied within their stated temperature and surface requirements can bond properly. Frost, standing water, and unsafe access make DIY patching unreliable. High dormers belong in a professional access plan.
How do I check for ponding without climbing onto the dormer?
Observe from a safe window or the ground after rain. A contractor can assess areas hidden by parapets or roof geometry. Persistent puddles, debris rings, and low spots deserve investigation even when no ceiling stain appears.
Does metal roofing prevent ice dams around dormers?
No. Metal roofing can still develop ice dams when warm decking melts snow above colder edges. Sliding snow creates another hazard near entrances. Snow retention must suit the roof system and its attachment design.
Will new gutters stop the same dormer leak next winter?
Only if drainage restriction caused the backup and the remaining assembly is sound. New gutters won’t close flashing gaps or correct attic heat leakage. A frozen valley can also block runoff above an otherwise clear gutter.
Key Takeaways: Close the Water Path Before Closing the Repair
Separate emergency protection from permanent work
Stopping active water entry protects the room below, but the permanent scope still needs an identified source. A patch over the visible drip area can miss a failed sidewall connection several feet uphill.
Keep access, drying, roofing, and attic corrections separate in the written scope. That makes the work easier to assess without treating every winter leak as a reason to replace the whole roof.
Base the decision on exposed conditions
The strongest repair decision comes from the condition of the flashing, deck, insulation, and surrounding covering. Sound materials around one failed connection support targeted work; widespread deterioration supports a larger replacement scope.
For dormer sidewall leaks, the lasting result depends on continuous drainage and flashing, with damaged materials removed before the assembly is closed. Where uneven snowmelt contributes, correcting the heat source belongs alongside the roofing repair.
Need a roof inspection in Saint Paul or the Twin Cities? Call Sellers Roofing Company at +1-651-703-2336 or schedule a free estimate. We are a black-owned, NMSDC-certified MBE roofing contractor with 9+ years experience.