Last updated: 2026-10-22 by Ted Sellers, Owner
A recurring roof leak usually means the original repair missed the entry point, concealed damage remained, or another opening feeds the same water path. Check flashing, roof-to-wall transitions, windows, masonry, and winter-related wetting conditions before authorizing another patch or repeating the same repair.
Trace the water upstream, then confirm the source with controlled testing before choosing the repair.
What Actually Causes a Recurring Roof Leak on Shingle Roofs in Harsh Winter Climates?
Water follows framing before it reaches your ceiling
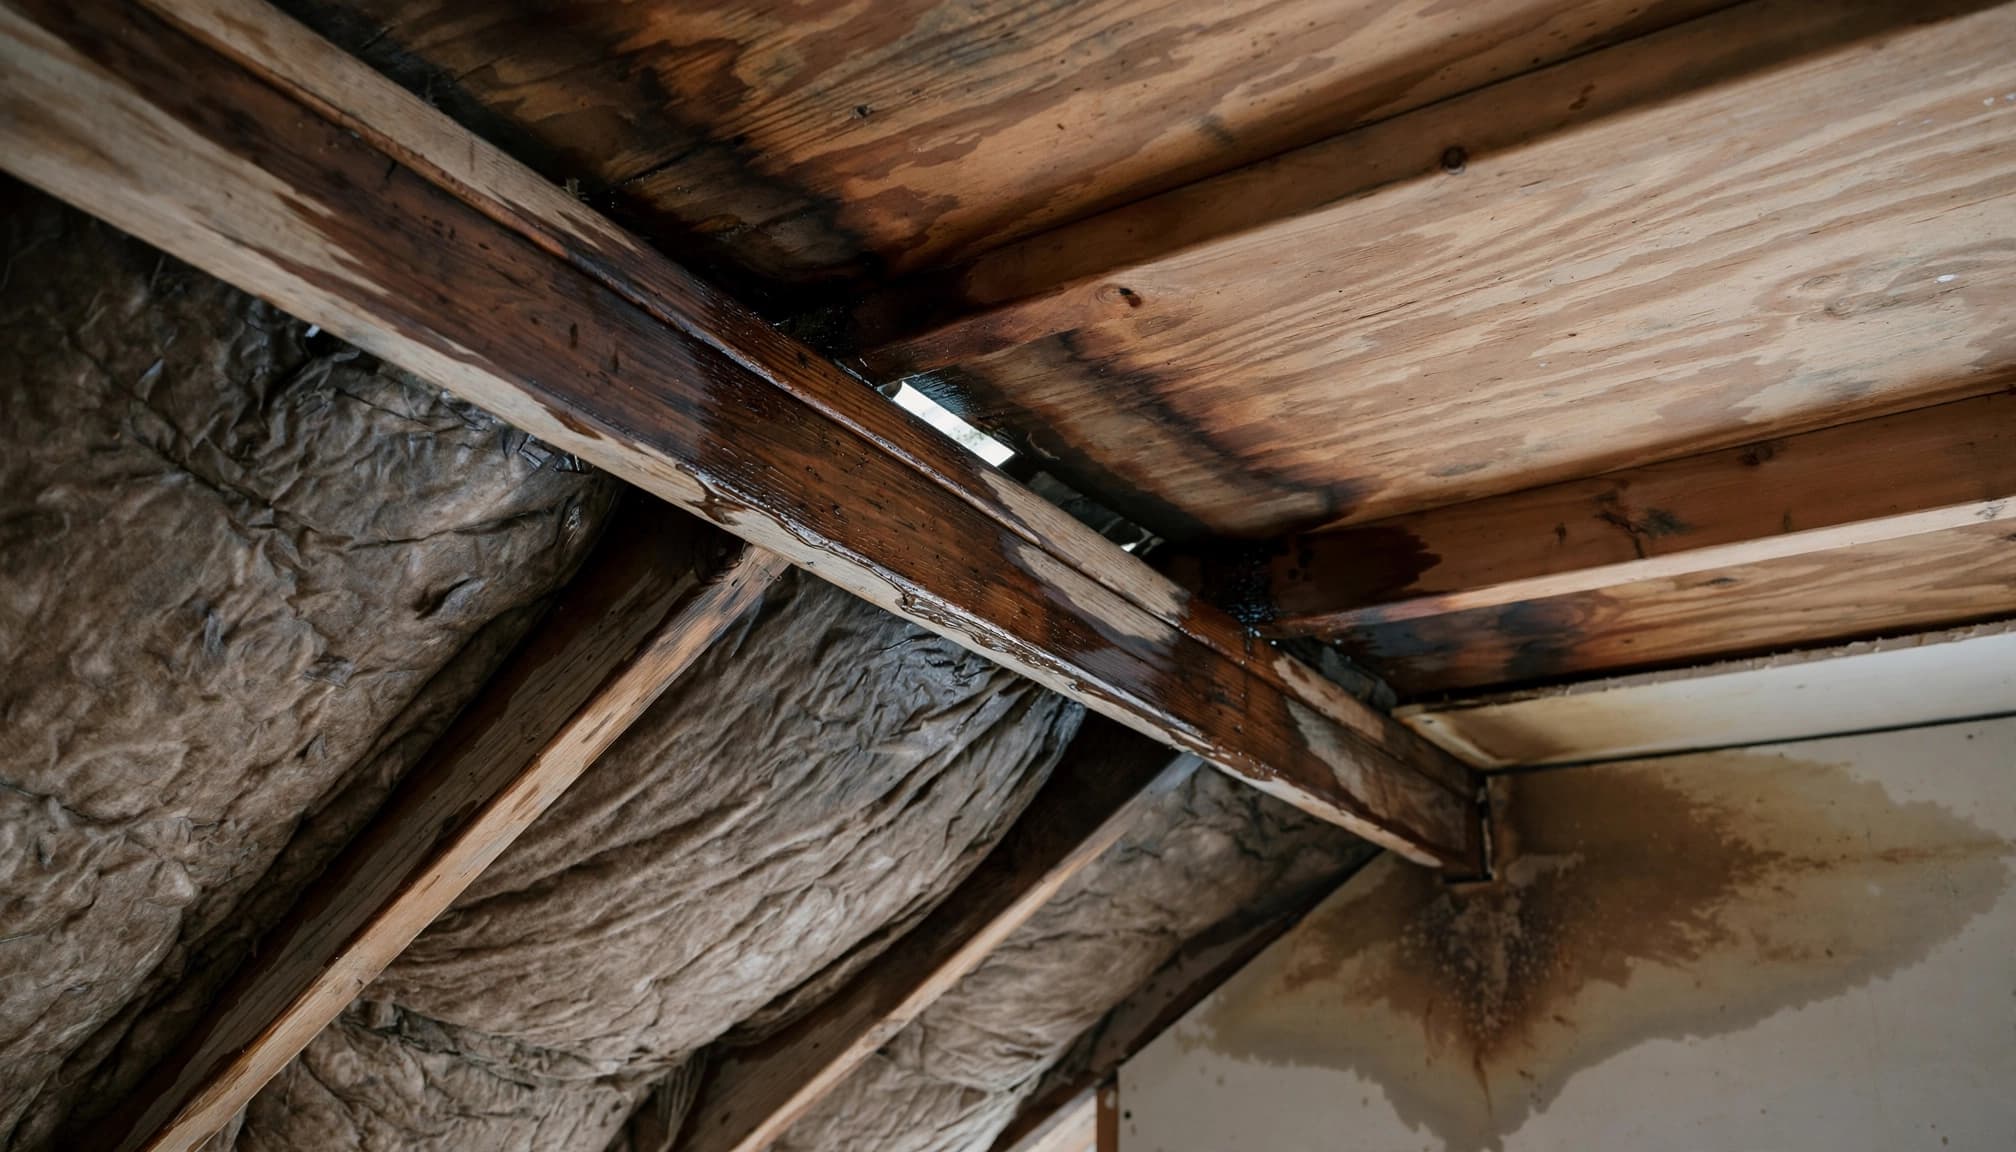
Water can travel several metres along rafters, timber, or roof underlay before reaching a ceiling. The stain identifies where water escaped into the room, not necessarily where it entered the building.
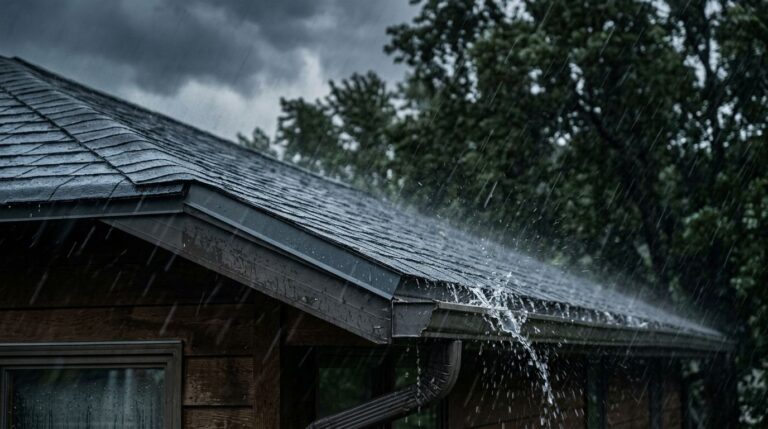
A surface patch can stop one opening while leaving failed step flashing, exposed fasteners, or damaged underlayment above it. Wind-driven rain can push beneath shingle laps and past flashing that stays dry during light rain.
Seasonal expansion and contraction can also reopen cracked sealant. Repeating the same sealant repair won’t correct a poorly assembled flashing joint.
Winter adds backup and condensation
In Saint Paul, heat escaping through the ceiling can melt roof snow. Meltwater refreezes at colder eaves, forms an ice dam, and backs beneath asphalt shingles.
Ice dam removal can relieve immediate backup. It doesn’t correct attic air leakage, inadequate insulation, or blocked ventilation. Metal roofing can also develop ice at edges, valleys, and penetrations.
Attic frost creates another possibility. Indoor moisture can freeze on sheathing and nail tips, then drip during a thaw. That requires an air-sealing and indoor-humidity assessment rather than another exterior patch.
When This Applies
Use this process after an unsuccessful repair
This process fits a leak that returns after residential roof repair, including one that reappears only during hard rain, wind, or snowmelt.
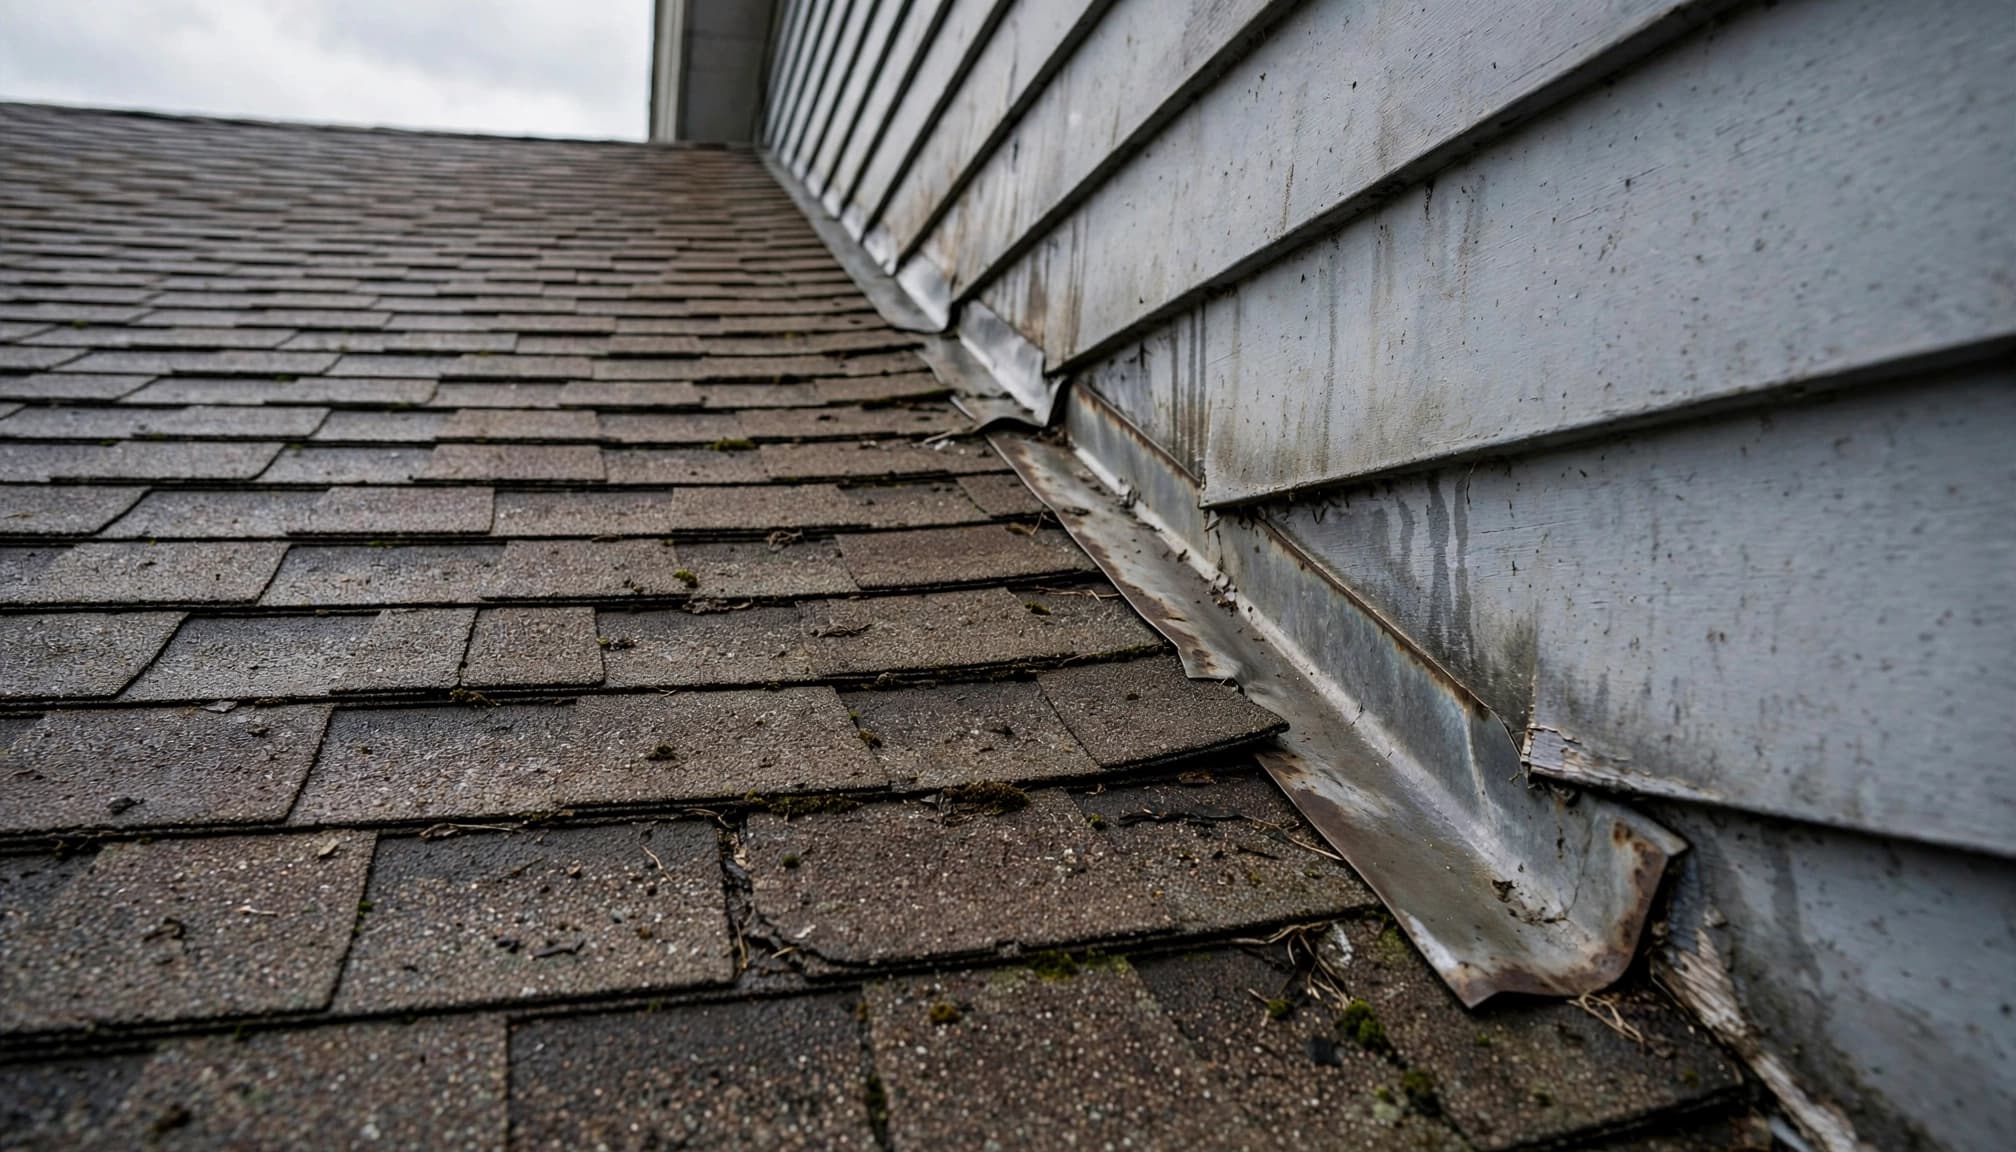
It also applies after residential roof replacement. New shingles don’t eliminate defective chimney masonry, window flashing, siding transitions, or reused step flashing. Water beneath a window can enter through crumbled mortar and deteriorated wood beneath the sill, especially during wind-driven rain.
Keep the prior invoice, repair photographs, inspection report, and warranty together. Those records establish what the earlier work actually covered.
Stop routine inspection when conditions are unsafe
Active water near electrical fixtures, sagging drywall, or visible deck movement requires professional response. Keep people clear of the affected area.
Move valuables, cover electronics, and place containers beneath manageable drips. Have a qualified crew install temporary waterproof protection when conditions permit. State Farm’s roof-leak guidance also recommends documenting damage with notes and photographs.
Don’t climb a wet or icy roof, enter an unstable attic, or load a damaged ceiling.
How to Inspect and Document the Damage (Field Checklist)
Start outside, then follow the drainage path
Stay on the ground with binoculars or phone zoom. A contractor can continue the close inspection after establishing safe access.
- Photograph each roof slope and the previous repair location, including missing, torn, cracked, curling, or wind-lifted shingles.
- Record granule-loss patterns and accumulation in gutters or downspouts. Heavy loss exposes more asphalt to weathering.
- Check gutters and downspouts for blockage, separation, or drooping sections that interrupt drainage.
- Follow valleys uphill for debris, damaged metal, displaced shingles, and deteriorated laps.
- Examine roof-to-wall intersections, chimneys, skylights, and vents for flashing separation or cracked sealant.
- Document pipe-boot cracking, damaged bases, and any sagging roof plane that suggests deck deflection.
Match the exterior findings to interior evidence
Inside, photograph ceiling stains, peeling paint or wallpaper, musty areas, and damp or compressed attic insulation. Record distances from exterior walls so the contractor can transfer the location outside.
Enter an attic only with safe access and a proper walkway. Never step on drywall or alter trusses.
Follow wet framing uphill. Our ceiling-stain source guide explains how interior locations relate to roof openings. Daylight through an unintended roof opening deserves attention, but designed ventilation openings aren’t defects.
Step-by-Step
Establish the conditions that produce the leak
- Record when water appears: steady rain, wind from one direction, snowmelt, or HVAC operation. Include the first recurrence date and the earlier repair date. Note whether the stain grows immediately or hours after precipitation stops.
- Give the contractor the prior scope and photographs. Identify whether the earlier work replaced flashing, shingles, underlayment, or only applied sealant. Keep temporary protection in place until testing can proceed without exposing occupants or contents.
Have the contractor isolate one water path at a time
- Position an observer inside at the suspected water path. Use reliable communication between the observer and the roof technician. Protect finishes and electrical equipment before water is introduced.
- Start at the lowest suspect roof section and work upward in isolated sections. Apply a gentle flow that represents rainfall. Don’t spray upward beneath shingles or flood several details together, because that can create misleading results.
- Test roof covering, flashing, wall transitions, and window areas separately. Allow time for water to travel before changing zones. A wind-related leak may need additional building-envelope investigation if ordinary water application doesn’t reproduce it.
- Stop when the first fresh moisture appears. Photograph the active path and tested location, then establish a repair scope. If dampness remains widespread and the source is unresolved, move to professional moisture mapping rather than continued soaking.
Repair vs. Replace: The Decision Framework
Match the scope to the documented condition
A returning leak doesn’t automatically require a new roof. The decision depends on whether damage is localized and whether surrounding materials can accept a durable repair.
Use these conditions to compare the options.
| Factor | Targeted repair | Full replacement |
|---|---|---|
| Cost exposure | Limited opening, flashing, and affected materials | Entire roof area, tear-off, disposal, and concealed repairs |
| Remaining service life | Surrounding covering remains serviceable | Widespread deterioration limits useful life |
| Concealed dampness | Wet materials are confined and removable | Moisture or deck damage affects broad areas |
| Material compatibility | Compatible materials can be integrated correctly | Brittle, obsolete, or incompatible materials prevent reliable integration |
| Insurance implications | Scope follows documented covered damage | Broader payment requires supporting damage and policy coverage |
The strongest repair candidate has one proven entry point and sound surrounding materials.
Separate restoration from replacement
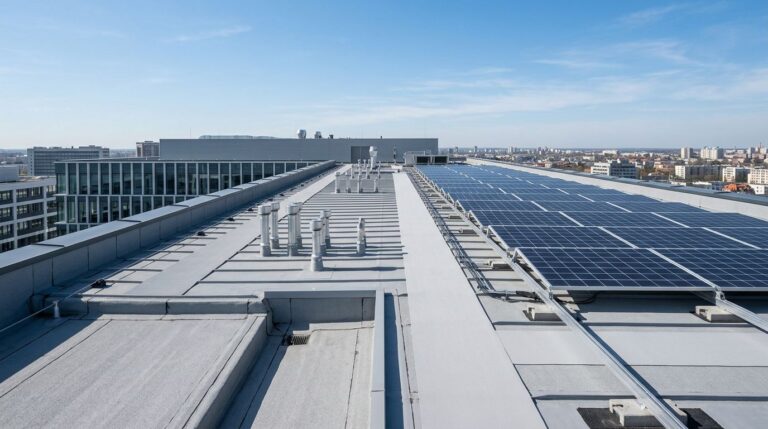
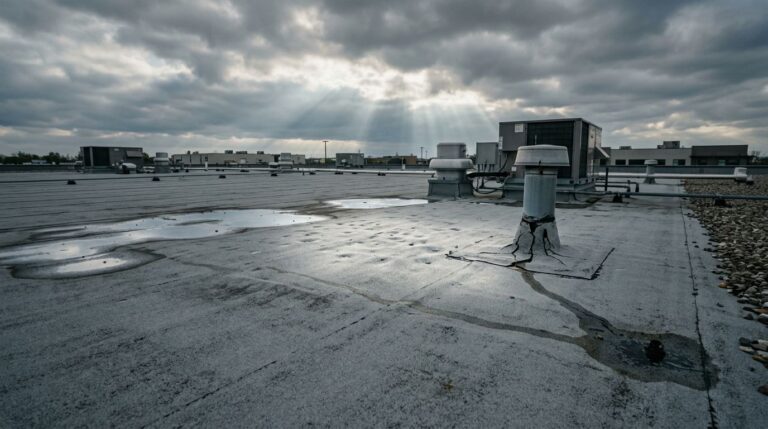
On a commercial flat roof, localized commercial roof repair may address a failed seam or penetration. Commercial roof restoration requires a suitable existing assembly and removal of wet or failed materials.
Commercial roof coatings won’t correct rotten decking, saturated insulation, or defective drainage. Commercial roof replacement becomes a stronger option when moisture and deterioration extend across the assembly.
Material Specs That Matter for This Repair or Replacement
Match the covering and repair method
GAF Timberline HDZ and CertainTeed Landmark are architectural asphalt shingles. Malarkey Legacy carries a Class 4 impact-resistance classification. That laboratory rating doesn’t make a roof hail-proof or identify the severity of a particular storm.
For TPO roofing, a 60-mil membrane still needs properly prepared, hot-air-welded repairs. EPDM comes in 45-mil and 60-mil options, but thickness alone doesn’t establish compatibility with an existing roof.
Modified bitumen and built-up roofing, or BUR, require different repair materials and preparation. A patch intended for one system shouldn’t be substituted for another.
Specify the layers beneath the covering
Synthetic underlayment and asphalt-saturated felt are water-shedding secondary layers. Neither replaces properly integrated flashing or a self-adhering ice barrier.
Measure ice-barrier coverage against the exterior wall
Minnesota Residential Code guidance requires the ice barrier to extend at least 24 inches inside the exterior wall line, measured horizontally. That isn’t simply 24 inches up the roof from the eave. The Minnesota reroofing information sheet states that distinction.
Valley underlayment follows the applicable code and roof-system instructions. Replacement scopes also need the local permit and required inspections. Reused flashing should be evaluated for condition and integration before it gets covered.
Insurance Documentation and the Claim Process
Document the cause before permanent work
An adjuster evaluates the reported event, policy coverage, exclusions, and claimed damage. A contractor documents physical conditions, water paths, repairability, and the work needed to restore the assembly.
For a hail-damage roof inspection, photograph impact patterns and functional damage rather than granule loss alone. For wind damage, document displaced shingles, creased tabs, broken seals, and disturbed flashing.
Take wide photographs for location and close photographs for detail. Preserve original files, storm dates, interior water evidence, prior repair records, and emergency receipts. State Farm’s catastrophe-claim guidance includes photographs, inventories, and receipts among useful claim records.
Separate coverage questions from repair findings
A roof insurance claim depends on cause and policy terms. A fresh storm-created opening is evaluated differently from deterioration, neglected maintenance, or repeated seepage.
Report damage promptly. Waiting a year can leave additional damage outside the payable scope, depending on policy conditions. Preserve evidence while completing necessary emergency mitigation.
Review the deductible, replacement-cost or actual-cash-value settlement, recoverable depreciation, and ordinance-or-law coverage. Standard homeowners insurance generally doesn’t cover flood damage; separate flood coverage may be needed. Rain entering through a roof opening and floodwater entering a building are different losses.
What a Professional Roof Contractor Does Differently
Open the failed detail and inspect the assembly
A durable scope identifies the entry point and concealed damage. Where necessary, that means removing enough covering to inspect flashing laps, fasteners, underlayment, and the deck.
Deteriorated sheathing needs removal back to sound material with supported replacement edges. Wet insulation needs assessment before the assembly is closed.
A failed pipe boot needs compatible replacement or a manufacturer-approved repair detail. Inspect the rubber collar, base, fasteners, and integration with surrounding roofing. Smearing sealant over cracked rubber leaves the failed component in service.
Test moisture and ventilation rather than guessing
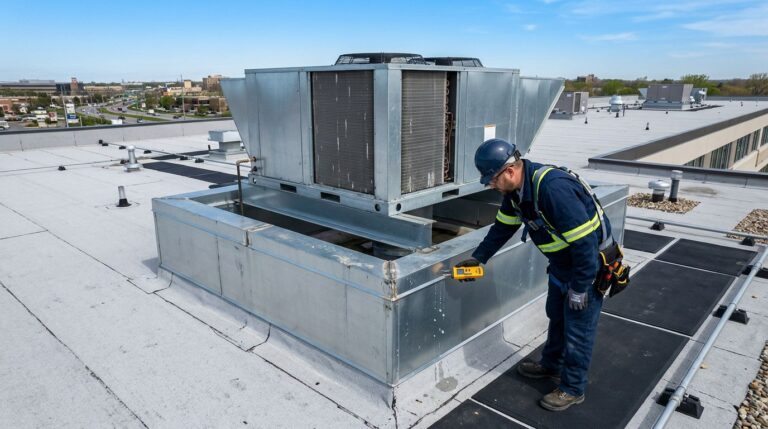
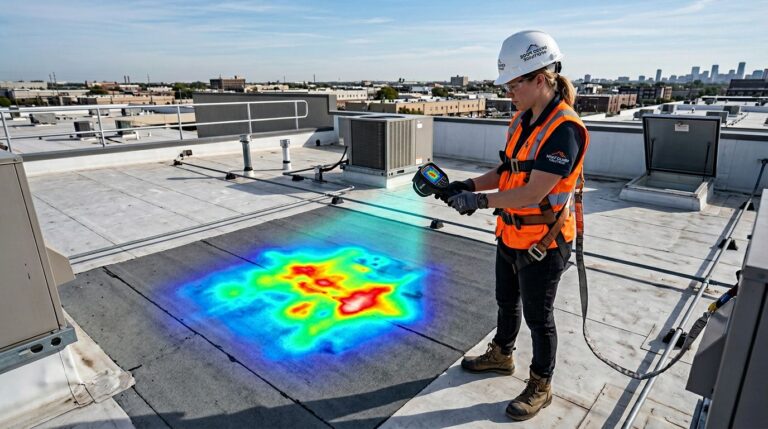
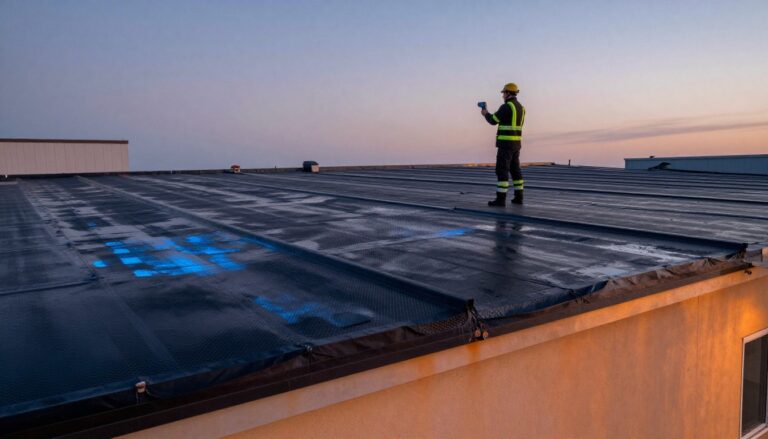
A commercial roof inspection may include mapping for damp areas, infrared evaluation, or electronic leak detection where the assembly supports it. Our TPO seam-testing process combines evidence before selecting repair locations.
For vented attics, calculate net free ventilating area and inspect intake, exhaust, baffles, and ceiling air leakage. Ventilation doesn’t compensate for major heat leakage.
GAF Master Elite is a separate designation held by fewer than 2% of contractors, according to GAF. Credentials don’t replace a documented water path, photographs, and a written repair scope.
Cost Ranges for Recurring Roof Leaks in Minnesota
The repair detail determines the price
There isn’t one dependable price range for recurring roof leaks in Minnesota. The estimate depends on the confirmed source, repair scope, and site conditions. A pipe-boot replacement, chimney-flashing rebuild, and wall-opening investigation involve different labor and materials. Repeated patching can cost more without resolving the source.
Twin Cities roofing costs also depend on roof height, pitch, access, material availability, and whether siding or masonry must be opened. Disposal, permit requirements, deck repairs, and temporary protection affect the total scope.
A roofing square equals 100 square feet. That measurement helps compare roof-replacement quantities, but it doesn’t price a concealed flashing defect.
Keep diagnosis, emergency work, and permanent repair separate
A useful estimate identifies diagnostic work, temporary dry-in measures, permanent repairs, and concealed-damage allowances separately. It should state what gets removed, replaced, and photographed.
Interior drying and finish restoration are separate from correcting the exterior opening. Don’t combine them into an unexplained lump sum.
If the first repair has failed, compare its written scope with the newly proven source before approving more work. A warranty callback should also identify whether the recurrence involves the repaired detail or a different opening.
Frequently Asked Questions
Can an old ceiling stain darken without a new roof opening?
Yes. Residual moisture can move through materials and discolor the same area. Moisture readings and comparison photographs help distinguish drying materials from fresh water entry.
What if the contractor can’t reproduce the leak with a hose?
An inconclusive test doesn’t prove the roof is watertight. Wind pressure, snowmelt backup, or intermittent condensation may require different conditions. Stop repeated soaking and reassess the building envelope.
Can a bathroom fan cause moisture that looks like a roof leak?
Yes. A fan discharging into an attic can deposit warm, moist air on cold sheathing. The inspection should establish whether the exhaust duct reaches outdoors and whether condensation is present.
What affects the cost of tracing and repairing a recurring leak?
Cost depends on the time needed to locate the leak, roof access and slope, and the repair’s scope. Material costs and any damaged sheathing or interior finishes can also affect the total.
How often should the roof be inspected after this repair?
Plan professional inspections twice yearly and after damaging storms. GAF’s leak-prevention guidance supports regular inspection. Recheck the repaired location after the weather conditions that previously triggered leakage, then retain the photographs.
Stop the Leak by Proving the Source
Require a documented water path
A recurring stain needs a proven entry point and an inspection of concealed materials. Another surface patch won’t correct an opening that remains upstream.
Match the repair to the findings
A complete assessment covers the covering, flashing, drainage, and winter conditions before the scope is set. If your previous repair hasn’t held, Get a Free Residential Roof Estimate for a scope based on the actual failure.
Need a roof inspection in Saint Paul or the Twin Cities? Call Sellers Roofing Company at +1-651-703-2336 or schedule a free estimate. We are a black-owned, NMSDC-certified MBE roofing contractor with 9+ years experience.