Last updated: 2026-10-24 by Ted Sellers, Owner
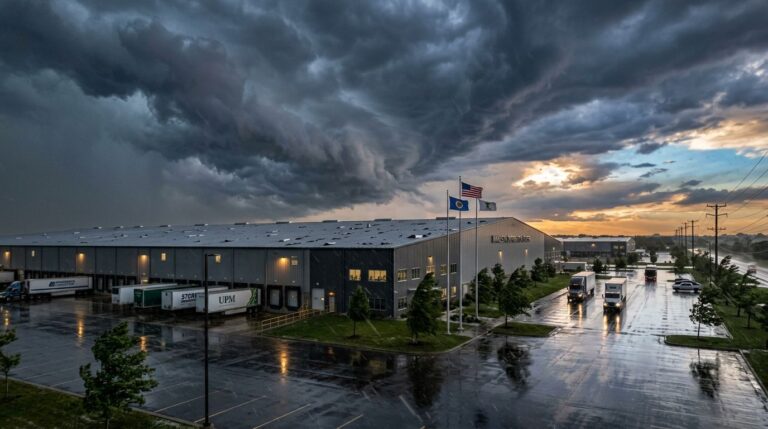
A search for “roof leak heavy rain” usually points to wind pushing water beneath loose shingles or intense runoff reaching faulty flashing, pipe boots, seams, or drainage details. Minnesota’s freeze-thaw cycles can weaken these parts before a summer storm exposes an opening, so contain indoor water, isolate affected electrical circuits if safe, and stay off the wet roof.
What Actually Causes Roof Leaks on Minnesota Roofs in Harsh Winter Climates?
Wind changes how rain reaches the roof
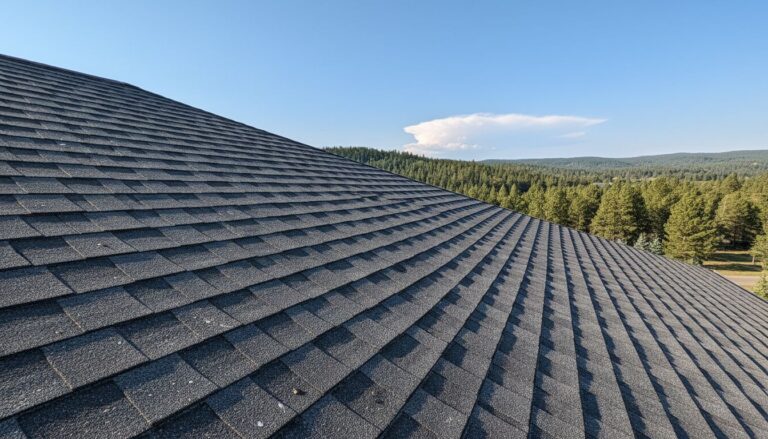
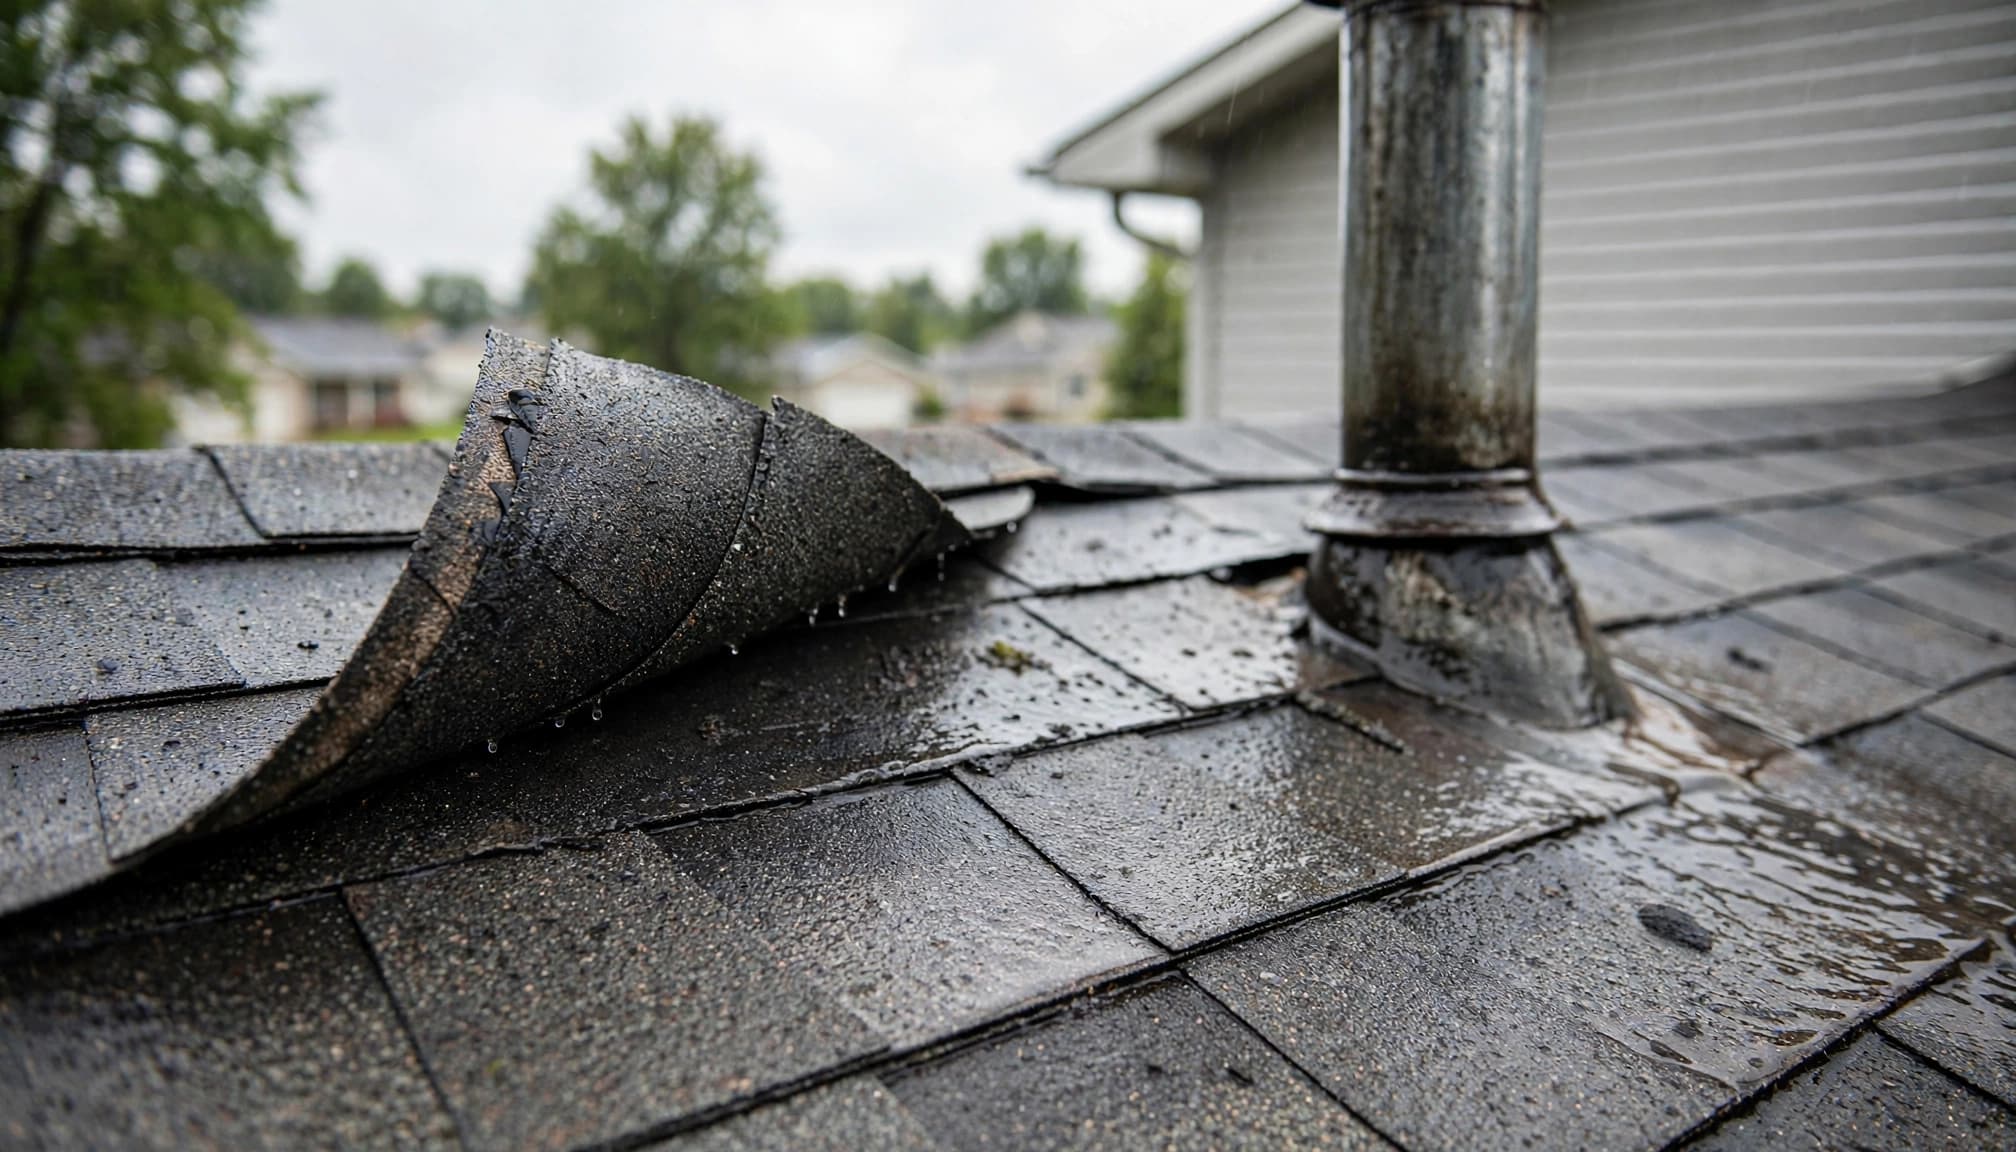
Asphalt shingles shed water downhill through overlapping courses. High winds can lift shingle edges and break their adhesive seals. Wind-driven rain can then force water beneath lifted edges and reach fasteners, damaged underlayment, or exposed decking.
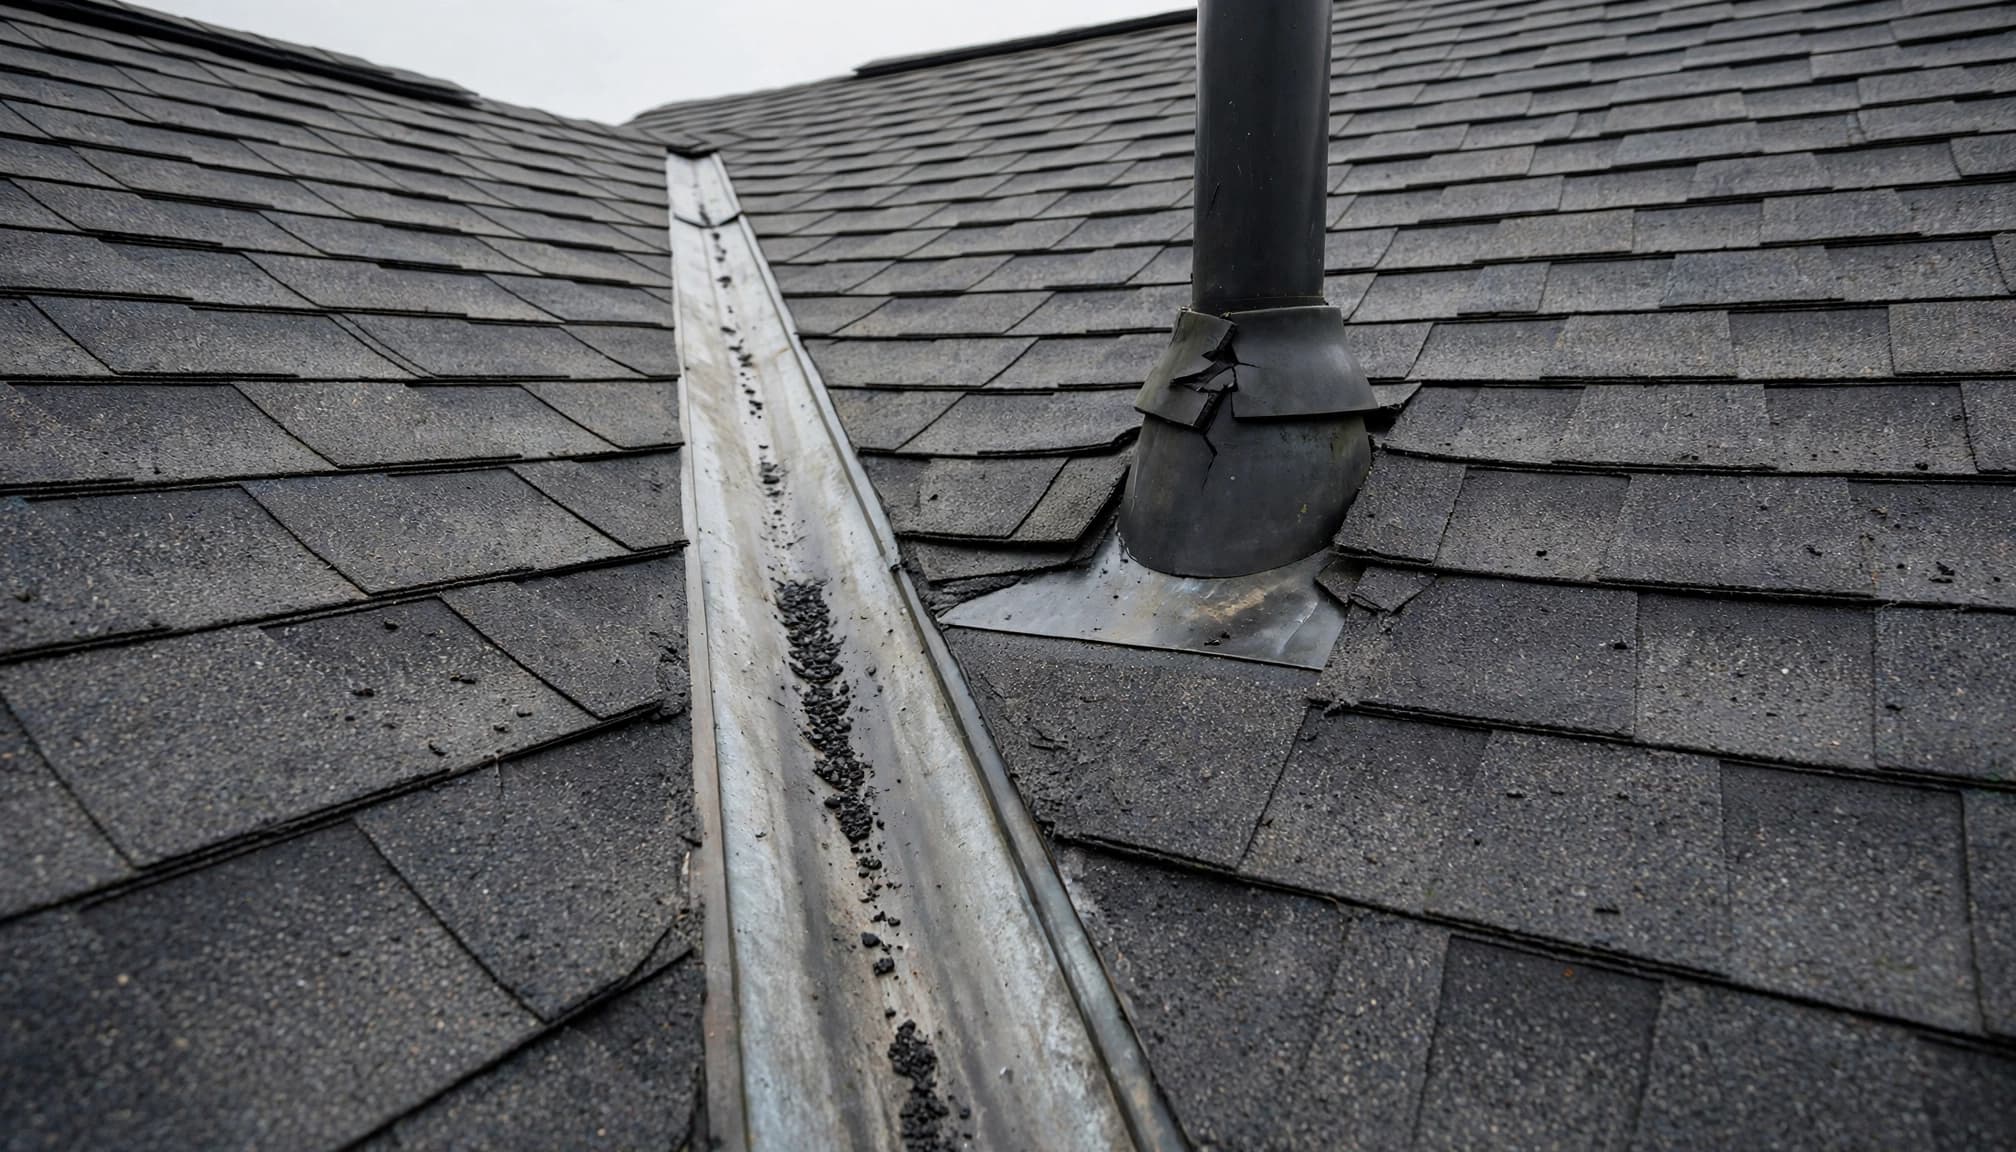
Flashing directs water around chimneys, skylights, valleys, and vent pipes. Cracked, lifted, separated, or rusted flashing may handle light rainfall but leak when concentrated runoff crosses the defect.
A leak that follows one wind direction points toward a slope, wall intersection, or penetration exposed to that direction.
Drainage restrictions expose existing weaknesses
Clogged gutters can back water beneath the bottom shingle course and behind the fascia. Hardened rubber pipe boots can split after years of sunlight and temperature cycling.
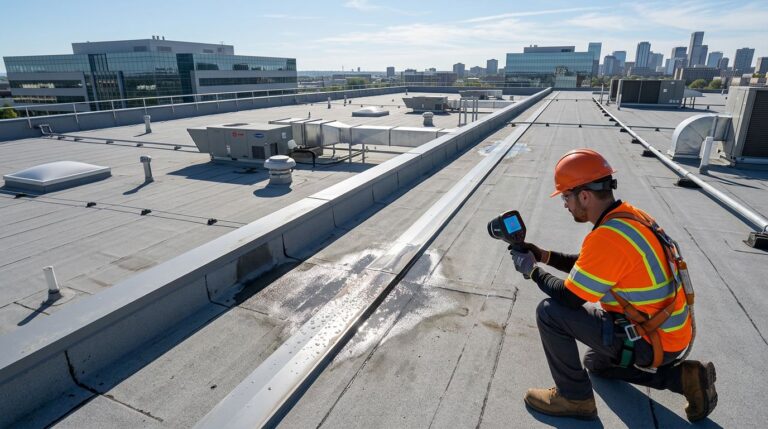
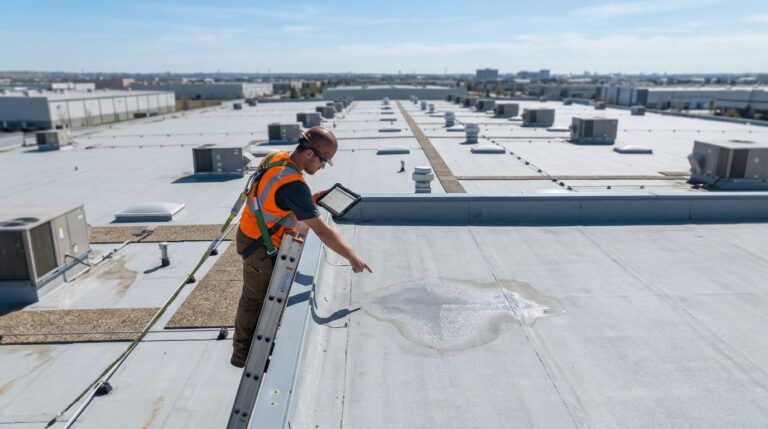
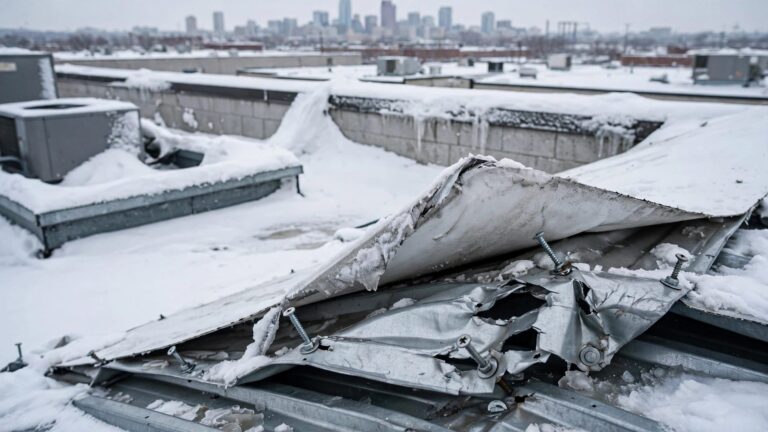
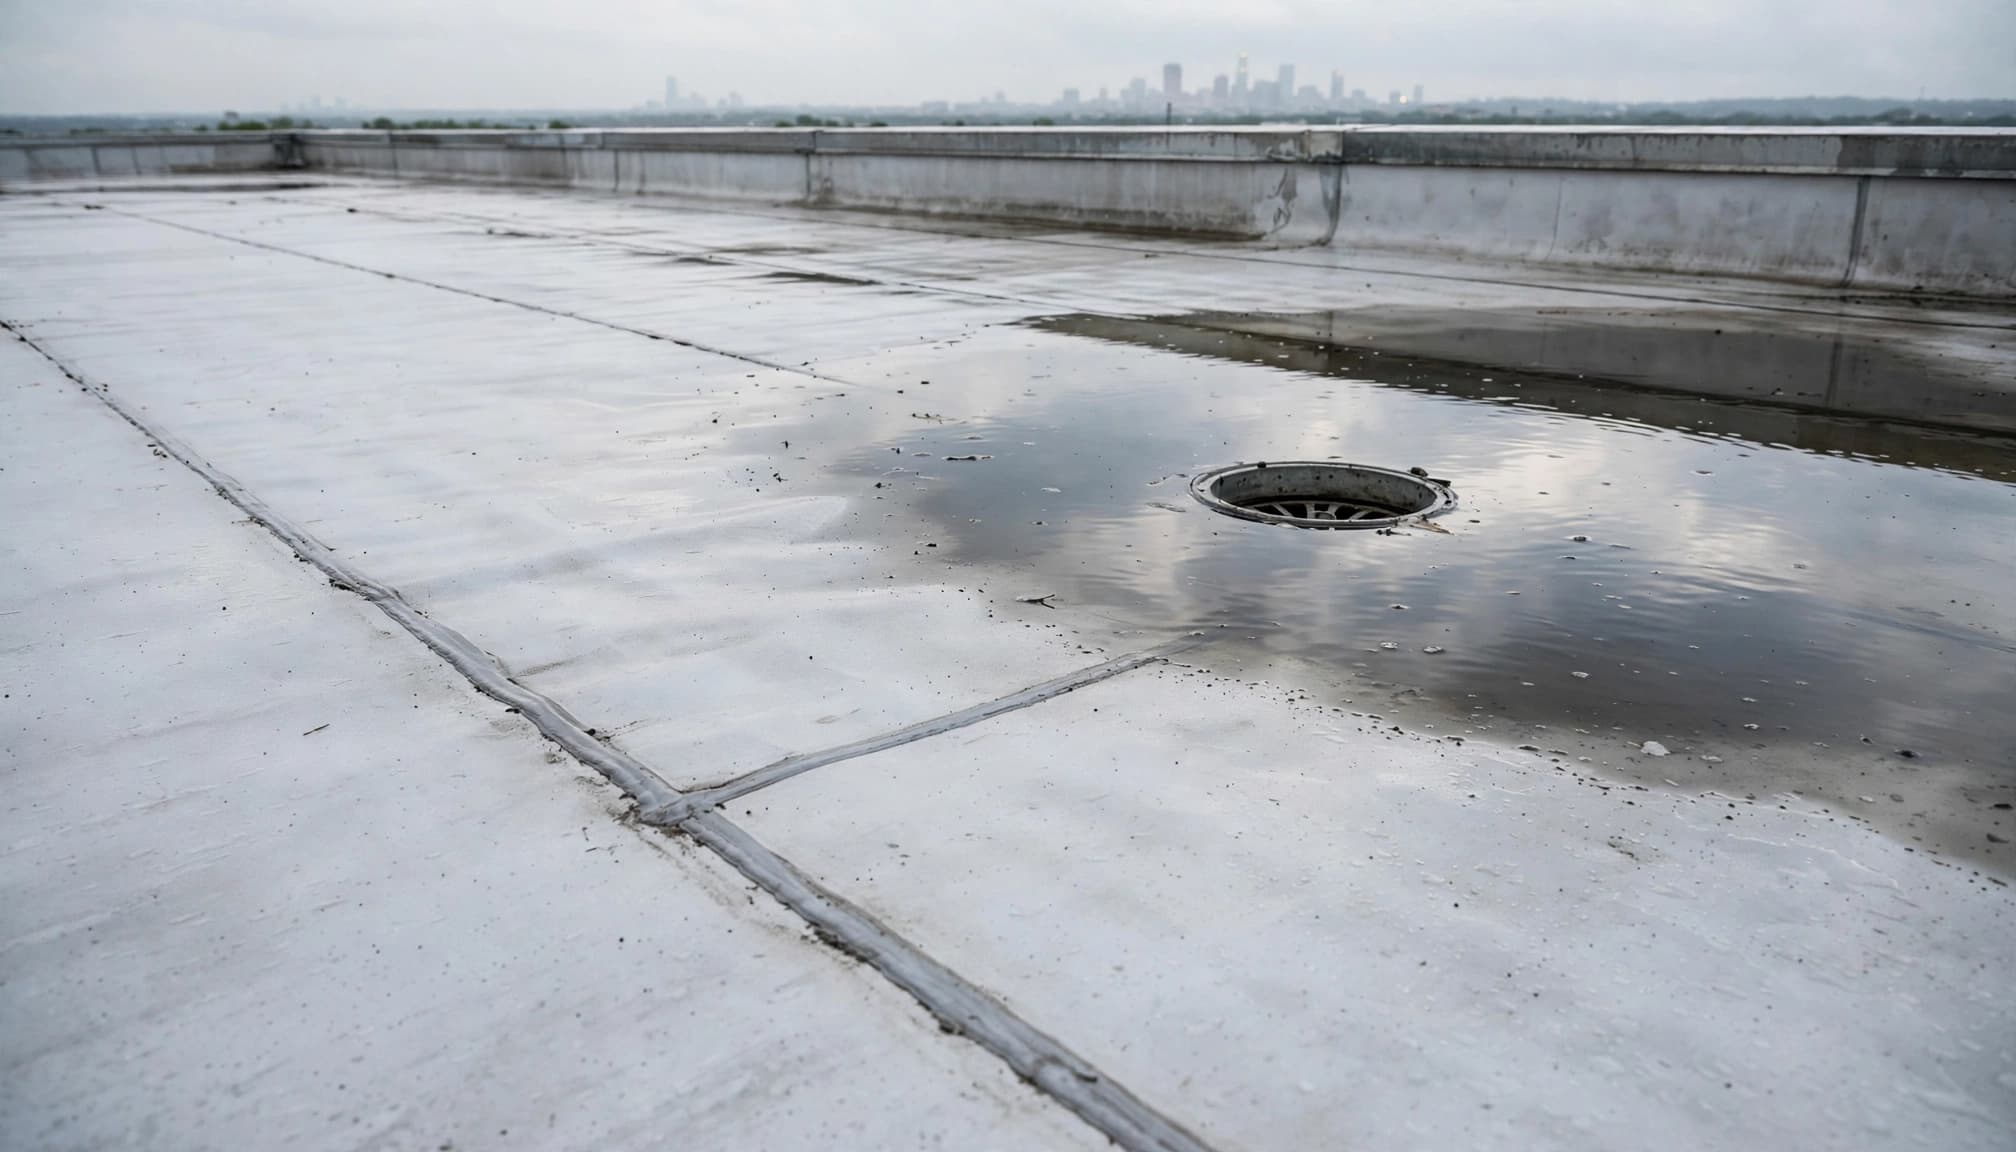
On a commercial flat roof, overwhelmed drains or scuppers can cause ponding water around defective seams and penetrations. A metal roof adds another possibility: loose fasteners, deteriorated washers, or failed panel laps.
Minnesota winters contribute repeated material movement and freeze-thaw stress. Heavy rain exposes those weaknesses. An intact, correctly detailed roof shouldn’t leak simply because a downpour is brief and intense.
When This Applies
The leak follows rainfall intensity or wind
This diagnosis fits homeowners and commercial property owners whose buildings stay dry during ordinary showers but leak during cloudbursts.
Record whether dripping begins with strong gusts, peak rainfall, gutter overflow, or rising water around a roof drain. Those differences help separate wind-driven entry from drainage backup.
A stain near an exterior wall may suggest an eave problem. Water beneath a chimney or rooftop unit raises different inspection priorities. Skylight leaks can leave a stain below a skylight, but that doesn’t prove the skylight is the entry point. Location narrows the search, but it doesn’t prove the entry point.
Snow, plumbing, and condensation change the diagnosis
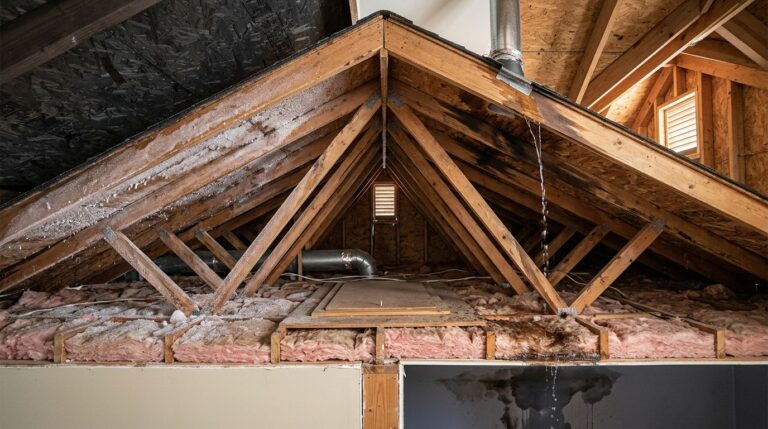
Rain falling on snow can produce a separate backup problem. Meltwater refreezes at cold eaves or blocked drains, then forces water beneath roofing. Ice dam removal addresses that obstruction, but recurring dams also require an attic heat-loss assessment.
Dripping during dry weather may involve plumbing, HVAC condensate, or thawing attic frost. Our guidance on distinguishing roof leaks from HVAC leaks explains why timing matters before roof repairs begin.
Step-by-Step
Protect occupants and contain the water
- Move furniture, electronics, rugs, and inventory away from the wet area. Place a bucket beneath the active drip. Protect floors, furniture, and baseboards with plastic sheeting or towels. Keep walking routes clear of slippery coverings.
- If water reaches light fixtures, ceiling fans, outlets, or wiring, shut off the affected room’s breaker only from a dry, safely accessible location. Don’t touch wet switches. Sparking, smoke, or sudden structural movement requires evacuation and a 911 call.
- Keep people away from a ceiling bulge. When conditions permit, a qualified responder can poke a small hole at the lowest point to drain trapped water into a bucket. Have a second bucket ready. Don’t stand beneath it or cut broadly into wet drywall.
Preserve evidence and arrange safe protection
- Photograph ceiling stains, active drips, wet insulating material, damaged contents, and exterior storm damage before cleanup. Record the storm time and wind direction. Continue documenting changes because soaked materials can release water after rainfall stops.
- Never climb onto a wet, slippery roof during a storm. From the ground, photograph gutter overflow, missing shingles, and downspout discharge. For active water entry from a leaking roof, Call 651-703-2336 for 24/7 Emergency Roofing for emergency repair after occupants and electrical hazards are addressed.
- Have a trained crew install temporary protection when access is safe. A tarp should extend well beyond the damage and be clamped with 2×4 battens. Avoid nails through shingles; attachment needs a secure method suited to the roof and wind exposure.
How to Inspect and Document the Damage (Field Checklist)
Follow the drainage path during the exterior inspection
The contractor’s roof walk begins only after safe access is established.
- Inspect gutters, downspouts, drains, and scuppers for blockage, overflow evidence, and restricted discharge.
- Examine eaves and lower shingle courses for lifted edges, exposed fasteners, and failed seals.
- Record granule-loss patterns, creased tabs, and suspected hail impacts separately from general weathering.
- Follow valleys uphill, looking for debris dams, damaged metal, open laps, and displaced shingles.
- Inspect chimney and skylight flashing for separation, corrosion, and failed transitions.
- Check vent pipe boots for cracking, hardened rubber, and gaps around the pipe.
- Record visible deck deflection without walking onto a sagging or suspect area.
Trace the interior water path uphill
From a safely accessible attic, follow wet tracks along rafters and decking toward their highest visible point. Photograph damp insulation, rusty nail tips, and fresh staining. Don’t step between framing members.
Water travels along framing, thermal layers, and membrane layers before reaching a ceiling opening. A drip directly below a skylight doesn’t automatically establish a skylight leak.
On low-slope buildings, commercial roof leak tracing helps connect interior symptoms with seams, penetrations, and drainage defects before patching begins.
Repair vs. Replace: The Decision Framework
Compare the condition of the whole assembly
One leak doesn’t establish the need for residential roof replacement. The decision depends on repairability, moisture spread, and the condition surrounding the opening.
These planning figures compare different scopes, not interchangeable bids.
| Factor | Targeted repair | Full replacement |
|---|---|---|
| Cost range | About $300 to $1,500 for patch or leak work | Published Minneapolis estimates of $6,900 to $14,250 for a 2,000-square-foot asphalt roof |
| Remaining service life | Surrounding roofing remains serviceable | Widespread deterioration limits further dependable service |
| Insurance implications | Documented localized damage supports a limited scope | Broader work requires evidence of covered damage and necessary associated work |
| Material compatibility | Existing shingles or membrane accept a durable repair | Brittle, unavailable, or incompatible materials prevent restoration of the affected detail |
The repair scope must address the opening and damaged materials underneath it.
Let moisture findings determine the extent
Residential roof repair makes sense when a boot, flashing section, or small shingle area has failed and the surrounding assembly remains sound.
Commercial roof replacement becomes more defensible when wet insulation is widespread, multiple seams have failed, or attachment problems extend across connected areas.
Commercial roof restoration requires a suitable existing assembly. Commercial roof coatings don’t correct blocked drainage, rotten decking, or the thermal layer trapped beneath a failing membrane.
Material Specs That Matter for This Repair or Replacement
Match shingles, flashing, and underlayment as a system
GAF Timberline HDZ and CertainTeed Landmark are architectural shingle options. Malarkey Legacy carries a Class 4 impact-resistance rating. That rating describes laboratory testing, not a guarantee against every hailstorm.
Shingle selection doesn’t correct an improperly rebuilt valley or chimney transition. Starter courses, fastening, flashing, and accessory compatibility still control performance. Published GAF system-warranty requirements also tie coverage to specified accessory products.
Synthetic underlayment and felt require correct laps and attachment. Ice-and-water shield belongs in the specified eave, valley, and penetration details. Minnesota residential roofing work falls under the state’s residential building-code provisions, along with applicable permit requirements.
Specify the membrane and its repair method
For TPO roofing, a 60-mil membrane specification doesn’t replace proper seam welding and attachment. EPDM comes in 45-mil and 60-mil options; thickness matters, but compatible primers, tapes, and flashing details matter too.
Modified bitumen and BUR require repair materials compatible with their existing plies and surfacing. A commercial roof repair should identify the actual system before products are selected.
Insurance Documentation and the Claim Process
Connect the storm to a documented opening
For a roof insurance claim, separate fresh storm damage from older wear. Photograph suspected hail strikes with both close views and wider slope views. Record wind-lifted tabs, creases, displaced flashing, and punctures without manipulating the damage.
Inside, photograph active water intrusion, ceiling stains, wet insulation, and affected contents. Save receipts for any temporary repair and retain damaged materials when practical.
The adjuster evaluates coverage, cause, and scope. The contractor documents physical conditions, repairability, moisture spread, and the work needed to restore the assembly.
Separate roof damage from interior coverage
A covered storm-created opening may support payment for resulting interior water damage. Deteriorated boots, long-term seepage, and neglected drainage raise different coverage questions.
Allstate’s explanation of homeowners water-damage coverage distinguishes covered losses from ongoing maintenance problems. Policy wording controls the outcome.
Don’t delay a temporary repair while waiting for an inspection. Document the original condition first when safe, then stop additional water entry. Broad permanent work before documentation can remove evidence needed to establish the cause and extent of loss.
What a Professional Roof Contractor Does Differently
Open the failed detail and inspect concealed materials
A surface patch can hide the condition beneath it. A proper scope identifies whether shingles, flashing, or membrane must be removed to expose the deck and trace concealed moisture.
Deteriorated sheathing needs removal back to sound, properly supported material. Replacement thickness, fastening, and support must suit the assembly. On commercial roofs, wet insulation and damaged cover board require separate evaluation before closing the repair. Dry affected materials promptly to limit mold risk.
A cracked pipe boot needs a compatible replacement detail. Smearing sealant over split rubber leaves the deteriorated component in place and can complicate the next repair.
Check attic conditions and document the finished scope
Recurring winter leaks require an air-sealing, thermal-layer, and ventilation review. Check the roof vent layout and Net free area, or NFA, which measures the usable opening through vents. The calculation must account for intake, exhaust, and the attic assembly.
Ventilation cannot compensate for major ceiling air leakage. Likewise, ice dam removal doesn’t repair flashing already damaged by backup.
A roofing contractor in Saint Paul or Minneapolis can assess the entry point and affected assembly. Building owners can Get a Free Commercial Roof Inspection to establish a documented repair scope.
Cost Ranges for Roof Leaks in Minnesota
Localized repairs start with access and scope
For October 2026 planning, published estimates place small leak repairs around $300 to $800. A broader patch or leak-repair range is approximately $300 to $1,500.
Those figures describe limited roofing work. They don’t establish the price of replacing rotted sheathing, removing the wet insulating layer, drying interiors, or restoring ceilings.
A short, accessible pipe-boot repair differs from rebuilding chimney flashing on a steep roof. Access difficulty, material availability, disposal, permits, and concealed deterioration change the total.
Replacement estimates need a defined roof area
Costadia’s Minneapolis estimates place a 2,000-square-foot asphalt-shingle replacement around $6,900 to $14,250. That is a published planning range, not our bid.
The building’s floor area isn’t automatically its roof area. Pitch, overhangs, dormers, valleys, tear-off layers, and deck condition affect quantities and labor.
Commercial work also depends on thermal-layer thickness, attachment, drainage, rooftop equipment, and wet-material removal. A residential shingle range doesn’t price a commercial membrane project.
For a property-specific residential scope, Get a Free Residential Roof Estimate.
Frequently Asked Questions
How much does a roof leak repair cost in Minnesota?
A localized roof leak repair in Minnesota typically costs $300 to $1,500. Access and repair scope affect the final cost.
Which chemical stops a roof leak permanently?
No single chemical repairs every roof system. Roofing cement belongs only on a completely dry surface and in a compatible application. Failed flashing, split boots, and defective membrane seams usually require rebuilding or replacing the affected detail.
How soon can a roofer safely inspect after a storm leak?
Timing depends on occupant safety, weather, roof footing, and access. A crew may contain interior damage or prepare temporary protection while conditions improve.
What if the insurer says ponding caused the damage?
The report should establish why water accumulated and whether a separate puncture, tear, or failed detail existed. Minnesota Commerce’s storm-claim consumer alert explains that coverage restrictions vary. Request the written basis for the decision.
Can hidden wet insulation expand the repair scope?
Yes. Moisture mapping or selective openings can reveal damage beyond the visible drip. Document those findings before closing the roof. A claim supplement should identify additional covered damage and necessary work, rather than unrelated upgrades.
Key Takeaways Before the Next Downpour
Stop additional damage without losing the evidence
A roof that leaks only during heavy rain still has an entry point that needs repair. Contain the water, protect electrical systems, and keep people away from unstable ceilings while safe exterior access is arranged.
Temporary protection should preserve the condition record rather than cover the roof with undocumented patches. Photos of the opening, interior damage, and exposed materials help connect the leak to a repair scope.
Repair the failed detail and the damaged assembly
The strongest repair decision comes from documented conditions: the water-entry point, drainage path, material compatibility, and moisture beneath the covering. A small stain can justify a localized repair, but concealed deterioration can require broader work.
Keep drainage correction, storm repair, and winter heat-loss problems distinct in the scope. The permanent work needs to leave the affected roof assembly capable of shedding the next heavy rain.
Need a roof inspection in Saint Paul or the Twin Cities? Call Sellers Roofing Company at +1-651-703-2336 or schedule a free estimate. We are a black-owned, NMSDC-certified MBE roofing contractor with 9+ years experience.