Last updated: 2026-11-09 by Ted Sellers, Owner
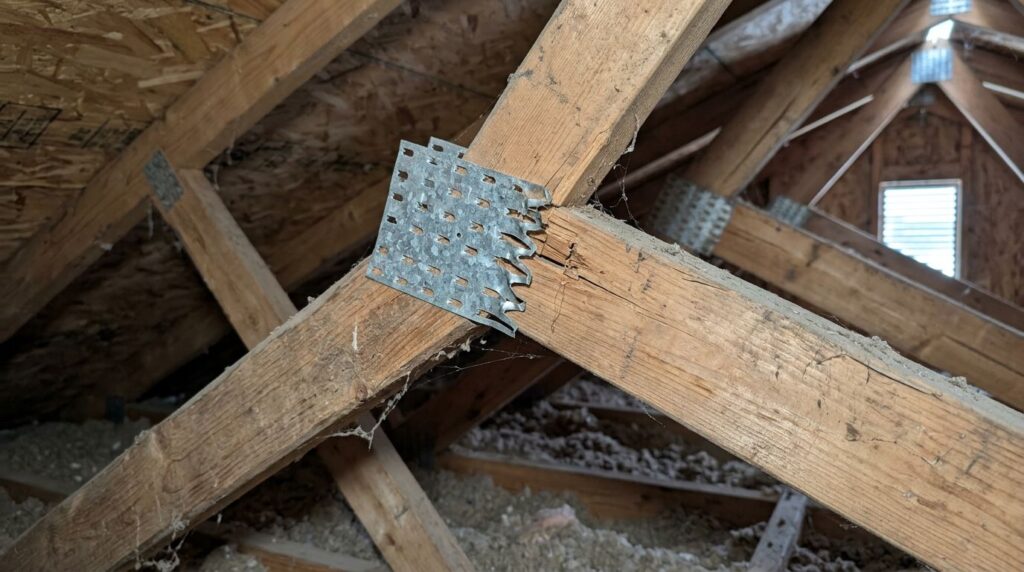
Start a roof truss plate inspection from the ground and interior, then examine accessible attic connections only when conditions are safe. Photograph lifted or bent plates, exposed connector teeth, split wood, and changed framing alignment without touching anything. If you see new sagging, hear structural cracking, or notice sudden door binding, leave the building and obtain emergency structural assessment.
What Actually Causes Truss-Plate Damage in Harsh Winter Climates?
How does heavy snow stress a truss connection?
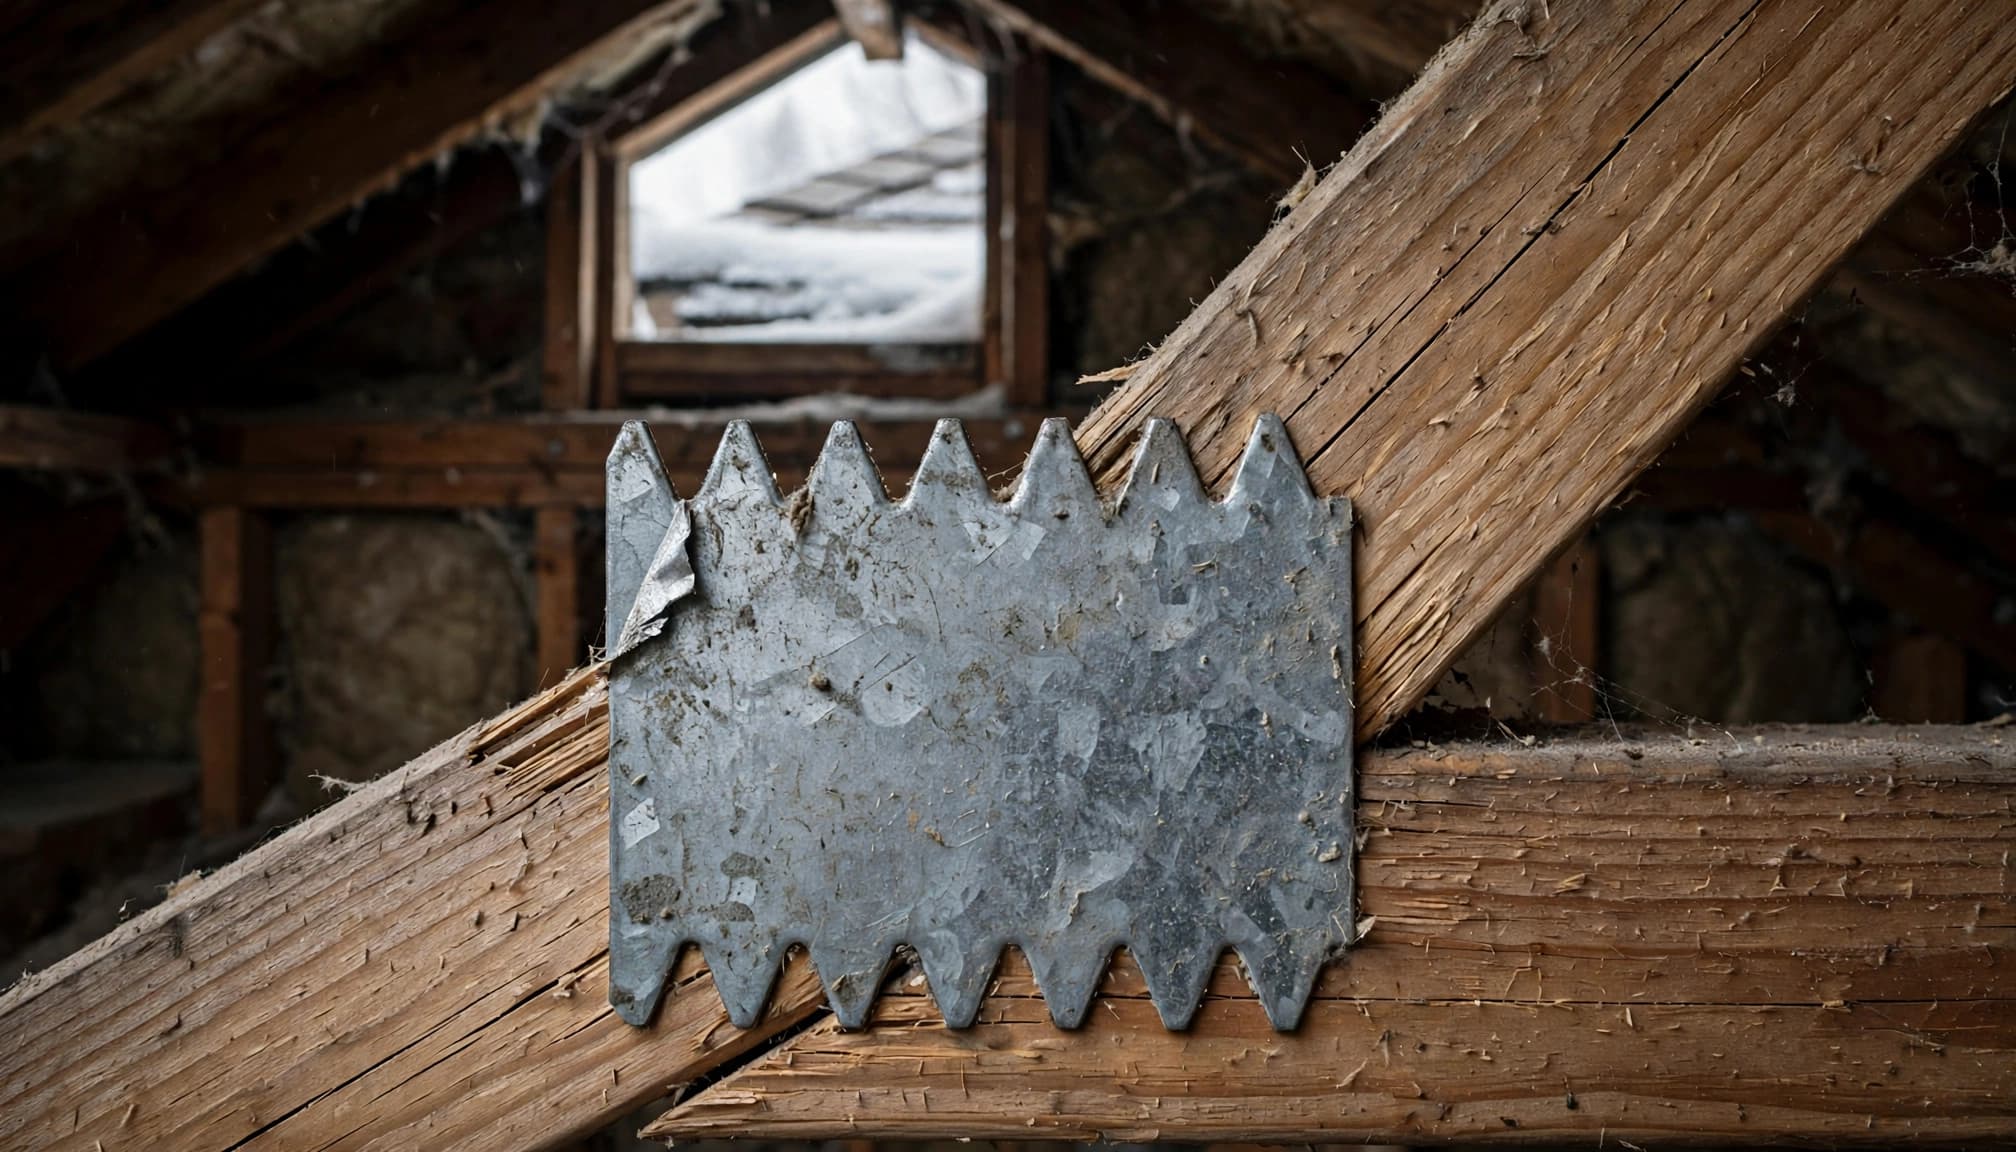
A metal connector plate has teeth pressed into the wood during truss manufacturing. It transfers forces between the chords and web members that form the truss.
Snow increases those forces. Uneven drifting can load one roof section harder than another, particularly beside taller walls, parapets, valleys, and rooftop equipment. Existing splits, deteriorated wood, missing bracing, or earlier alterations can change how the framing responds.
A connector plate may pull away from the wood while nearby roof sheathing remains intact. Therefore, an unbroken deck doesn’t establish that the connections below are sound.
What do thawing and refreezing change?
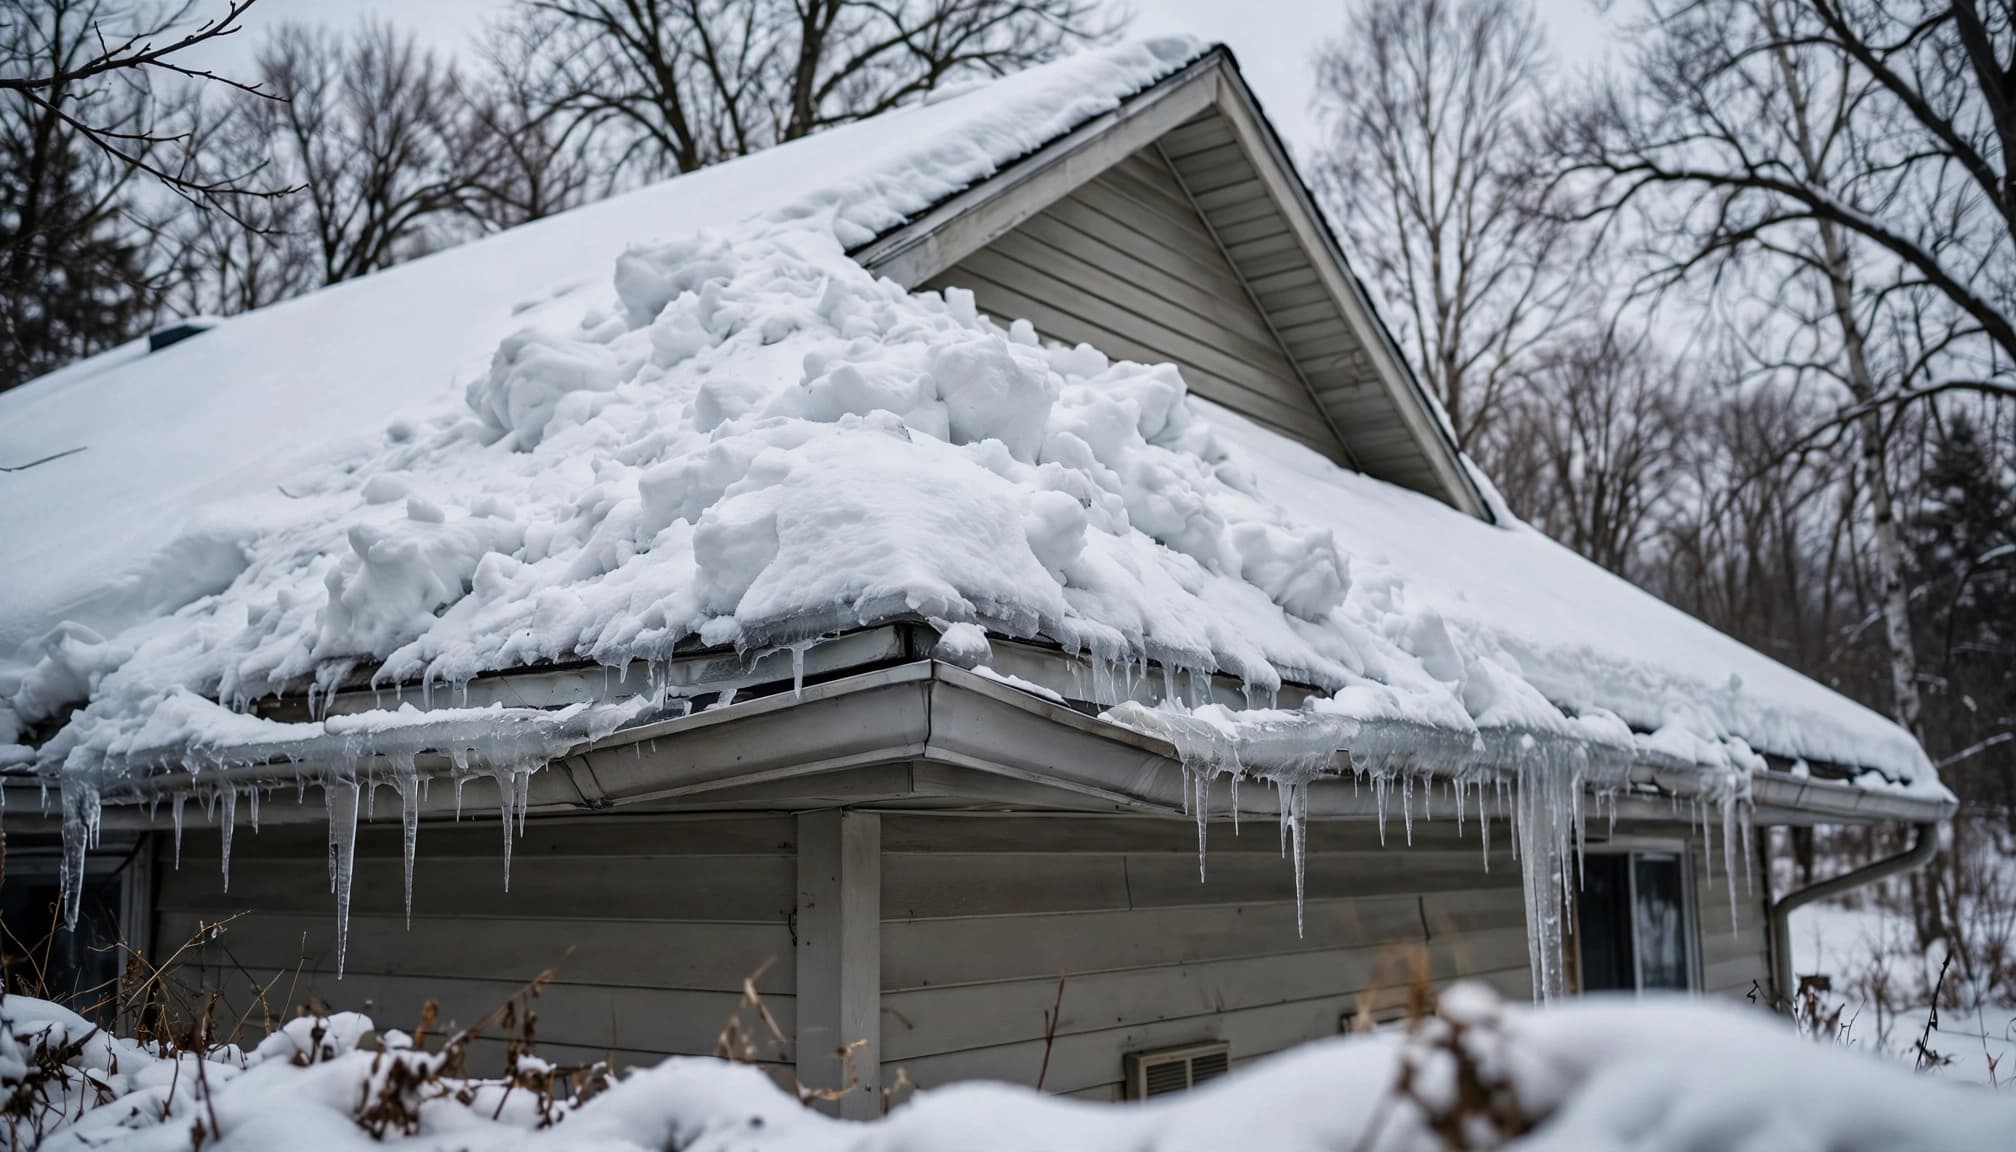
Roof heat can melt snow above freezing eaves. The runoff then refreezes, creating ice dams that back water beneath the covering.
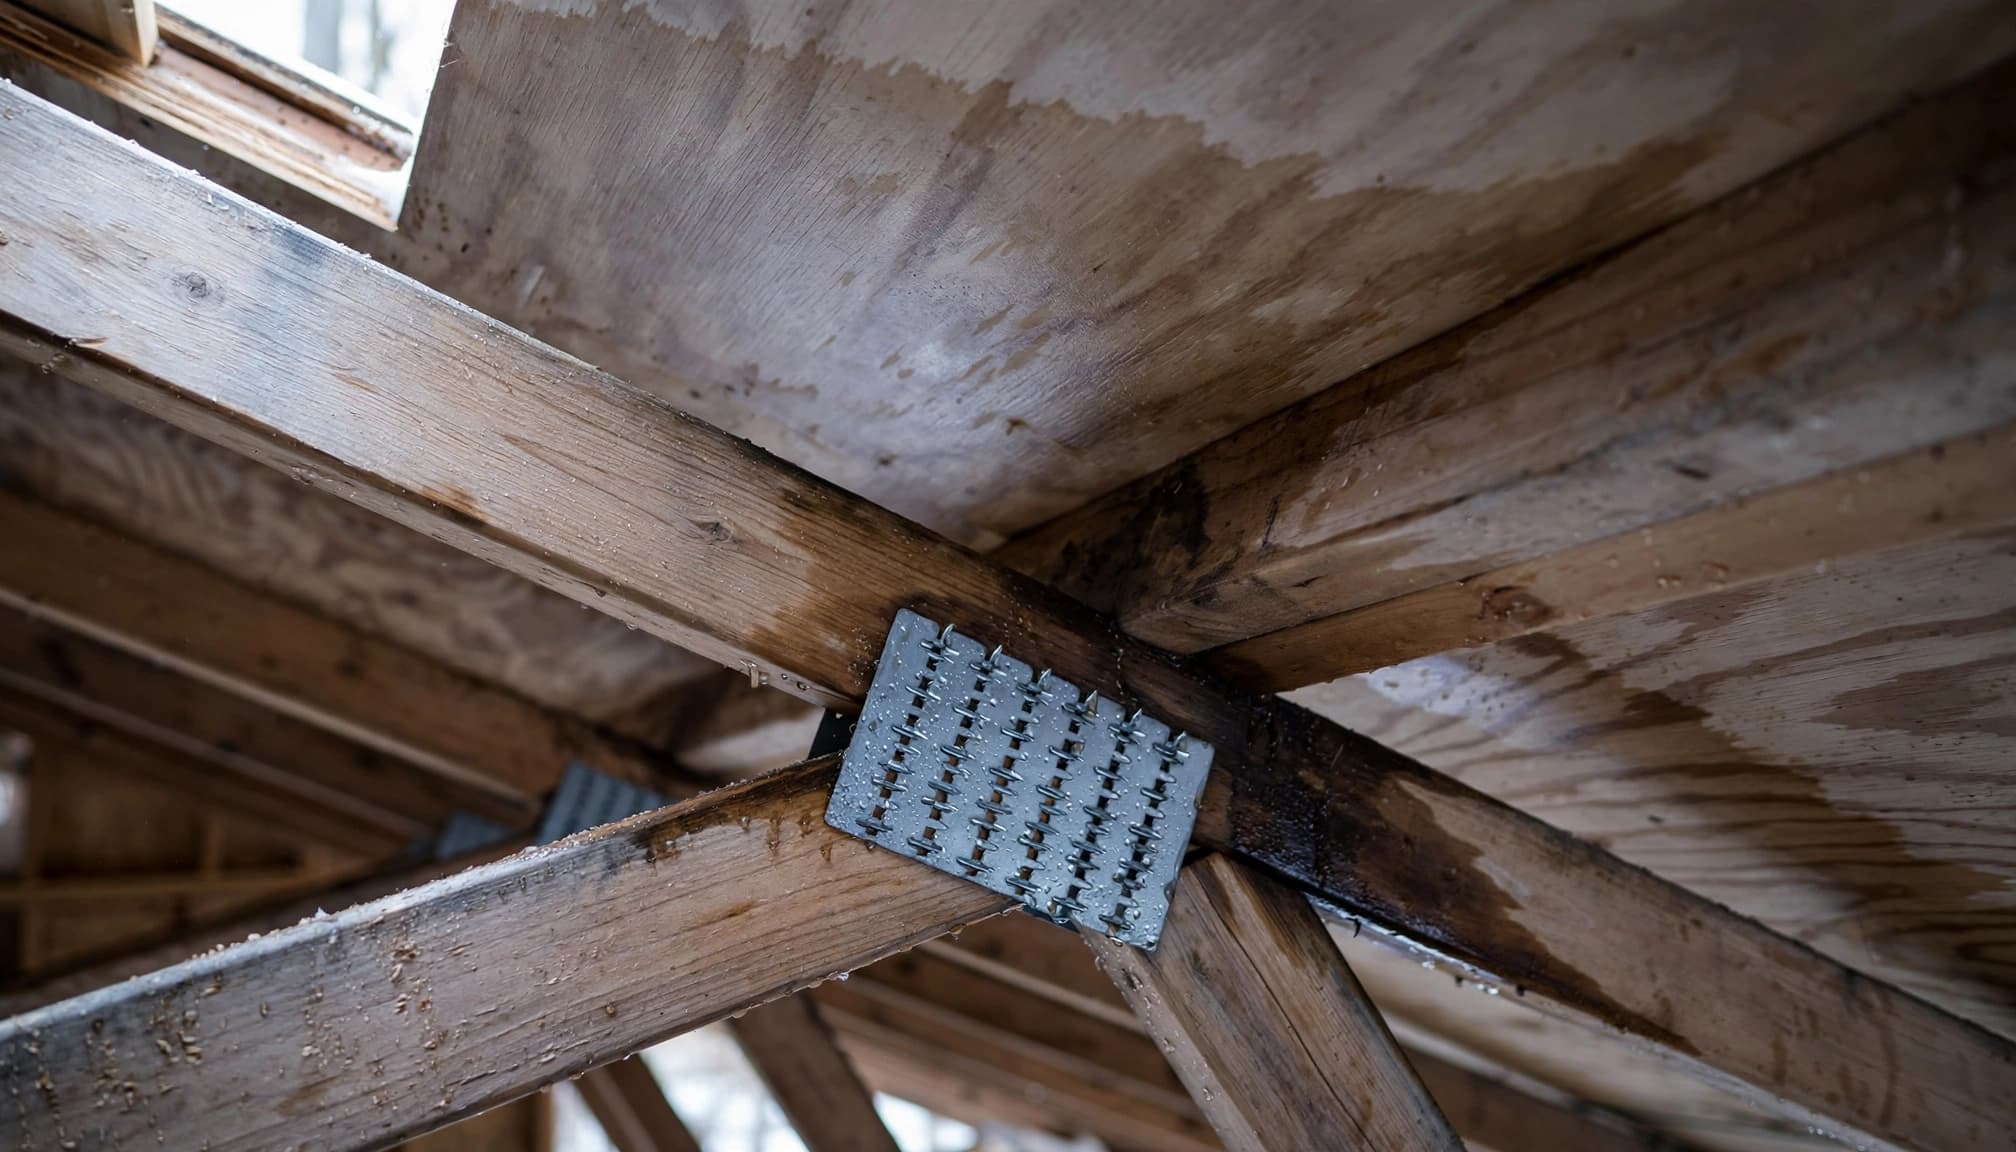
Leaks can wet sheathing and framing around a connection. Over time, persistent moisture can deteriorate wood or corrode metal. However, a stain alone doesn’t prove structural failure or establish when a plate moved.
Minnesota’s residential snow-load map includes roof-load examples of 35 and 42 pounds per square foot. Those are design calculations, not measurements of an existing roof’s remaining capacity.
When This Applies
Which buildings need this inspection?
This guidance applies to homes, garages, multifamily buildings, and commercial properties with metal-plate-connected wood trusses after heavy snow or unusual drifting.
It also applies when occupants notice changed ceiling lines, new attic leaks, or visible movement at a connection. Past roof alterations, removed interior supports, and recurring moisture deserve attention because they can affect the structural assessment.
However, traditional rafters, steel joists, and concrete decks require different connection checks. A commercial flat roof may have no wood trusses underneath its membrane.
What are the key takeaways before entering?
Keep people out of areas showing structural movement. Our guide to roof snow-load warning signs identifies conditions that require immediate action.
FEMA’s post-disaster building safety guidance also addresses overstress warnings during snow events. A homeowner’s visual inspection documents clues; it doesn’t establish structural capacity.
Don’t enter an attic beneath sagging framing. If collapse appears possible, leave and call 911. Roofing repairs and structural evaluation are separate scopes.
How to Inspect and Document the Damage (Field Checklist)
What should you examine before attic access?
Begin indoors and at ground level. Property owners shouldn’t climb snowy or icy roofs. Once access is safe, a contractor follows the roof’s drainage paths and checks these conditions:
- Record new ceiling cracks, water intrusion, and visible deck deflection before examining exterior materials.
- Examine eaves, gutters, soffits, and flashing for separation or displacement.
- Follow valleys and roof-height changes for concentrated snow, blocked drainage, and damaged flashing.
- Map granule-loss patterns, missing shingles, creased tabs, or displaced metal panels.
- Inspect pipe boots for cracking, separated collars, and failed seals.
Granule loss can reflect aging or hail damage. It doesn’t establish snow overload. Likewise, a leaking pipe boot can admit water without any truss movement.
What should you document at each connection?
From an established safe walkway or access position, photograph the entire truss joint before taking close-ups. Never step onto ceiling drywall or insulation-covered surfaces.
Record lifted plate edges, exposed teeth, bent metal, corrosion, and wood splitting beside the plate. Also document separated members, bowed chords, leaning trusses, and loose lateral bracing.
Inspect visible roof-to-wall connections as well. Record which faces were inaccessible rather than treating an unseen connection as inspected.
Step-by-Step
How do you establish a useful inspection record?
- Screen for immediate danger. Observe the roofline and occupied rooms without entering distressed areas. Stop if movement, cracking, or sudden door binding appears.
- Identify the framing system. Use existing drawings and safely visible framing to distinguish engineered wood trusses from rafters or other structural systems.
- Map each concern. Identify the roof slope, room below, and truss location. Use consistent location descriptions so photographs and repair documents refer to the same connection.
How do you turn observations into action?
- Photograph without disturbing anything. Capture an overview, the complete joint, and a close detail. Don’t pry a plate, test it with a hammer, or force a ruler beneath it.
- Separate structural and roofing findings. Record connection movement independently from wet insulation, flashing defects, or damaged shingles. Several causes can exist after one storm.
- Assign the next scope. Suspected framing damage goes to a structural engineer. Covering and drainage defects go to a roofing contractor, with access coordinated around any structural restrictions.
Keep original files and inspection dates. Also record areas concealed by snow, insulation, or finished ceilings, because those limitations affect the conclusions.
Repair vs. Replace: The Decision Framework
When can a targeted repair work?
An engineer may design a localized repair when the affected connection and surrounding framing can support that approach. The detail must identify reinforcement, fasteners, placement, and any temporary support requirements.
Don’t hammer a plate flat, add screws through it, sister lumber onto a truss, or remove a web based on appearance. Those changes can alter the load path.
Roofing decisions follow separately. Localized residential roof repair may address flashing or shingles after structural clearance.
These factors distinguish a limited scope from broader replacement:
| Factor | Targeted repair | Broader replacement |
|---|---|---|
| Structural condition | Engineer defines localized work | Extensive damage may require truss replacement |
| Cost range | Depends on engineered detail and access | Includes structural, roofing, and interior scopes |
| Remaining service life | Surrounding materials remain serviceable | Widespread deterioration limits useful life |
| Insurance implications | Documents individual damaged components | Requires evidence supporting the expanded scope |
| Material compatibility | Compatible materials remain available | Brittle or incompatible materials can widen work |
The failed component determines the scope, not the amount of snow alone.
When does replacement become appropriate?
Residential roof replacement may address widespread covering deterioration while engineered repairs address the framing below. Removing shingles alone doesn’t correct a failed truss.
For commercial buildings, saturated insulation or widespread attachment problems may support commercial roof replacement. Commercial roof restoration and commercial roof coatings require a suitable substrate; neither repairs a damaged structural connection.
Material Specs That Matter for This Repair or Replacement
Which specifications belong in the structural scope?
The engineered detail governs structural lumber, repair plates or gussets, fastener size, spacing, and edge distances. Substituting hardware can change the repair’s capacity.
The engineer also evaluates bearings, roof-to-wall connections, and bracing. A sound-looking connector plate doesn’t clear a damaged bearing or missing lateral restraint.
Where work exposes deteriorated sheathing, crews define the affected area and replace it with properly supported edges and suitable fastening. They shouldn’t cut a truss to simplify deck replacement.
Which roofing materials affect the covering scope?
Architectural asphalt shingles include GAF Timberline HDZ and CertainTeed Landmark. Malarkey Legacy carries a Class 4 impact-resistance classification, but that rating doesn’t increase truss snow-load capacity.
Synthetic underlayment and felt have different installation requirements. Neither substitutes for the required ice barrier. Under Minnesota’s residential ice-barrier provisions, coverage extends at least 24 inches inside the exterior wall line, not merely 24 inches up from the eave. Valley protection follows the assembly requirements.
For low-slope work, specify the actual system: 60-mil TPO roofing, 45-mil or 60-mil EPDM, modified bitumen, or BUR. Membrane thickness affects durability and repair selection, not framing capacity. Metal roofing also needs its own compatible flashing and attachment details.
Insurance Documentation and the Claim Process
What evidence supports a roof insurance claim?
Record the snowfall dates, drift locations, first observed symptoms, and any earlier leaks. Save pre-storm photographs, maintenance records, emergency invoices, and the engineer’s report.
Photographs should connect the exterior condition to the attic location and interior damage. Include room names and roof sections so the water path can be traced.
For overlapping storm damage, distinguish hail impacts from wind-lifted tabs and snow-related deformation. Photograph bruising or granule displacement when safe access becomes available. Don’t lift shingles or manipulate connectors to demonstrate damage.
What do the adjuster and contractor document?
The adjuster evaluates the reported loss against policy terms. The contractor records damaged materials, quantities, moisture findings, and the roofing work needed.
The structural engineer addresses connection distress, framing deformation, and repair design. Those findings belong in a separate, identifiable structural scope rather than disappearing inside a reroof estimate.
Our discussion of hidden storm damage in framing explains why intact roof coverings don’t settle the structural question.
Don’t delay emergency protection solely to preserve photographs. Document conditions only from safe positions, and keep receipts for necessary temporary work.
What a Professional Roof Contractor Does Differently
What does the roofing inspection establish?
A professional commercial roof inspection evaluates drainage, seams, flashings, penetrations, attachment conditions, and accessible substrate evidence. Structural movement changes the access plan before anyone walks the roof.
During tear-off, the roofing crew examines exposed decking and separates sound sheathing from deteriorated areas. The scope should define replacement thickness, supported edges, fastening, and concealed-condition pricing.
Our roofing assessment also distinguishes water-entry repairs from structural repairs. For membrane, flashing, and drainage concerns, you can Get a Free Commercial Roof Inspection. Suspected truss damage still requires engineering.
What details should the written scope include?
Include pipe-boot condition and replacement where the assembly requires it. A bead of sealant isn’t an adequate substitute for a failed flashing component.
Ventilation work should use a net free area (NFA) calculation under the applicable code provisions, including intake and exhaust balance. Insulation depth alone doesn’t establish adequate ventilation.
GAF-certified installation standards address roofing work. They don’t authorize structural redesign. Our Saint Paul roofing work operates under MN License 803862, but engineered truss repairs still need an appropriate design and required local permits.
Cost Ranges for Snow-Damage Roof Work in Minnesota
What does the roofing portion cost?
For budgeting, architectural-shingle replacement can fall around $450 to $900 per roofing square installed in the Twin Cities. One roofing square equals 100 square feet.
That allowance concerns the roof covering. It isn’t a truss-plate repair price or a complete structural-loss estimate. Engineering, shoring, damaged framing, interior reconstruction, and unusual access can add separate costs.
Minneapolis roofing projects and Saint Paul properties can have different access, disposal, and permit conditions even with similar roof areas. Roof complexity also affects labor.
What changes the structural repair price?
The main variables are the number of affected connections, repair design, temporary support, access openings, and work needed to restore ceilings or insulation.
A commercial roof repair involving one flashing detail has a different scope from a truss repair beneath occupied space. Estimates should separate those tasks.
Ice dam removal is another distinct service. Removing ice can stop backed-up meltwater, but it doesn’t establish that connector plates or framing are sound. Avoid comparing proposals that combine these different scopes into one unexplained total.
Frequently Asked Questions
Can I stay in my house if one truss plate looks loose?
A loose-looking plate needs prompt structural evaluation. If there is new sagging, structural popping, spreading cracking, or sudden door binding, leave rather than continuing the inspection. The plate’s appearance alone doesn’t establish whether occupancy is safe.
Can a truss plate be damaged without a roof leak?
Yes. Structural loading can affect a connection while the covering remains watertight. A dry attic therefore doesn’t clear a lifted plate, split web, or bowed chord. Document the connection without loading or disturbing it.
Should I remove snow before the engineer arrives?
Don’t begin snow removal on a roof showing structural distress. Added worker loads and uneven unloading can create hazards. An engineer or emergency response team should establish access, stabilization, and removal requirements when overstress is suspected.
What if the connector plate was already lifted before the snowfall?
Earlier photographs and inspection records help establish the timeline. However, an older defect still needs evaluation if heavy snow adds load or the condition changes. Don’t label it harmless solely because it predates the storm.
What if insulation hides the bottom of the truss?
Don’t dig through insulation or crawl across concealed ceiling surfaces to reach it. Record the inspection limitation. A professional can plan access that accounts for fall hazards, electrical wiring, and potential disturbance of the framing or insulation.
Keep Structural Repairs Separate From Roofing Repairs
What needs to happen before permanent work?
A roof truss plate inspection should produce a clear record of visible connection conditions, inaccessible areas, and the symptoms that prompted the inspection. That record helps the engineer evaluate the framing while the roofing contractor defines covering, flashing, insulation, and drainage work.
Structural clearance comes before work that depends on the damaged framing or conceals its condition. Don’t let an intact shingle surface, a dry attic, or completed ice removal replace an assessment of a displaced connector.
What is the next roofing step?
Once access is safe, the roofing scope should identify what can remain, what needs replacement, and where engineering governs the work. It should also separate roofing costs from structural repairs so you can compare complete proposals.
For damaged shingles, flashing, or roof coverings, Get a Free Residential Roof Estimate. Keep suspected truss damage identified as a separate structural concern throughout the project.
Need a roof inspection in Saint Paul or the Twin Cities? Call Sellers Roofing Company at +1-651-703-2336 or schedule a free estimate. We are a black-owned, NMSDC-certified MBE roofing contractor with 9+ years experience.
