Last updated: 2026-10-20 by Ted Sellers, Owner
Yes. Ice dams around dormers form when snow melts over warm decking and refreezes at colder eaves, valleys, or roof-to-wall intersections. Dormers concentrate runoff and can hide insulation gaps near their sidewalls. On Saint Paul homes, that combination can force water beneath the covering and flashing, even when the main roof edge looks clear.
What Actually Causes Ice Dams Around Dormers in Harsh Winter Climates?
How does indoor heat reach the dormer roof?
Warm air escapes through ceiling penetrations, recessed lights, attic hatches, and unfinished knee-wall cavities. This air leakage, along with leaking heating ducts and bathroom fans discharged into the space above the ceiling, adds heat or moisture.
Dormer framing creates another problem. Closely spaced rafters and wall plates leave limited insulation space. Thermal bridging through those members warms localized surface areas.
Snow insulates the roof too. Deep accumulations slow heat loss, allowing the surface layer to melt while outdoor air remains below freezing. The Department of Energy describes this mechanism in its cold-climate eave guidance.
Why does ice collect beside the dormer?
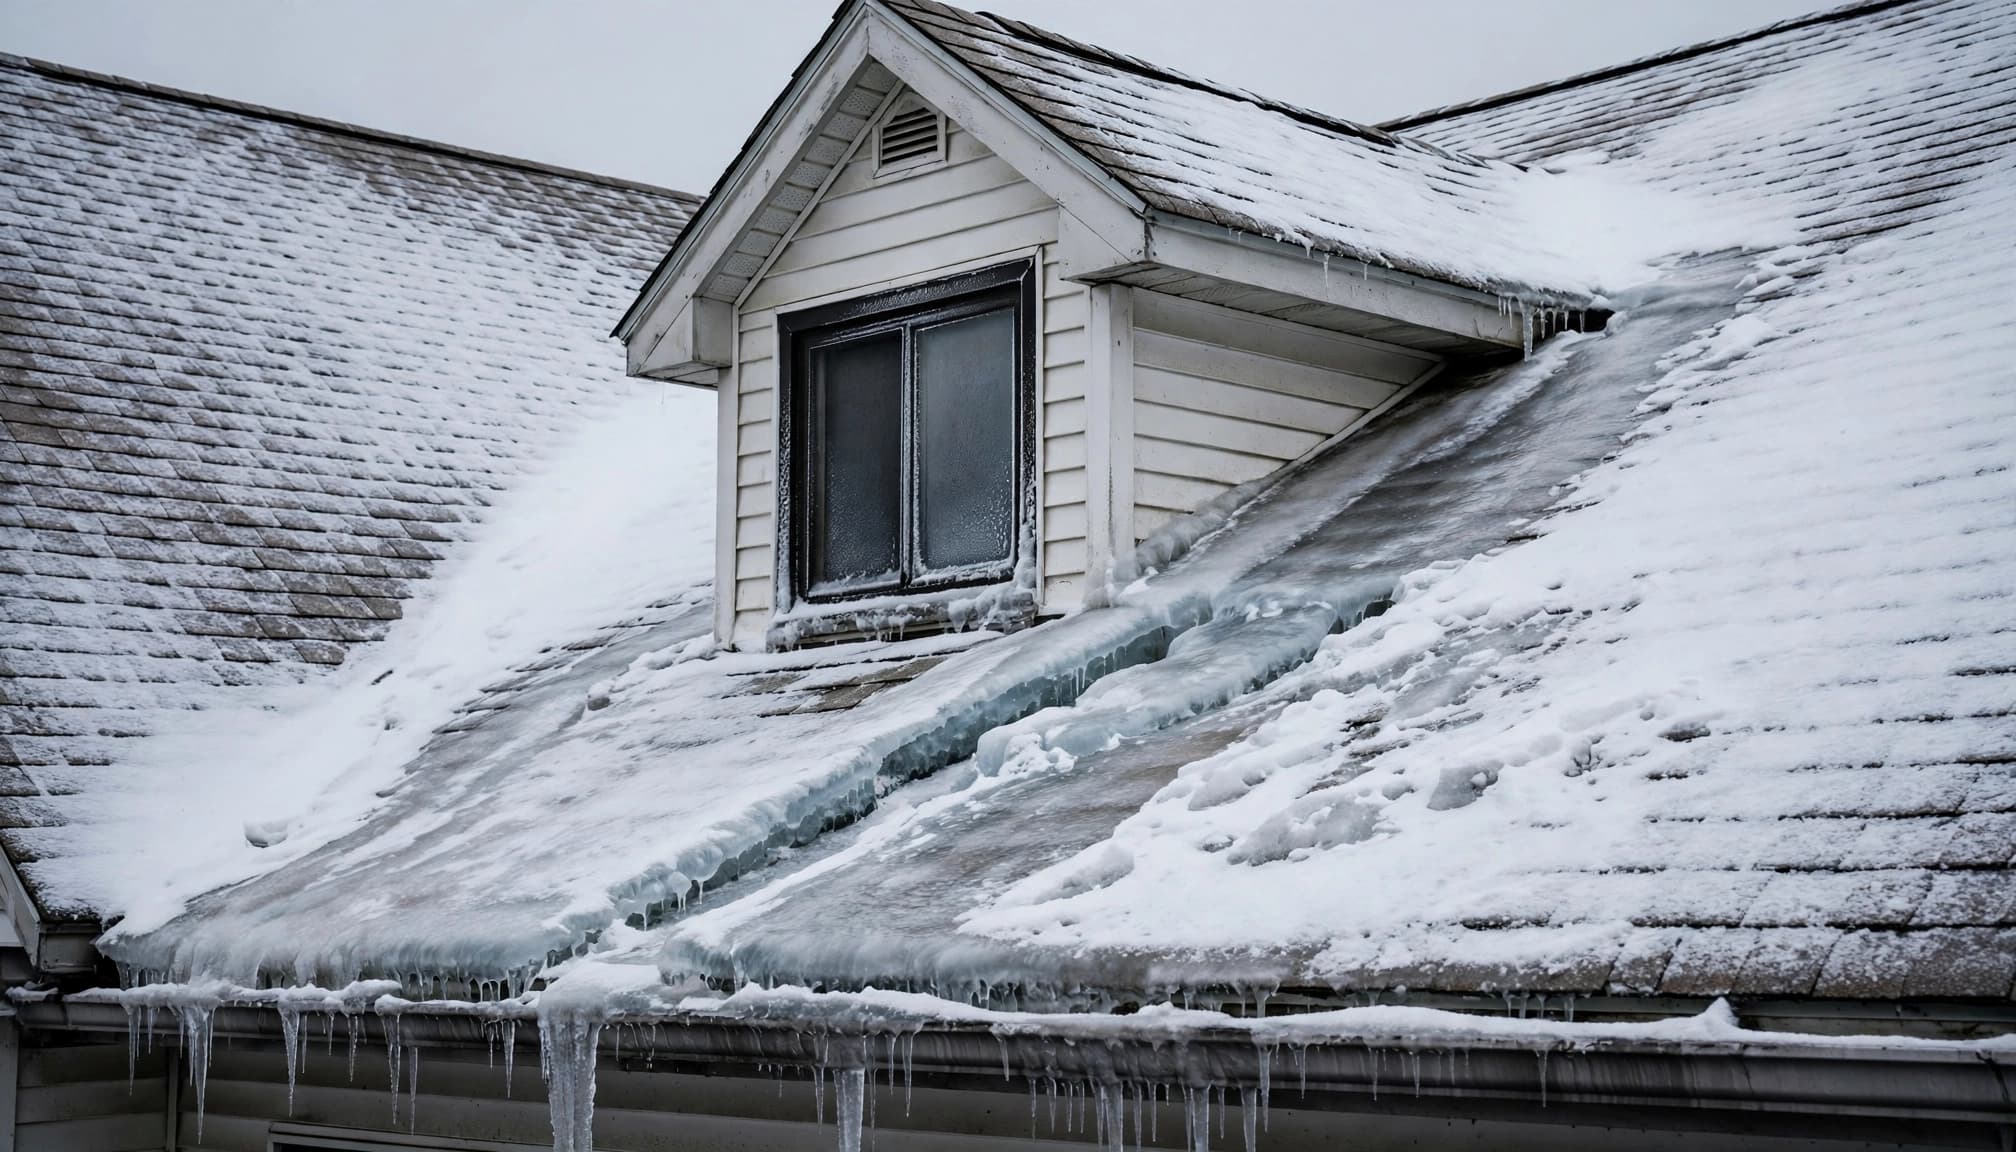
Valleys receive runoff from adjoining slopes. Dormer cheeks, the sidewalls beside the window, create shaded intersections where snow stays longer.
Meltwater reaches a colder overhang or blocked valley and freezes. Repeated melting and refreezing builds a barrier. Water then backs beneath asphalt shingles or enters vulnerable flashing laps.
When This Applies
Which properties need a dormer-focused inspection?
This applies to heated homes with projecting dormers, finished upper-level bedrooms, knee walls, or valleys beside additions. Older Saint Paul and Minneapolis homes can have concealed air passages where additions meet original framing.
Warning signs include bare snow patches above a dormer, thick valley ice, frost above the ceiling, and stains beside an upstairs window.
A dam can develop without clogged gutters. Drainage restrictions don’t explain every warm patch. Shingle color alone doesn’t establish the cause either.
When does the diagnosis change?
Leaks during wind-driven rain, before snow arrives, point toward a separate flashing or covering defect. Hail-damaged covering and wind-lifted tabs need their own assessment.
Cathedral ceilings and unvented roof assemblies require different thermal evaluations. Adding conventional vents can disrupt a properly designed assembly; DOE’s conditioned-attic guidance explains that distinction.
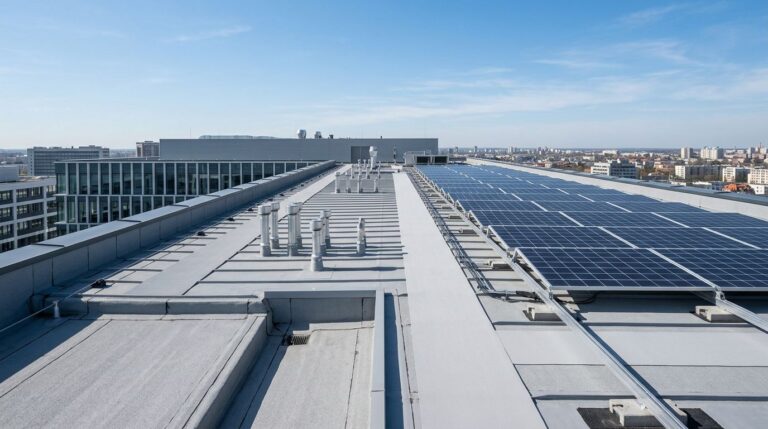
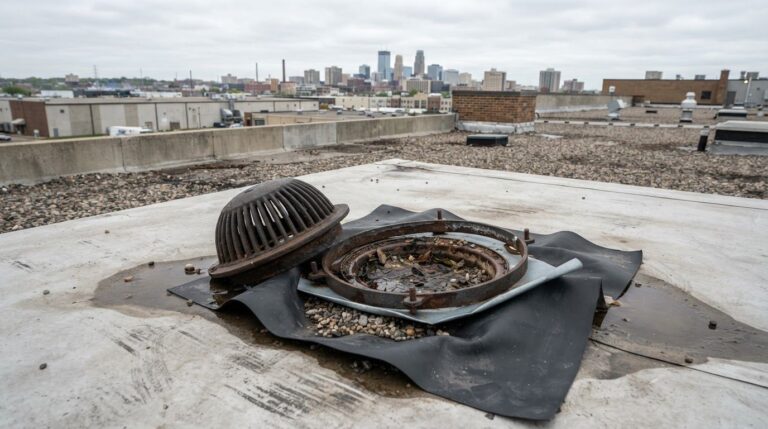
A commercial flat roof needs drainage and membrane inspection around drains, scuppers, seams, and equipment curbs rather than a residential dormer-only assessment.
How to Inspect and Document the Damage
What can you record from the ground?
Start outside, then follow the suspected water path indoors. Stay clear of falling ice and overhead electrical lines.
- Photograph the entire dormer, adjoining valleys, eaves, and snowmelt pattern.
- Record sagging gutters, separated fascia, displaced flashing, and ice behind the gutter.
- Photograph ceiling stains, window-trim swelling, and wet belongings with dates.
An interior stain doesn’t identify the entry point. Water can follow framing before reaching a finished ceiling.
What should the contractor inspect?
Once access is safe, the inspection should follow drainage paths and examine concealed components where findings justify opening them.
- Compare granule-loss patterns and shingle bruising with possible hail damage.
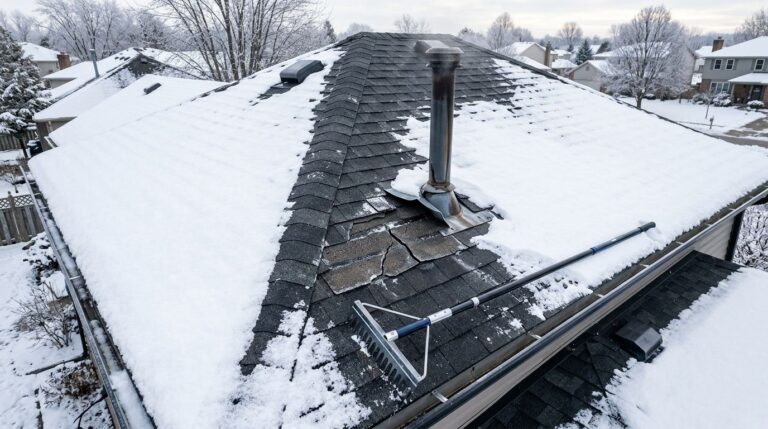
- Inspect valley condition, flashing separation, exposed fasteners, and pipe-boot cracking.
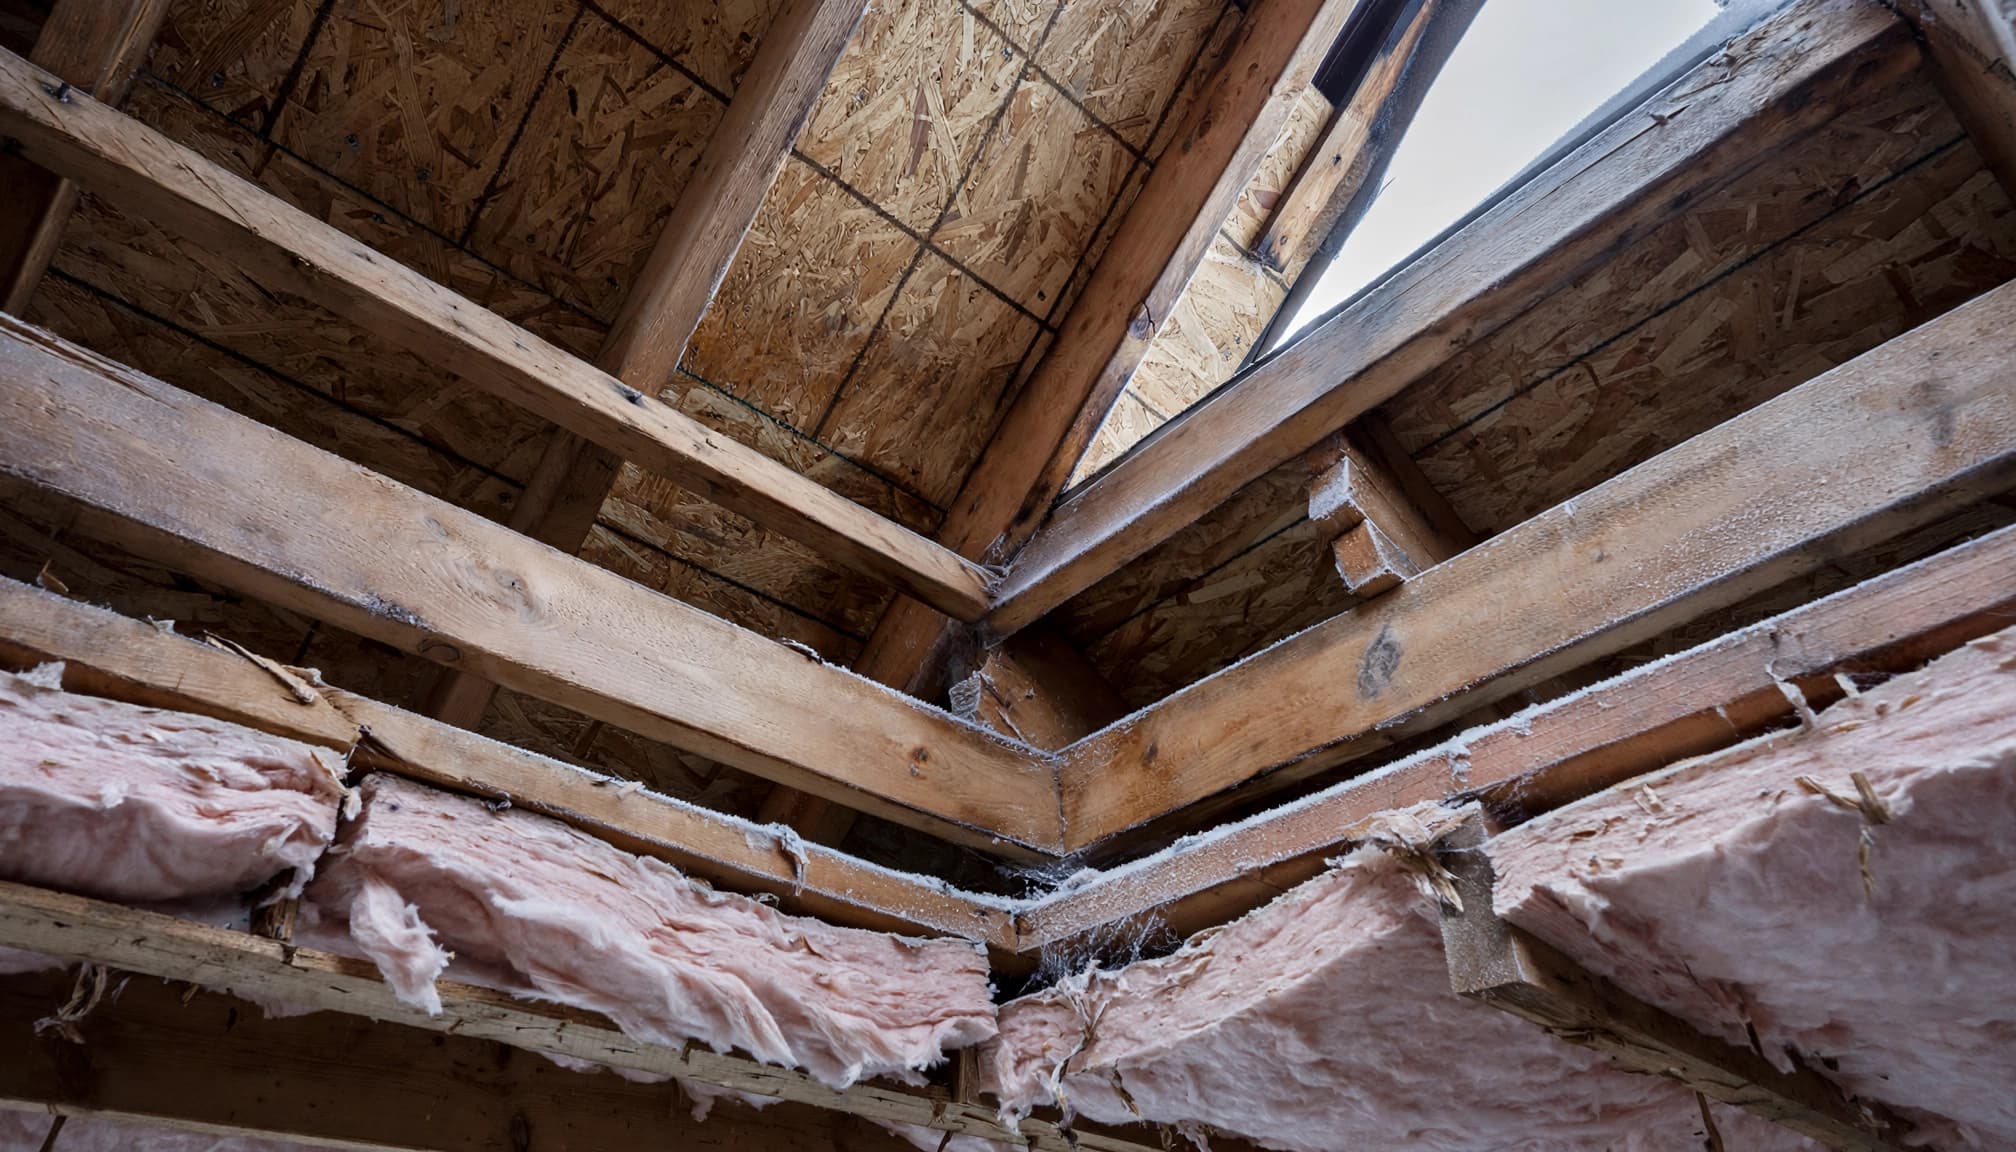
- Check deck deflection, soft sheathing, frost above the ceiling, and wet batts near dormer junctions.
Widespread frost suggests moisture escaping indoors. A localized wet trail beneath a valley suggests liquid-water entry. Both can occur together.
Our explanation of hidden ice dam damage covers why insulation can become wet before ceiling stains appear.
Step-by-Step
-
Protect people and occupied rooms
Move belongings away from drips and collect water where safe. Keep people away from wet electrical fixtures, bulging ceilings, and falling ice. For active water entry, Call 651-703-2336 for 24/7 Emergency Roofing. Document conditions without delaying emergency protection.
-
Reduce loose snow without climbing
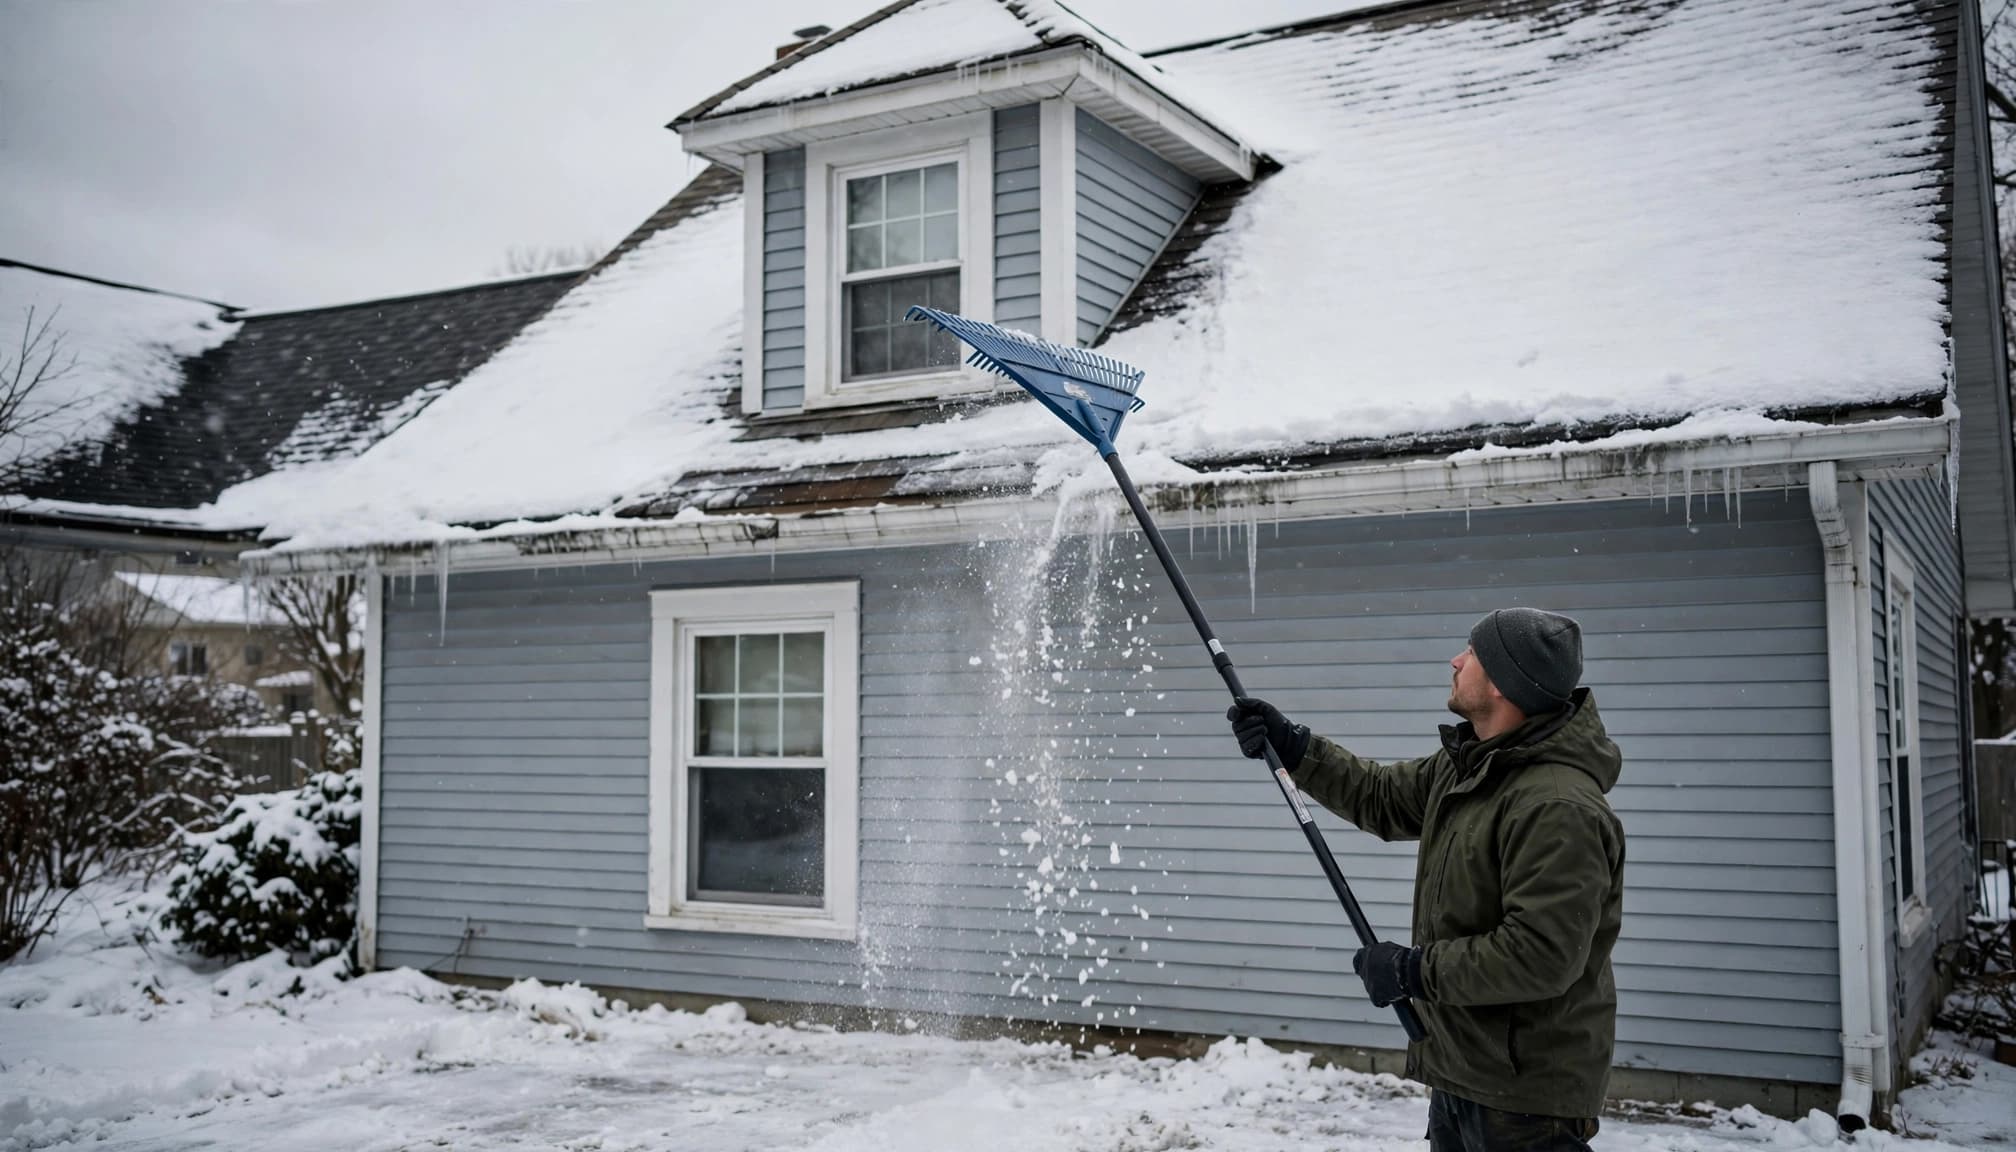
Use a plastic roof rake from stable ground only where you can stay outside the falling-snow path. Clear a limited lower-edge strip without dragging the blade against the covering or flashing. A dormer valley beyond safe reach needs professional access. Don’t climb onto snow-covered roofing with a shovel.
-
Open drainage through bonded ice safely
Professional low-pressure steam removal melts drainage channels without striking the roof. Avoid axes, picks, hammers, pressure washers, and open flames. A pantyhose leg holding calcium chloride can create a temporary channel, but it can harm metals and vegetation. Don’t use rock salt or treat ice melt as a permanent repair.
-
Inspect after the ice releases
Examine exposed covering, flashing, drainage channels, decking, and wet material before closing the repair. Remove materials that cannot be dried or restored. Trace the heat source separately so ice dam removal doesn’t become the same emergency next winter.
Repair vs. Replace: The Decision Framework
When is targeted repair enough?
Localized damage beside one dormer often supports targeted residential repair. The surrounding covering must remain serviceable, the deck must be sound, and the repair must restore flashing and underlayment continuity.
Icicles alone don’t justify residential roof replacement. Use the condition beneath the ice to establish scope.
These planning comparisons separate immediate removal from permanent roofing work.
| Factor | Repair | Full replacement |
|---|---|---|
| Cost reference | Small removal-only jobs may run $400 to $700; roofing repairs cost extra | Architectural shingles may run roughly $450 to $900 per roofing square installed |
| Remaining service life | Surrounding roof has useful life | Broad deterioration limits reliable repairs |
| Insurance implications | Documents localized covered damage | Requires evidence supporting broader replacement |
| Material compatibility | Matching covering and compatible flashing remain available | Rebuilds the assembly with coordinated components |
| Deck condition | Limited damaged sheathing | Widespread decay or structural deterioration |
When does replacement make more sense?
Replacement becomes reasonable when widespread brittle field material, repeated flashing failures, or extensive wet decking prevent a durable patch.
A roofing square equals 100 square feet. Dormer complexity, roof height, tear-off layers, and deck replacement can move pricing beyond the table’s reference range.
Keep thermal corrections in the scope. New shingles won’t stop heat escaping through an open ceiling bypass.
Material Specs That Matter for This Repair or Replacement
Which shingles and underlayments belong in the scope?
GAF Timberline HDZ and CertainTeed Landmark are architectural shingles. Malarkey Legacy carries a Class 4 impact-resistance rating. That rating addresses impact performance, not resistance to backed-up ice water.
An ice and water barrier provides secondary protection beneath roofing. Synthetic underlayment and felt shed water, but neither substitutes for the required ice barrier.
Minnesota’s ice-barrier code provisions describe ice-barrier coverage reaching at least 24 inches inside the exterior wall line. That measurement isn’t 24 inches up the roof. Overhang depth and slope determine the required installed width.
Valleys and dormer sidewalls need compatible membrane and flashing details. Our discussion of winter underlayment failures explains these concealed leak paths.
What changes on a low-slope dormer?
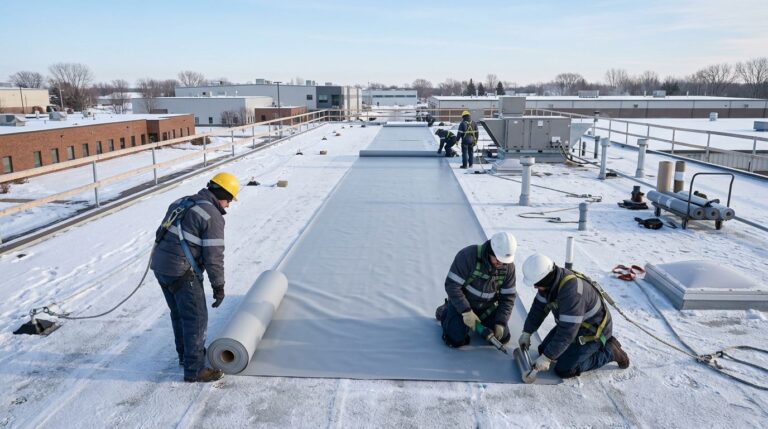
A low-slope dormer may need a membrane system instead of shingles. Specifications can include 60-mil TPO roofing or 45-mil versus 60-mil EPDM, depending on the assembly.
Thickness alone doesn’t establish performance. Attachment, seams, wall transitions, drainage, and substrate condition matter. Modified bitumen and BUR also require system-specific repair methods; generic roof cement isn’t a universal repair.
Insurance Documentation and the Claim Process
What evidence supports a roof insurance claim?
Adjusters evaluate the cause of loss, damaged components, policy terms, and repair scope. Contractors document physical conditions and the work required to restore the assembly.
Photograph the roof before removal when safe. Include wide views identifying the dormer and close views showing damaged components. Record interior staining, wet insulation, and the dates water appeared.
Keep invoices for emergency drying, temporary protection, and removal. Don’t discard damaged components before documenting them.
If hail or wind damage is present, photograph bruised shingles, displaced tabs, flashing movement, and affected slopes separately. An ice dam doesn’t prove that a storm damaged the roof.
What does insurance usually pay for?
Removal itself is generally excluded, while resulting water damage may be covered. Allstate’s ice damage coverage explanation makes that distinction.
Replacement isn’t automatic because ice formed. Coverage under homeowners insurance depends on the documented cause of loss and policy provisions, including deductibles and exclusions for deterioration or maintenance.
Keep the contractor’s condition report factual. The insurer determines coverage; the repair scope should describe what failed and what must be restored.
What a Professional Roof Contractor Does Differently
How should concealed damage be repaired?
A permanent repair starts with exposure of the affected assembly. Where tear-off is needed, inspect the deck before installing membrane.
Cut deteriorated sheathing back to supported framing. Replace it with material compatible with the existing deck, and provide proper panel support and fastening. Don’t cover soft wood or wet insulation.
Replace cracked pipe boots and damaged flashing within the affected area. Surface sealant shouldn’t conceal a failed drainage detail. Dormer step flashing must integrate with the wall’s water-management layers.
How should attic performance be calculated?
Air sealing comes first. Seal ceiling bypasses with materials suited to each penetration. Spray foam may seal suitable gaps, but maintain required fire-safe clearances around hot components.
An assembly with an R-value below R-38 warrants an insulation assessment. For ice dam prevention, Minnesota upgrades often target R-49 to R-60, depending on the assembly.
For vented assemblies, calculate net free ventilation area, not grille dimensions. A 1:150 ratio requires about 6.7 square feet for a 1,000-square-foot ceiling area. A 1:300 allowance requires applicable code conditions and balanced distribution.
Maintain soffit intake, baffles, and exhaust paths. DOE’s durable attic guide treats moisture control and ventilation as coordinated assembly work.
Cost Ranges for Dormer Ice Dam Removal in Minnesota
What does removal usually cost?
Current Minnesota planning estimates place moderate ice dam removal jobs around $700 to $1,200. Large, multistory, or difficult-access jobs can reach $1,200 to $2,500 or more.
Substantial snow removal may add roughly $250 to $500. These are market estimates, not our quoted prices or a fixed rate schedule.
Dormers increase access difficulty because crews must work around valleys, sidewalls, windows, and gutters. Several isolated dams can require more setup than one continuous eave blockage.
What belongs in the written scope?
Separate snow clearing, steam removal, temporary protection, permanent repairs, and attic corrections. Those services solve different parts of the problem.
Pricing also changes with deck condition, disposal, pitch, staging, and permit requirements. Local flashing replacement and structural sheathing repair shouldn’t appear as one unexplained allowance.
Commercial projects involving repairs or restoration require a separate membrane assessment. Coatings can’t substitute for removal of wet insulation or repair of failed seams.
For documented dormer damage, Get a Free Residential Roof Estimate to establish a repair scope.
Frequently Asked Questions
Do gutter guards stop ice dams around dormers?
No guard corrects attic heat loss. Guards can collect snow or freeze over, depending on their design and conditions. Our explanation of clogged gutters and ice dams separates drainage restrictions from the heat source.
Will heated gutters prevent water from leaking beside a dormer?
A heated eave channel may preserve drainage locally, but it doesn’t cool the roof deck. A protected channel must continue through the discharge path. A warm gutter won’t solve a frozen valley higher up beside the dormer.
Why does only one dormer develop an ice dam?
One dormer may have an open knee-wall cavity, compressed insulation, or blocked ventilation bay. Shade and drifting snow also differ across the roof. Compare the affected dormer with the others before choosing an attic-wide correction.
Can water keep dripping after the ice dam is gone?
Yes. Wet insulation, framing, and ceiling cavities can release retained water after drainage resumes. Continuing drips can also indicate another opening. Moisture measurements and inspection distinguish stored water from an ongoing leak before finishes are repaired.
Does metal roofing eliminate ice dams beside dormers?
No. Metal roofing can shed snow differently, but warm decking and cold eaves still allow dams to develop. Sliding snow also creates an additional hazard above doors and walkways. Snow-retention equipment must match the roof system and attachment design.
Key Takeaways: Keep the Dormer Cold and Watertight
Address the water path before closing the repair
A dormer ice dam needs two investigations: where water entered and why snow melted unevenly. Removing the blockage protects the building during the event, but exposed flashing, decking, and insulation still need inspection before permanent work closes those areas. Check the ice and water barrier as part of that inspection.
Base the repair on documented condition. A localized flashing defect and a broadly deteriorated roof require different scopes, even when both first show up as a ceiling stain.
Correct heat loss before the next winter
The lasting work usually combines air sealing, adequate thermal resistance, and balanced ventilation, with sound valley and sidewall detailing. Check for air leakage around the dormer, since it can cause uneven snowmelt. Each part has a separate job, and none compensates for a failed roof component.
For Saint Paul homeowners, the useful next step is a written scope that separates emergency removal, damaged-material replacement, and attic corrections. That keeps the work tied to the cause rather than the size of the icicles.
Need a roof inspection in Saint Paul or the Twin Cities? Call Sellers Roofing Company at +1-651-703-2336 or schedule a free estimate. We are a black-owned, NMSDC-certified MBE roofing contractor with 9+ years experience.